Showing posts with label Pudding / Custard / Ice cream. Show all posts

Wednesday, July 31, 2013

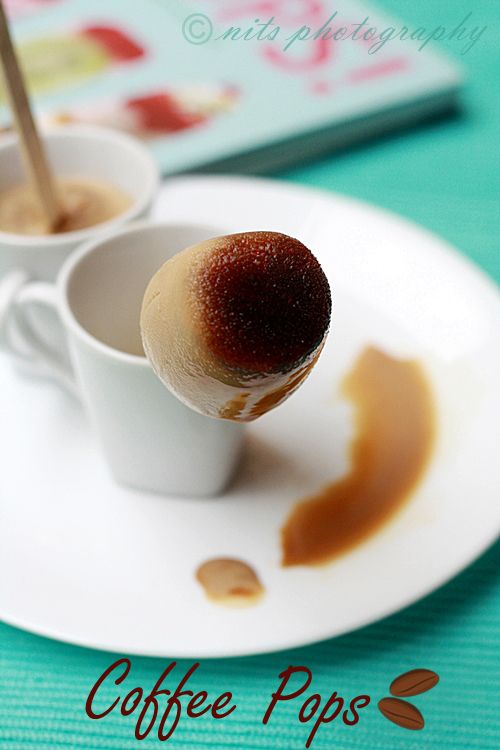
Coffee Pops

 photo coffeepops3_zps79fe019d.jpg

Oh did I miss the sun?????!!! 

How many of you are as crazy as me, who would love to get drenched in the rain and yet enjoy eating ice- cream when the climate is chill!! There is for sure a special kick when you do such stuff isnt it?!

Then why wait, you can still make some delicious coffee pops and have :) Be a freak!

I am some one who enjoys coffee more when it is cold. So this pops was for sure one of my kind!

My cousin Gayathri gifted me an ice pops cook book this summer and I have been giving some of it a try since then! All thanks to her for inspiring me to make such exciting stuff :)

 photo coffeepops2_zps88e0a879.jpg

Ingredients:

Coffee powder - 2 tblsp
Brown sugar - 1 tblsp
Water - 1 cup
Condensed milk - 3 tblsp

Coffee cups
Ice pop sticks

 photo coffeepops1_zps33c675a2.jpg

Method:

Mix instant coffee powder to water and let it boil. Add some brown sugar to it and mix well and make black coffee. (The level of thickness of coffee and sugar is upto your taste)

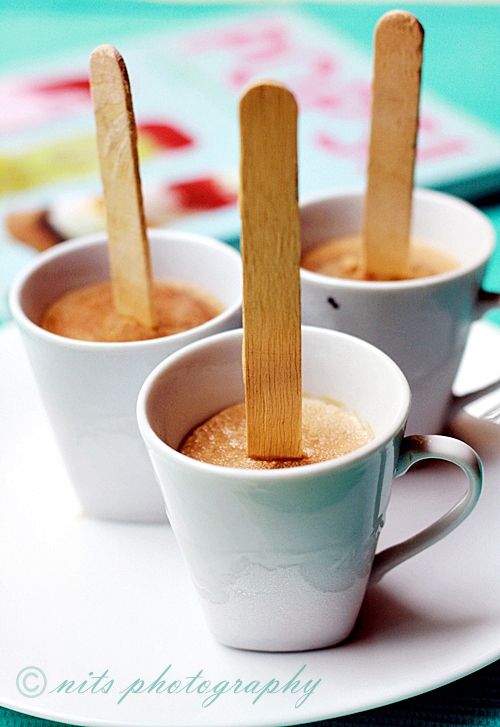
Fill the above black coffee to 1/4th of the tea cups to make the black coffee layer and set it in the freezer for an hour.

With the rest of the black coffee add the condensed milk and mix well. You dont have to heat this mixture. Check for the sweetness and add more of brown sugar if required. 

Take the tea cups off the freezer and pour the above prepared coffee to it and cling wrap it tightly. Now make a small slit in the center and insert the ice cream stick and make it stand erect. 

Carefully place it in the freezer for 4 hours minimum. 

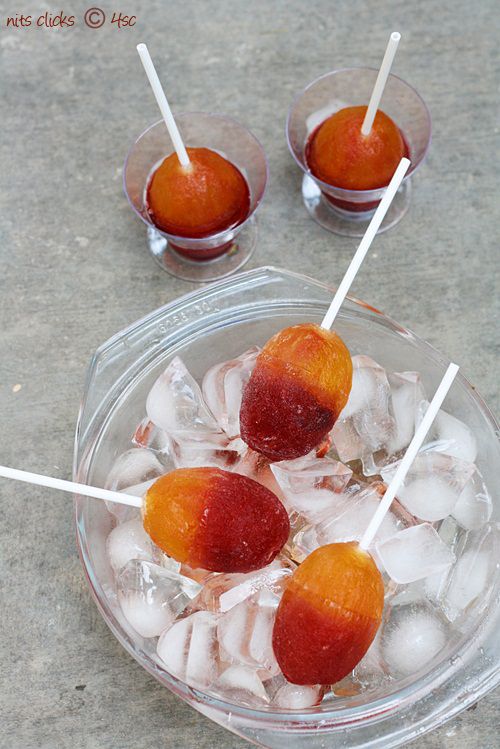
Dip the cups in warm water and remove the pops carefully from the cups. Serve and enjoy licking :)
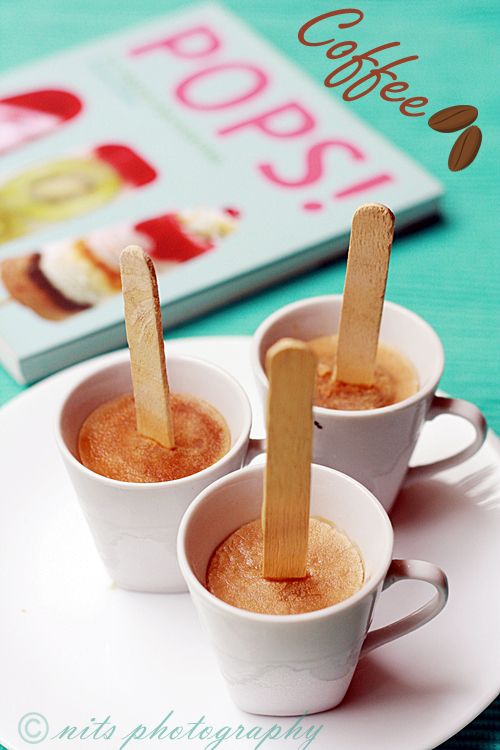
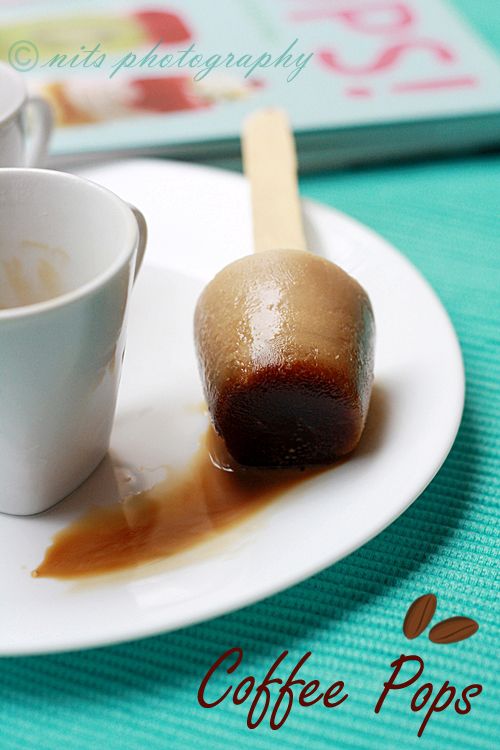
 photo coffeepops4_zps5bff7aa6.jpg

Written by: Nithya
Send in your queries by clicking here

Tuesday, June 5, 2012

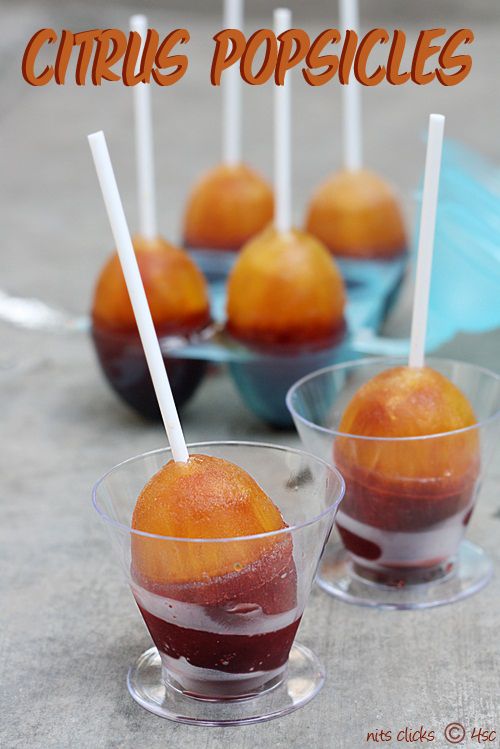
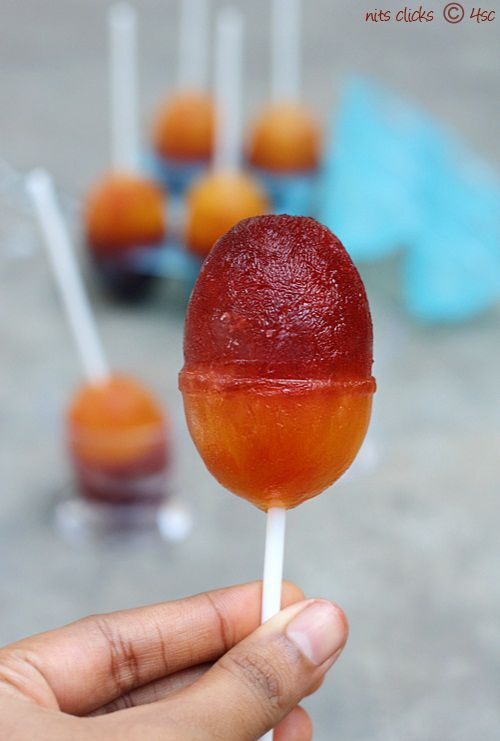
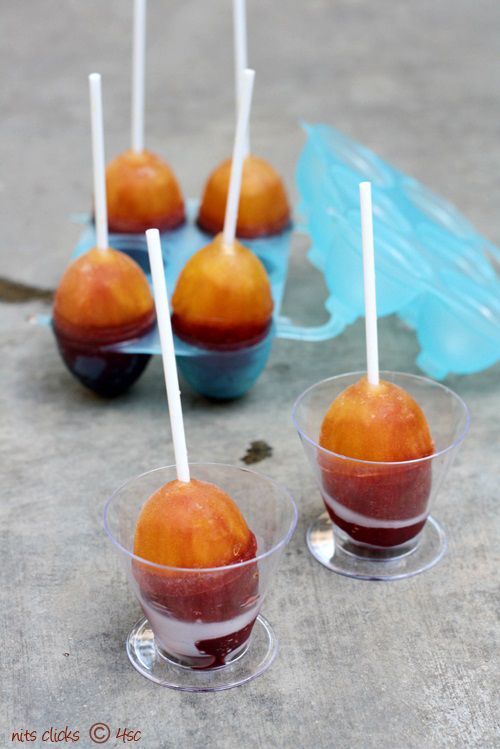
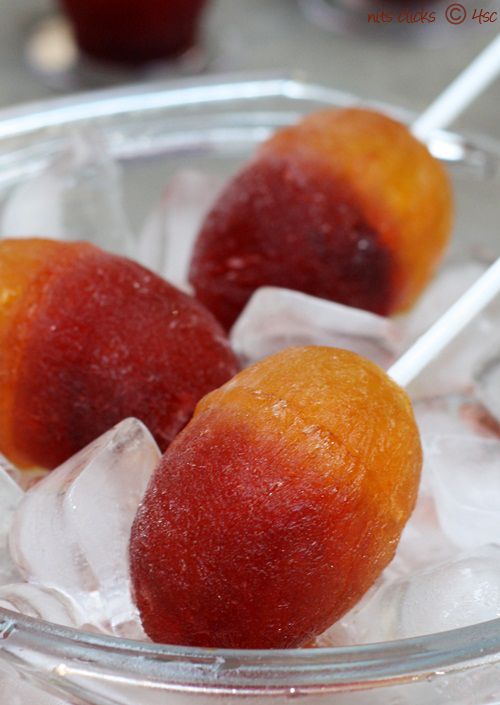
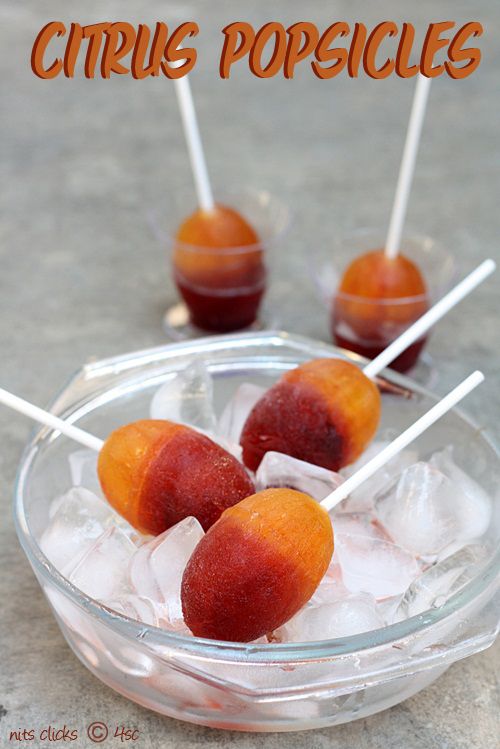
Citrus Popsicles

Photobucket

Popsicles bring back my childhood memories. The colored ice bars that we have licked and enjoyed are so memorable isn't it??

There are other forms of popsicles that are filled in a long plastic cover pipes, locally called us 'pepsi'. I just cant forget those delicious ice which we considered as the best dessert and enjoyed so much :) I even remember myself sticking my tongue out in order to scare people after having grape ice :) I am sure most of you would be able to recollect your good old days too!!!

There is no law that states grown ups shouldn't enjoy these small delicacies again. Get back to childhood for few mins and enjoy it, just like how I did :) And of course share the fun with your kids too :)

Photobucket

Ingredients:

Grape juice - 1 cup
Tonovin essence (grape essence) - 2 drops
Lemon juice - 1/4 cup
Lemon zest - a pinch
Water - 3/4 cup
Yellow food color - a pinch
Sugar syrup - 1 cup

Popsicle mould
Pop sticks - 6

Photobucket

Method:

To make sugar syrup -

Sugar - 1 cup
Water - 1 cup

Take sugar and water in a pan and allow it to boil on simmer until sugar melts completely and starts to bubble. The syrup just has to turn sticky. Remove from heat and allow it to cool down.

Photobucket

To make Popsicle -

Take 1 cup of grape juice and add 1/2 cup of sugar syrup and two drops of tonovin essence. Mix well and fill in the popsicle mould until half its height. Set it in the freezer for two hours.

Take 1/4 cup of lemon juice and add 1/2 cup of sugar syrup, 3/4 cup of water, lemon zest and yellow food color and mix well.

Remove the popsicle mould from the freezer after the base layer is set and now pour the lemon juice over it slowly.

Screw the pop sticks slowly into the center and set it in the freezer again for a minimum of two hours.

urrrrr usssssss slurp!!! Enjoy the popsicles :)


Photobucket

Tips:

Wash the mould before you fill in the juice. This will help while demoulding the popsicles.

Allow the first layer to set atleast for two hours else the colors will blend together and wouldnt layer properly.

Be creative and patient to make more colorful layers.

Photobucket

Written by: Nithya
Send in your queries by clicking here.


Monday, May 28, 2012

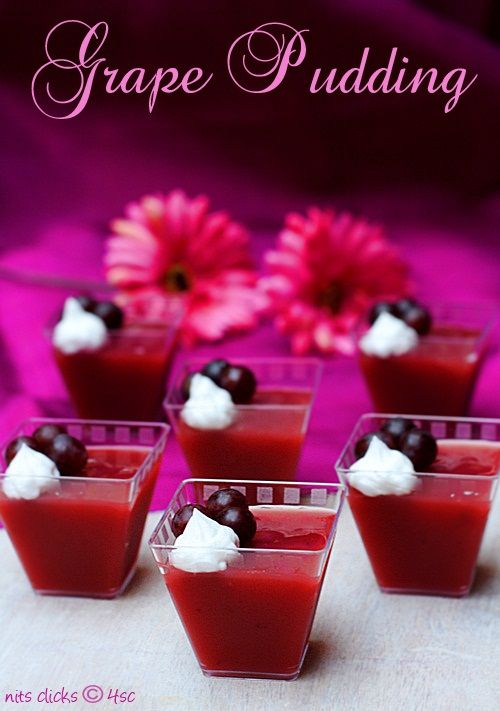
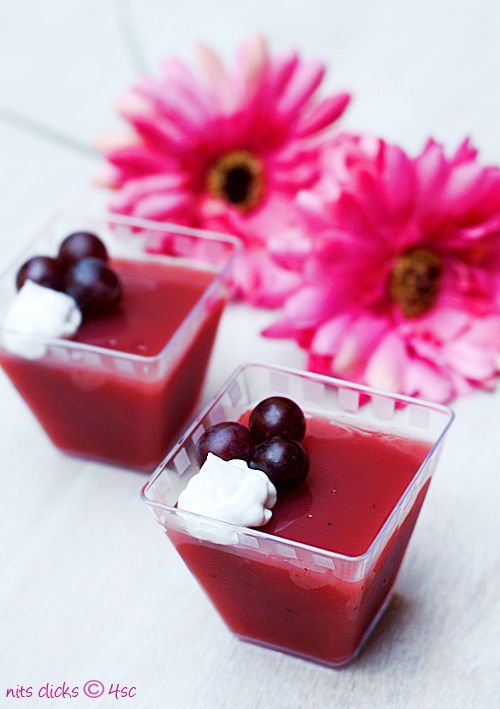
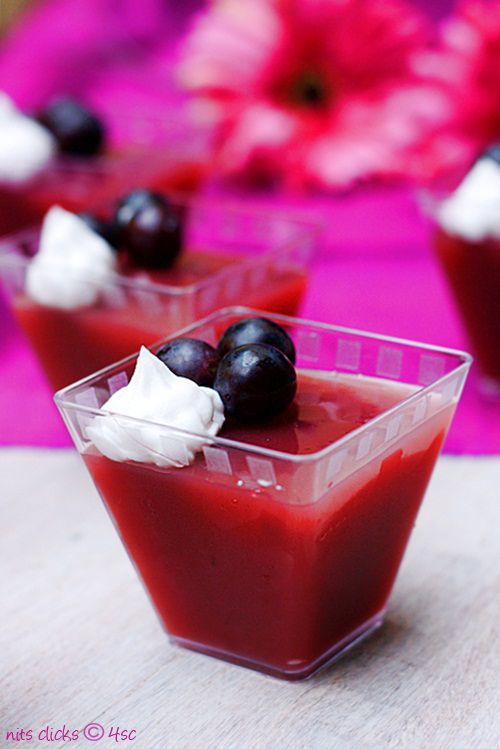
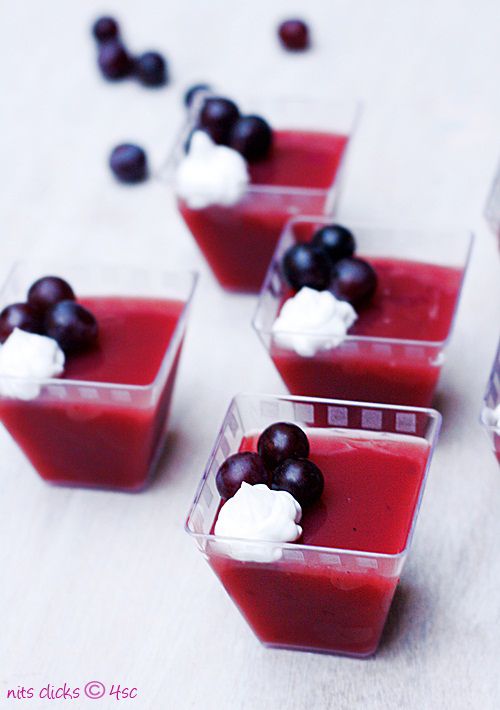
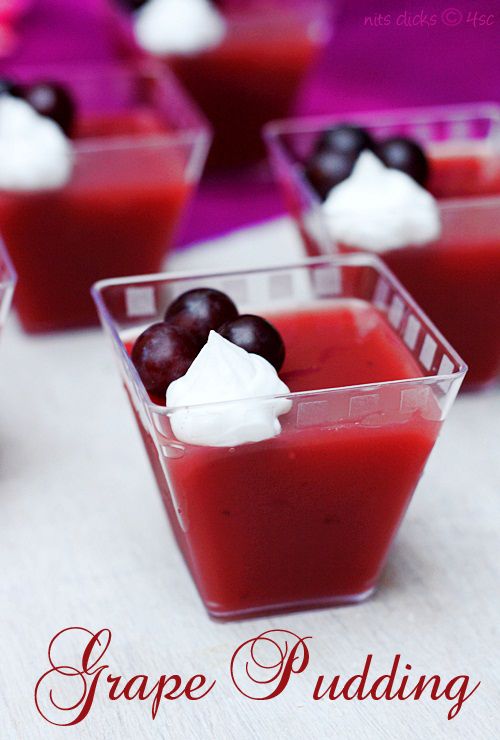
Grape Pudding

Photobucket

I love fruits and fruit juices. I keep refilling my refrigerator with some fruits always. I prefer snacking on fruits than anything else. It has become a routine to have fruits as it is or as shakes in the evening.

I bought a nice pack of black grapes last week and was wanting to make something interesting with it. A simple juice was becoming a little boring to my tongue and I was craving for some pudding as well. So 'bling' the bulb over my head glowed with an idea and I put both the cravings together to make a fresh fruit juice pudding!! Isn't that sounding yummy!! It tasted too :)

Photobucket

Ingredients:

Black Grape juice - 2 cups
Tonovin essence(grape essence) - 1 tsp
Sugar - 1/2 cup
Corn flour - 1/4 cup
Water - 1/4 cup
Whipped cream
Grapes for decoation

Photobucket

Method:

Take the corn flour, sugar and water in a thick bottomed pan. Cook on medium heat stirring continuously until it thickens into a smooth paste.

Reduce the flame and add grape juice and essence. Mix well and cook on low flame until it is slightly thick. Sauce consistency. Remember that the pudding would thicken as it cools.

Remove from flame and pour into 6 dessert cups and set it in the fridge for 2 hours.

Top it with whipped cream and fresh black grapes.

Enjoy the real fruit flavored pudding :)

Photobucket

Tips:

Using the grape essence is a must since it gives a nice color and flavor to the pudding.

You can use few drops of essence when you whip the cream to make a grape cream :)

Photobucket

Written by: Nithya
Send in your queries by clicking here.

Tuesday, February 14, 2012

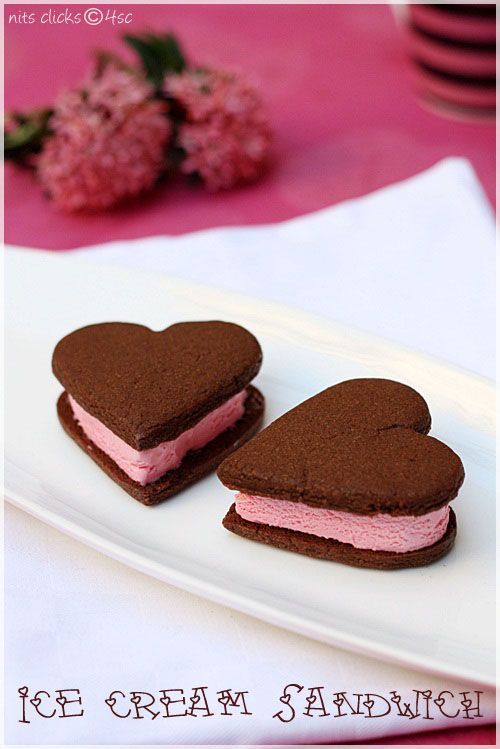
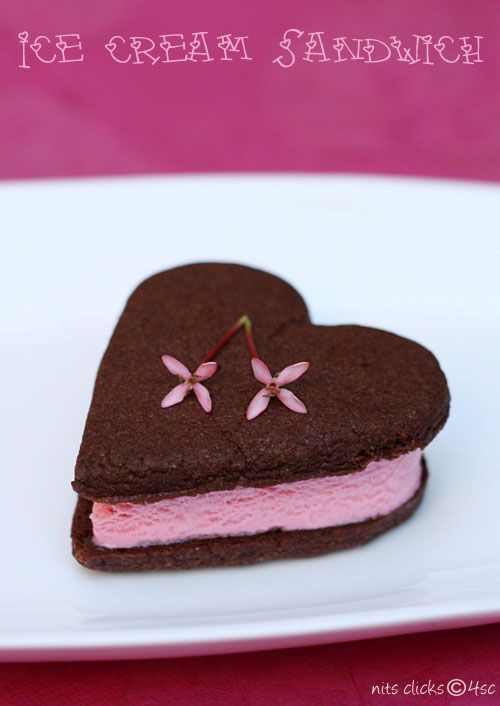
Ice Cream Sandwich - Valentine's Day Special

Photobucket

Wish you all a very happy Valentine's day!!


Photobucket

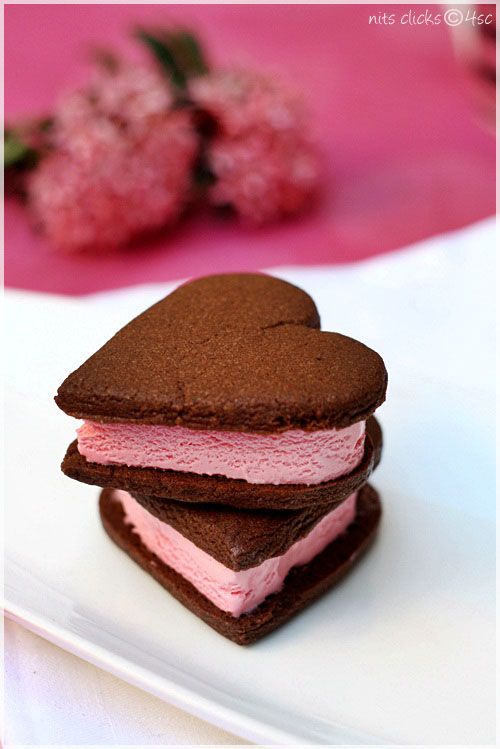
Ice cream sandwich was a long time dream for me. I wasnt sure how it would work out and was not even sure if it will be possible to bite comfortably.

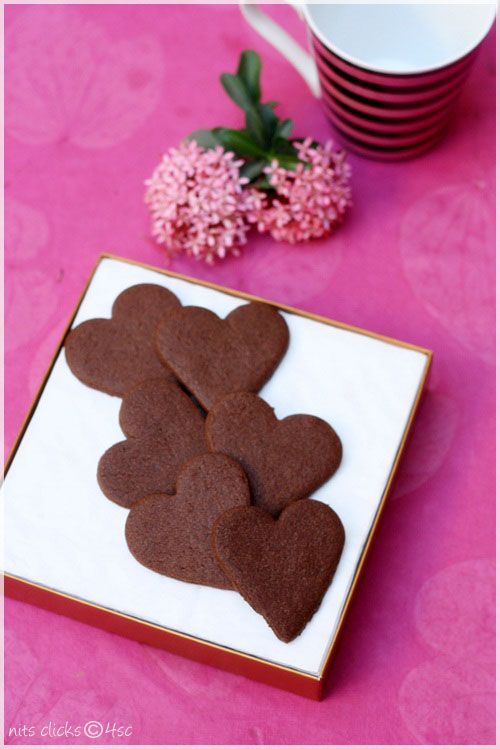
It worked out so well. The texture and look was stunning and surprisingly the cookies dint turn soft in the fridge and was super comfortable to bite along with the ice cream and eat :)

Bingo Success!!

Photobucket

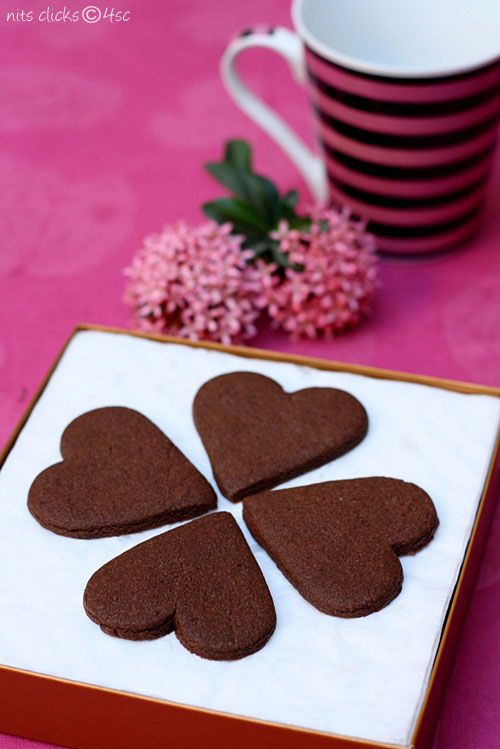
Eggless Chocolate Cookies Recipe:

Ingredients:

All purpose flour (Maida) - 80 gms
Baking powder - 1/4 tsp
Baking soda - 1/4 tsp
Cocoa powder - 20 gms
Butter - 50 gms
Powdered sugar - 50 gms
Water - 1 tblsp

Photobucket

Method:

Sift maida, baking powder, baking soda and cocoa powder together.

Chop butter into small chunks. Beat butter and sugar until light and fluffy.

Now add a tblsp of water to it and beat for few mins.

Add the dry ingredients mixture in two parts and beat in low speed until incorporated and rolls into a ball.

Now wrap the cookie dough in a cling film and refrigerate for 10 mins.

Preheat the oven to 180°C.

Remove the dough from refrigerator. Sprinkle some All purpose flour on your working surface and roll out the dough into a 1/4 inch thick rectangle. Use your cookie cutters to cut out shapes.

Place the cut out cookies on a baking tray and bake for 12-15 minutes at 180°C.

Let the cookies cool on wire rack for a while and store in air tight container.

Photobucket

Assembling the Ice cream sandwich:

Bake the cookies.

Place one cookie under side facing up on a plate.

Cut a small slice of ice cream of your choice and quickly cut the ice cream using your cookie cutter and place it on top of the cookie and sandwich another cookie on top and put it in the freezer for it to firm up.

Serve chill just out of the freezer :)

Photobucket

Sunday, January 1, 2012

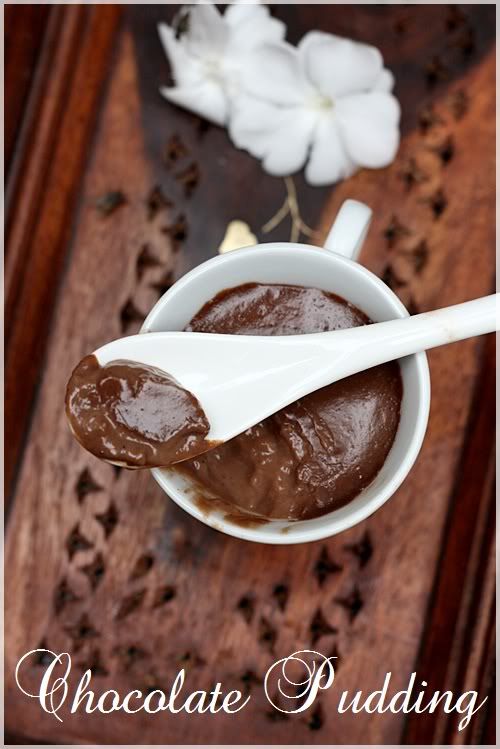
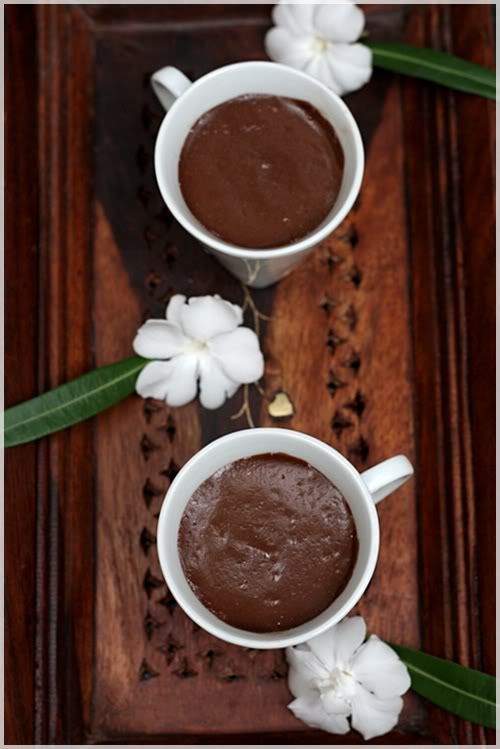
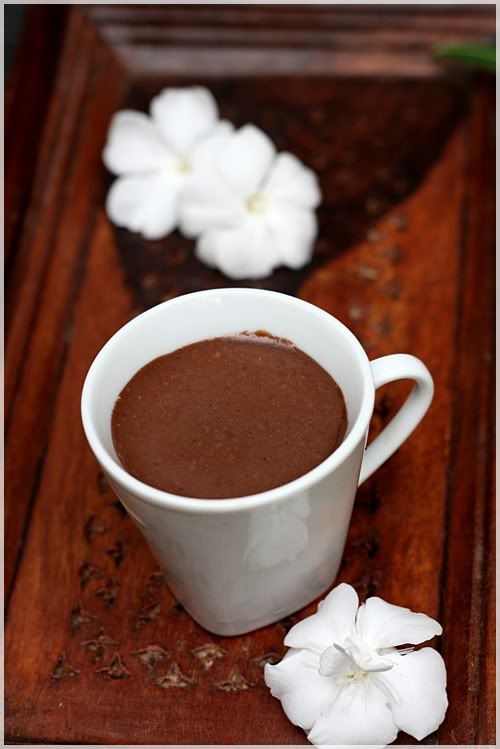
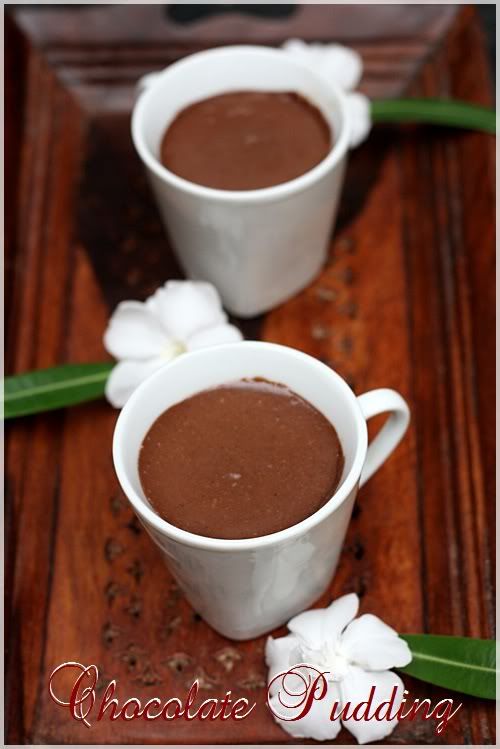
Chocolate Pudding - New year celebration

Chocolate pudding

Wish you all a very Happy New Year 2012

2011 was a very eventful year for me with loads of happy moments and good memories to keep rambling for a life time. Its so astonishing when I look back to note that the year passed by in a jiffy. It just feels like moments but 356 long days have gone. Oops!!

Hope you all had a lovely year too and may god bless us all with a fantastic year ahead :) Looking forward for an exciting 2012.

With this note, I am also happy to announce that I have put my laziness to sleep and have taken up Project 365 - A click a day project :) I will be posting a photograph a day in my new born blog - http://nitsclicks365.blogspot.com/ :) Hoping to entertain you all with pretty clicks.

I wanted to start the year with a sweet note and hence here is a simple chocolate pudding for you all.

The moment I saw this recipe on veggie belly, I bookmarked it and was waiting for an occasion to make this and new year was so apt to enjoy with chocolaty pudding. I had to make few changes in the recipe to get the right consistency, hence here is the recipe with my measurements :)

Chocolate pudding2

Ingredients:

Milk - 2 1/2 cups
Corn flour - 4 tblsp
Cocoa powder - 2 tblsp
Sugar - 1/2 cup

Chocolate pudding1

Method:

Sieve corn flour and cocoa powder together into a bowl. Pour 1 cup of milk(Room temperature) into the bowl and mix with a whisk until it blends well with the milk. Keep it aside.

Boil the remaining milk along with sugar and mix until the sugar melts. Now reduce the flame and pour in the chocolate milk mixture through a sieve into the boiling milk and keep stirring. Keep stirring on medium flame until it becomes thick and glossy.

Wash the cups or moulds and pour the pudding into the cups and set them in the refrigerator for 3 hours minimum.

Serve them chill :)

Chocolate pudding3

Tips:

See to that the milk is in room temperature before you mix corn flour and cocoa powder.

Pass the chocolate milk mixture through a sieve while pouring into the boiling milk to avoid it forming lumps.

Written by: Nithya
Send in your queries by clicking here.

Sunday, March 14, 2010

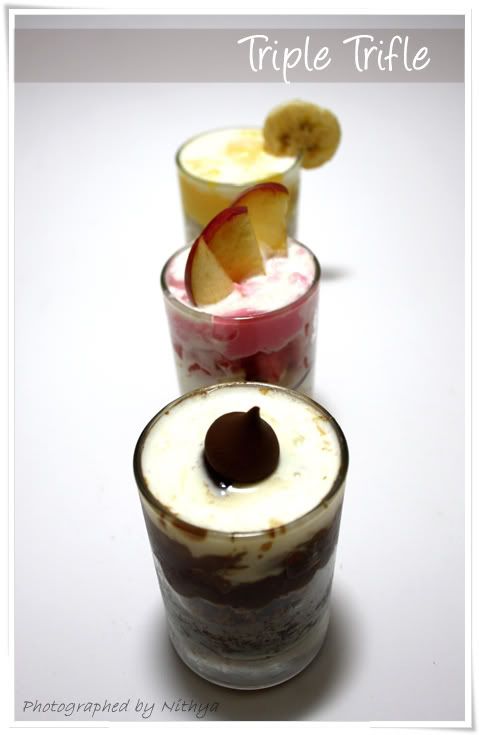
Blog's Birthday Celebration with Triple Trifle :)

Triffle Pudding2

Its a year's journey.. One of the best times I have ever had. My blog has given me an identity and now I know what I am passionate about. Its food and photography. :)

Is it just that??? No.. Blog has given me lots of very good friends and I am really feeling lucky about it. :)

Its definitely an occasion to celebrate and to thank my supportive family, very sweet blogger buddies and all my visitors and followers. Thanks a million people. Without your sweet gestures of comments, mails and awards, I would have not come this far. :)

Okay, whats up for the celebration??????

YES a new name to my blog - My blog has been baptized as Fourth Sense Cooking from its regional name Fourth Sense Samayal and now it has its own tail called .com :)


A new camera and new style of pics from now on. :)


A candy looking new dress for my blog as well. :) Pinky pink is my blogs favorite color :)


Last but not the least - Triple Trifle to celebrate it all. :)


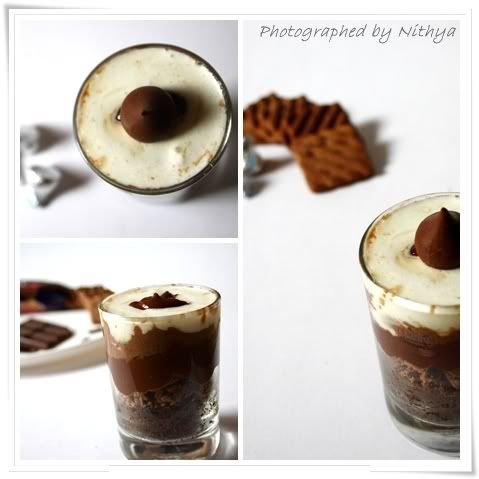
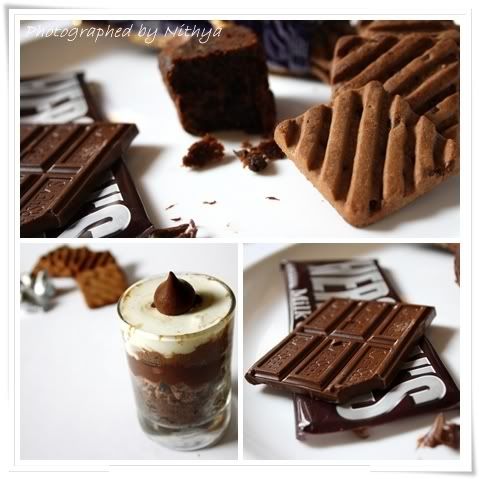
Chocolate Trifle
Triffle pudding8

Ingredients:

Chocolate cake/Fruit cake - 1 piece
Chocolate chip cookies - 3
Ganache - 2 tbl spn
Chocolate flavored custard - 2 tbl spn
Fresh cream - 2 tbl spn

Triffle pudding9

Method:

Take a glass tumbler and line it with a thin slice of cake. Now crumble the chocolate chip cookies and line it over the cake.(I used hide and seek biscuits).

Now melt half a bar of chocolate with 1 tsp of butter in a double boiler to make ganache. Top the cookie layer with the ganache.

Prepare the custard according to the instructions in the pack. I would suggest you to make the custard thick in consistency by adding less milk to it than required. Once done allow it to cool and then top the ganache layer with this custard. You can actually swap the ganache and custard layer order too.

Lastly add the sweetened fresh cream on top and place a chocolate to decorate it. :)

Chill and serve. :)

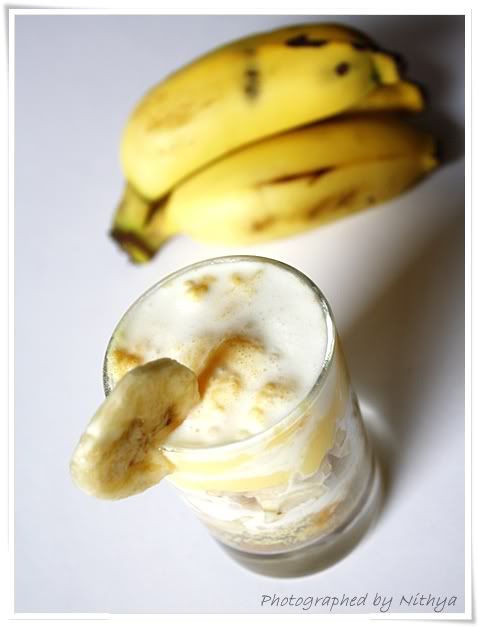
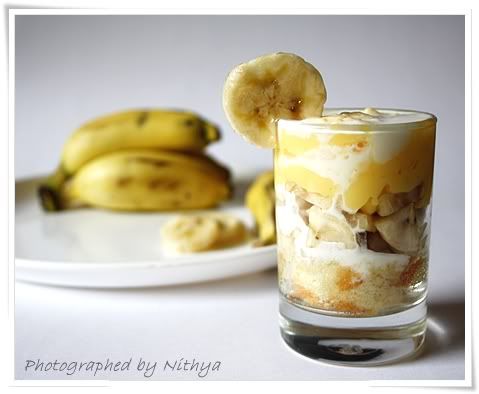
Banana Trifle
Triffle Pudding5

Ingredients:

Sponge cake - 1 slice
Honey - 1/2 tsp
Banana - 1
Vanilla flavored custard - 2 tblspn
Sweetened Fresh Cream - 2 tblspn

Triffle Pudding6

Method:

Take a glass tumbler or a bowl and line it with a thin slice of cake. Dilute the honey with some water and drizzle it over the cake to keep it moist. Now layer it with thinly diced banana.

Now make the custard according to the instructions in the pack. I would suggest you to make the custard thick, hence add less milk to it than required. Allow it to cool once done. Now add 2 tbl spn of it on the banana layer.

Finally add sweetened fresh cream on top and decorate with a slice of banana. :)

Chill and serve. :)


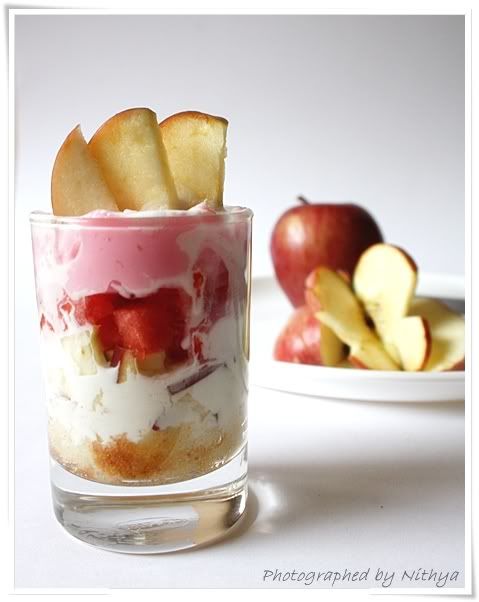
Apple Trifle
Triffle Pudding7

Ingredients:


Sponge cake - 1 slice
Apple - 1
Water melon - few pieces
Apple or raspberry custard - 2 tbl spn
Sweetened Fresh Cream - 2 tbl spn

Method:

The procedure is just like the banana triffle. :) Arrange them in layers and serve chill.

Happy making :)


Triffle Pudding1

Written by: Nithya
post your queries to fourthsensesamayal@gmail.com

Tuesday, February 23, 2010

Jello Mello :)


Jello Mello1

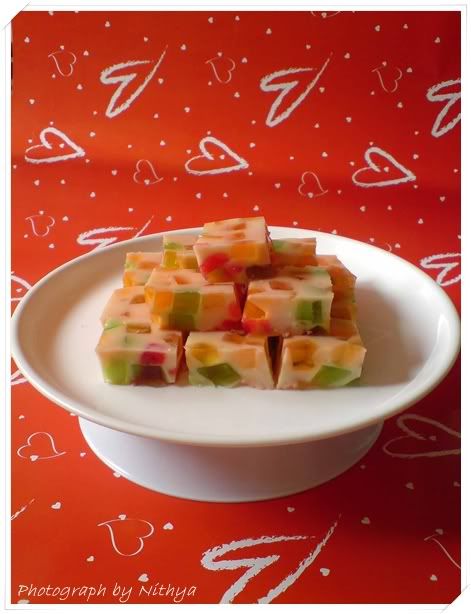
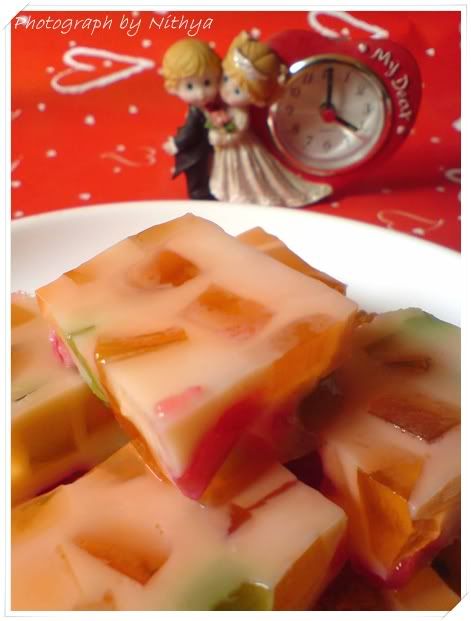
Jello Mello is a very interesting twist added to the easily made jelly that kids and kids by heart enjoy. :)

It looks pretty exciting and would make people take a second look and thought of how it was made before eating it. :)

I got this idea from a fellow blogger who calls herself "The Food Librarian" and she truly is one. Do visit her blog to see more exciting recipes.

This marble like looking delight was surely a hit at home. :) :) :)


Jello Mello


Ingredients:

Jelly crystals - 3 boxes of different flavors. (Brands could be REX, China grass, Weikfield etc.)
Milk maid(Condensed milk) - 3/4 cup
Water - 1 1/2 cups
Gelatin - 4 tsp(or as per the pack instructions)


Method:

Make jelly as per the instructions given in the pack. Use a little less water than what they ask you to use so that the jelly is a little firm to cut. Now set it in 3 different trays. I used raspberry, orange and lime. Leave it in the refrigerator over night or at least for 3 hours.

After chilling the three flavors, cut them into small cubes. Now mix them carefully in a larger pan(tray/mould) and keep it aside.

Now in a separate bowl, take 4 tsp of gelatin and dissolve it by adding 1/2 cup of hot water. (some brands of gelatin requires cold water to bloom and some ask for hot water. So proceed according to the pack instructions for this step).

Once it dissolves, add the remaining 1 cup of water and 3/4 cup of condensed milk to it and mix well.

Now pour the milk mixture over the mixed cubes of jelly and set over night in the refrigerator.

The condensed milk layer was suppose to be perfectly white in color. But the culprit orange jelly gave out its color to the white layer making it kind of dull orangish too. :( Anyways it tasted awesome so no issues about the color.

Cut them into desired shapes and serve. :) Happy making. :)

Note:

If you find vanilla flavored milk based china grass powder in the store you can very well use it instead of the condensed milk mixture to make this.

People who don't prefer gelatin in their food can substitute it with china grass.


Jello Mello2


Written by: Nithya
post your queries to fourthsensesamayal@gmail.com

Tuesday, February 16, 2010

Strawberry Ice Cream :)


Icecream6


I am still a kid by heart. I crave for ice-creams and would not mind living on it. :) (My dentist hates this wish of mine :( )

I am sure lot of you would say "Same pinch". I guess Ice cream is one of the dish that is available in every country and is liked by all ages.

When it is so much interesting, would it not be all the more interesting to make it at home by yourself?!!!!!

Here you go for the easiest method of making a lovely delight. :)


Icecream5


Ingredients:

Milk - 1/2 liter
Strawberry flavored custard powder - 1 pack(20 gms)
Sugar - 3/4 cup


Icecream1


Method:

Take the custard powder in a small cup and add 2 tsp of milk to it and mix it into a smooth paste. Keep this aside.

Now boil the remaining milk in a heavy bottomed vessel till it thickens to half its quantity. simmer the stove and add the sugar as well as the custard paste to the milk and mix well. Keep stirring for just two mins and switch off the stove. Transfer it to a bowl and let it cool for a while. Now leave it in the freezer for an hour or so. By this time the custard would have set and come to the right consistency.

Now take out the custard and blend it in mixie to a smooth paste again. Now transfer it back to a bowl and place it in the freezer for two hours. Once again take it out and blend it in the mixie and freeze it again. Repeat this process three time minimum. This would make the ice cream really creamy and smooth. :) Finally transfer it to the serving bowls and freeze it.

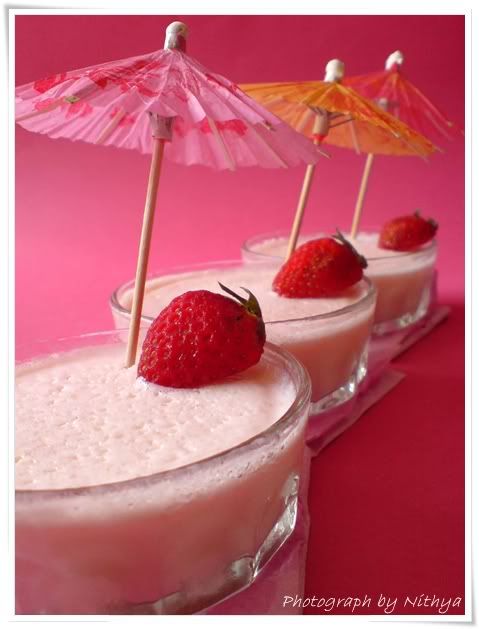
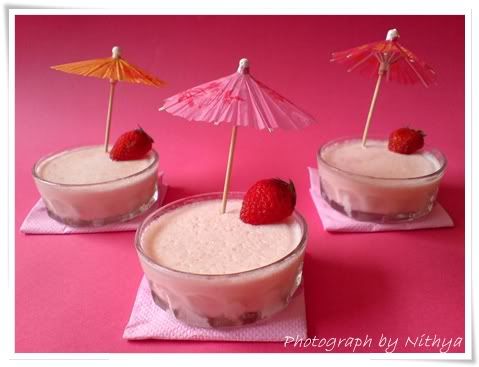
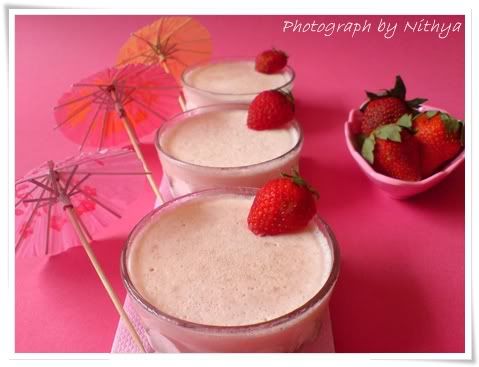
Decorate it with some strawberries and serve. :) Enjoy eating the chill delight. :)

Note: You can make loads of flavors in ice creams. Custard powder is available in store in more than ten flavors. So just make your choice and enjoy.

If you don't find your flavor ready at store, just use the plain custard powder along with food color and the respective essence to custom make it.

There is one more healthier choice. Just use plain custard powder along with a cup of the natural fruit pulp and make the ice cream. I am sure it would taste much more yummy this way. :)


Icecream2

Written by: Nithya
post your queries to fourthsensesamayal@gmail.com

Monday, May 25, 2009

Mango Pudding :)
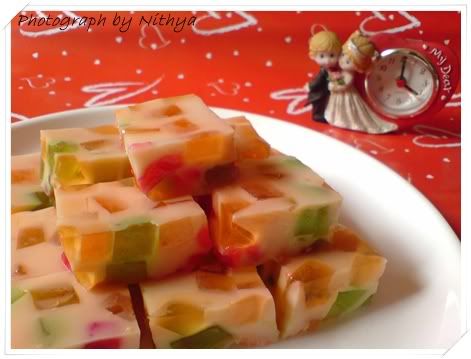


Alphonsa, Malgova, Banganapalli, Imampasand, Neelam, Nadusalai, Rumani ussssssssss I am exhausted. More than 100 varieties of mangoes are available says google!!!!! This info tempted me to make something with mangoes again. Yeah.....here is my version of Mango pudding. :)


Ingredients:

Mango pulp - 2 cups
Condensed milk(sweetened) - 3 tsp
Sugar - 5 tsp (depends on the sweetness of the mango)
China grass or gelatin - 2 tbsp
Honey

Cherries
water - 1/2 cup


Method:

Blend mango in blender to make the pulp. Now mix it nicely adding condensed milk to it and keep it aside.

Take the water in a bowl and add the china grass to it. Let this contents heat up till the china grass melts entirely. Add sugar to this and mix well. Finally simmer the stove and pour in the mango paste stirring continuously. Once the contents are mixed well remove if from flame and pour it in the prepared mold and refrigerate for at least an hour for it to set.

Yummy mango pudding is ready. Decorate it with cherries and a spoon of honey on top. :) Enjoy making, happy eating :)

I am happy to send this to 'Mango Mela' by Cooking for all seasons and also sending it to 'Food for 7 stages of life - In love with DDPI(15-24 yrs)' Event by Radhika Vasanth and Sudeshana.


Written by: Nithya
post your queries to fourthsensesamayal@gmail.com

Popular Posts

Flickr Photostream

www.flickr.com
nits food clicks' items tagged with nitsclicks More of nits food clicks'
Featured on Baking is Hot
my foodgawker gallery
Foodista Drink Blog of the Day Badge