Crispy corn and cup corn popped up instantly in my mind when I was trying to recollect all my favorite chaats.
Cup corn has been a recent entry to the road side stall chaats and most of you would have tasted and fallen in love with its taste. The simplicity of the dish is a special attraction to me. Ever since I found the secret behind the taste, I have been repeating it every time I buy corn :)
I have had Crispy corn as a starter in Mainland China restaurant, but the style of the dish can easily fall under chaat category also. I was totally bowled out by the idea when I had it for the first time itself and tried to formulate it myself at home and succeeded in making it as well. Yahooooo :)
Now these two styles of chaat have become my family favorites and especially the crispy corn is my grandma's favorite since she found it easier to chew :)
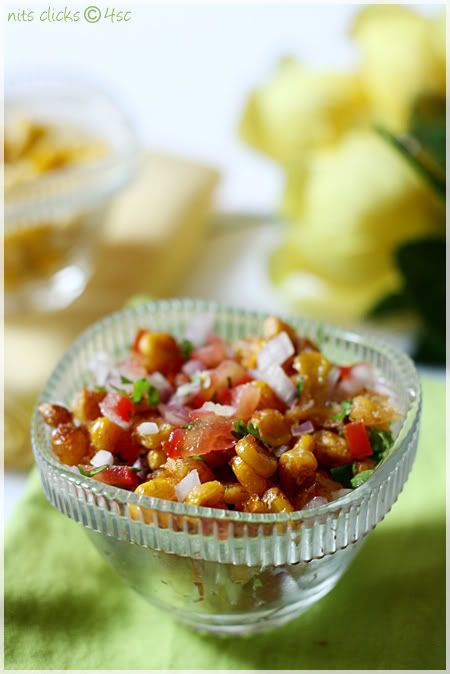
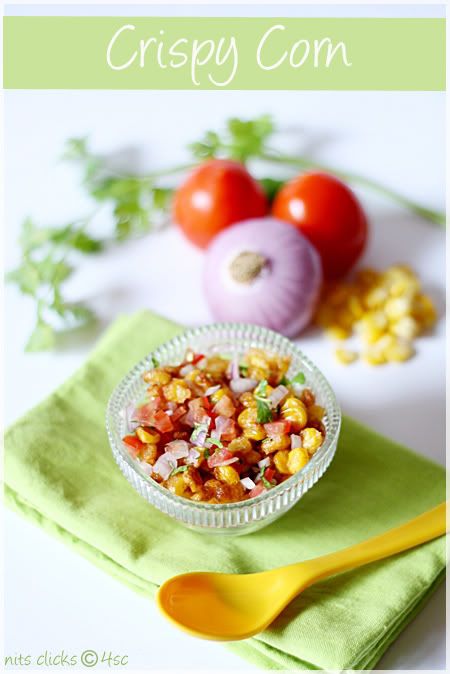
Crispy Corn
Sweet corn cobs - 2
Corn flour - 2 tblsp
Rice flour - 1 tblsp
Chilly powder - 1 tsp
Salt - for taste
Oil - for frying
Tomato - 1
Onion - 1
Coriander leaves
Lemon juice - 2 tsp
Chaat masala - 1 tsp

Method:
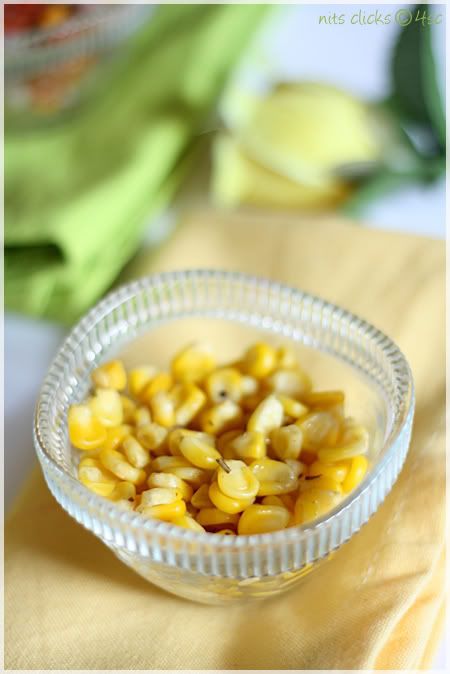
Pressure cook the corn cobs for about 5 long whistles in salt water.
Remove the cobs from water and shred the corn kernels and collect them on a flat plate.
Mix corn flour, rice flour, chilly powder and some salt together and sprinkle this mixture on the shredded corn kernels. Spray few drops of water and mix them nicely with your hand so that the corn kernels are coated nicely with the powders.
Heat oil in a wok and deep fry the corn kernels in medium flame until golden color. The corn kernels would become really crisp.
Once fried, collect them on a tissue to remove excess oil.
They might have got grouped together while frying, separate them using your hands.
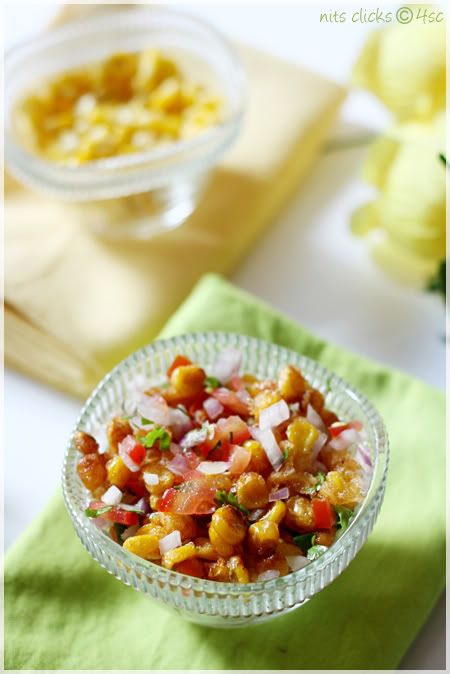
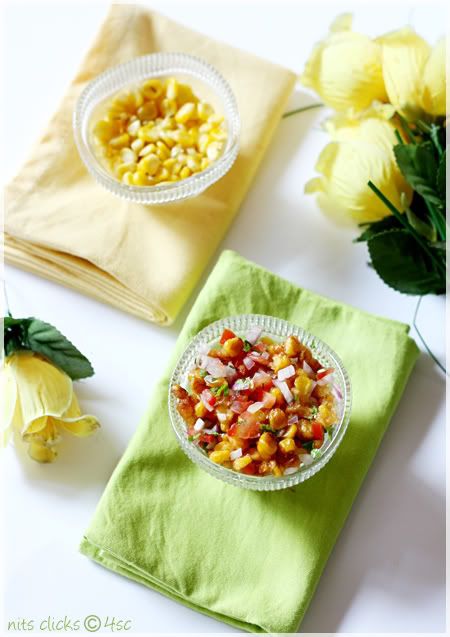
Chop onion, tomato and coriander leaves finely.
Now mix the chopped vegetables and the fried corn in a bowl. Add a pinch of salt, chaat masala and lemon extract and mix well.
Serve immediately :)
Enjoy the crispy, tangy and yummy corn chaat :)
Tips:
Do not add more than few drops of water while mixing in the rice and corn flour to the corn kernels. More water would cause you trouble while deep frying.
Serve it as soon as it is done. Eating it crisp is the punch of the dish.
You can use canned sweet corn as well.
Sweet corn is the best choice for these two chaats than the normal corns.
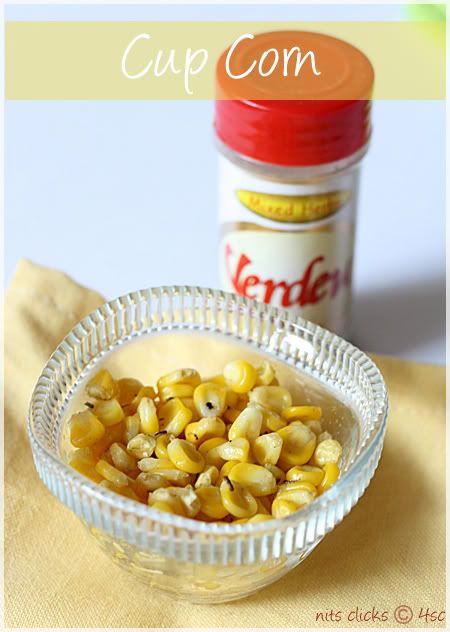
Cup Corn
Ingredients:
Corn cob - 1
Olive oil / butter / ghee - 1 tsp
Mixed herbs - 1 tsp
Salt - for taste
Method:
Pressure cook the corn cob in salt water for 5 whistles.
Remove the cobs from water and shred the corn kernels and collect them in a microwave safe bowl.
Add the butter, mixed herbs and salt to it and mix well.
Microwave at high for 30 seconds and serve it hot :)
Simple cup corn is ready to eat :)
Tips:
Mixed herbs are easily available in supermarkets. There are a wide choice of brands as well.
You can use the herbs of your choice to make different flavors of cup corn.
You can mix in spices like pepper or chilly powder to the cooked corn kernels too.


 Fondant Cakes
 Side Dishes (Subzi/Chutney)
 Lunch
Lunch Salads
 Chaat Items
 Sweets
 Product Review
 Kids Special
 Color Mania
 Mango Mood


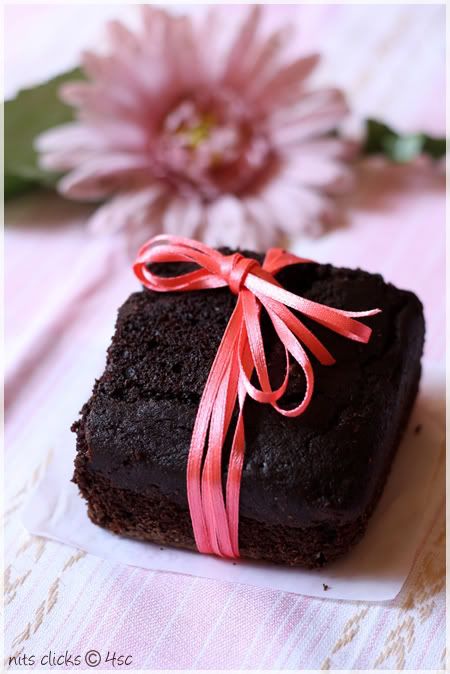
Fondant Cakes - 1
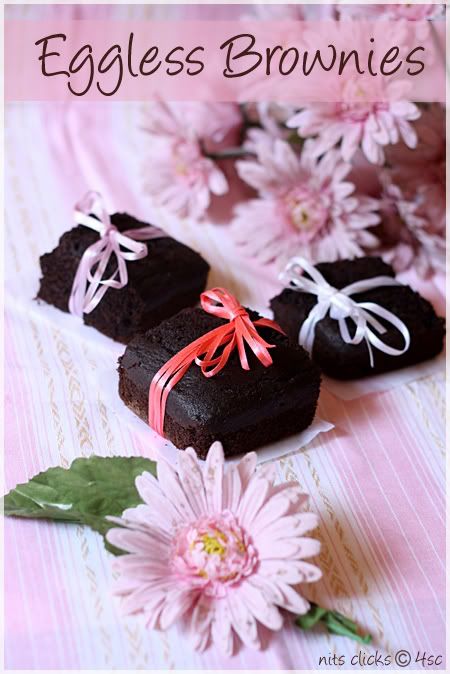
Fondant Cakes - 2
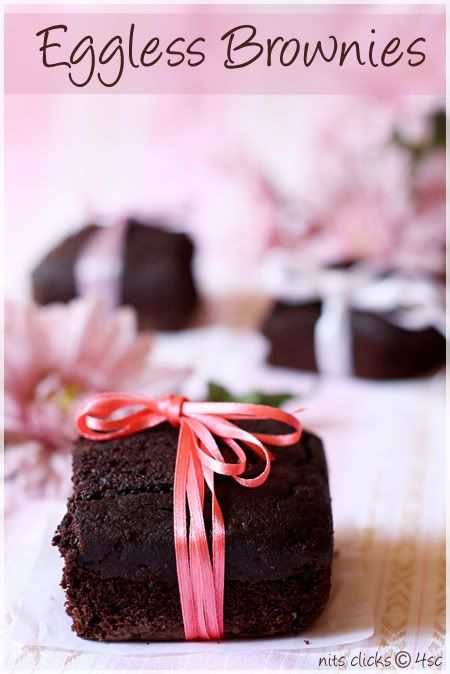
Fondant Cakes - 3
Fondant Cakes - 4