Showing posts with label Desserts. Show all posts

Monday, June 2, 2014

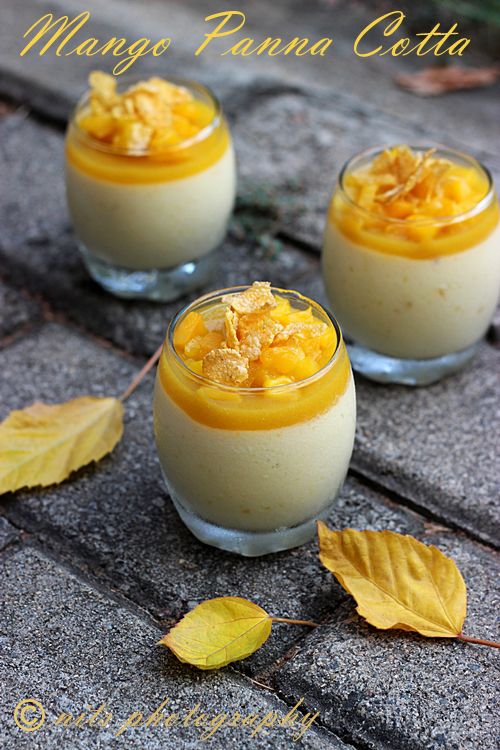
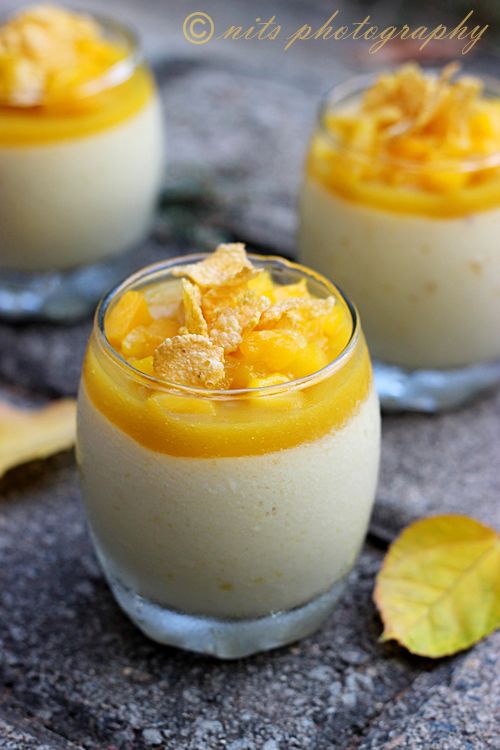
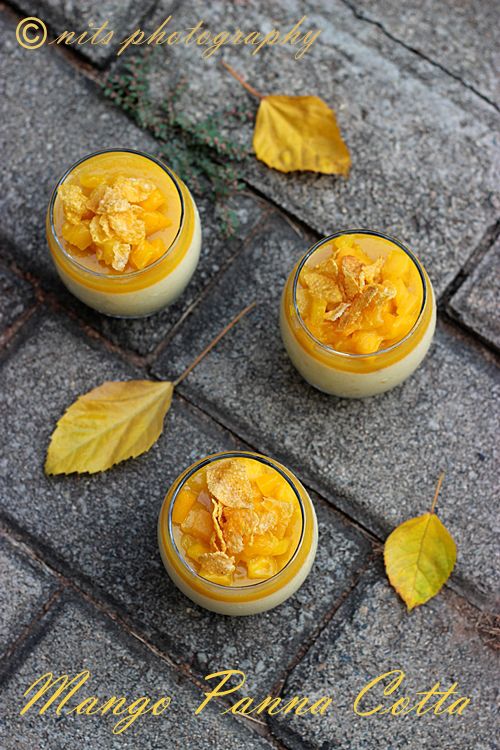
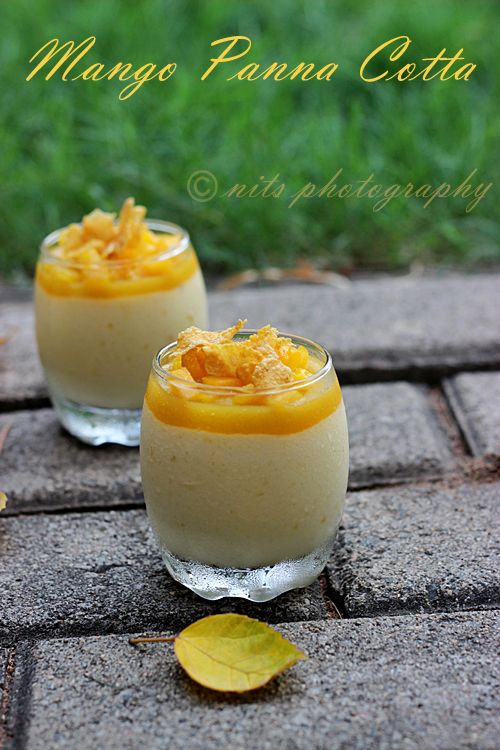
Mango Panna Cotta

 photo Mangopannacotta1_zps9dda9dd5.jpg

Mango mango everywhere and I love to eat them all! :) 

I love mangoes and cant just stop eating them. They dont get boring because of the vast varieties of mangoes available in the market :) Little sour, too sweet, subtle sweet, juicy etc. Though I like to eat it just as it is, the amount of mangoes at home demands me to make something with it to pep it up :)

Panna cotta is an Italian dessert with means cooked cream. It is my favorite dessert and when I had mangoes in hand, I quickly came up with version :) Slurp :)

 photo Mangopannacotta_zpsa14d793c.jpg

Ingredients:

Mango puree - 200 gms (1 large mango)
Milk - 100 ml
Sugar - 60 gms
Fresh Cream - 200 ml
Gelatin - 15 gms

 photo Mangopannacotta2_zps4be94441.jpg

Method:

Chop mango into large chunks and puree it in a mixie. 

Take milk, cream and sugar in a heavy bottomed vessel and heat on low flame until it boils. 

Meanwhile take the gelatin in a microwave safe bowl and add 50 gms of water to it and soak it in water for two mins and then microwave it for a minute for it to melt completely. 

Reserve 4 tblsp of mango puree in a bowl and also reserve 1 tblsp of melted gelatin in a separate bowl.

Now add the mango puree to the cream mixture and mix well until it is well blent and smooth. Allow it to cool down a bit. 

Spoon the mango panna cotta into serving glasses or moulds. Set it in the fridge for 2 to 3 hours. 

After a couple of hours mix the reserved mango puree with the reserved gelatin and spoon it over the already set panna cotta to achieve the top mango glee. 

Set it again in the fridge for few hours and serve chill :)

Spoon some chopped mango pieces and corn flakes for crunchiness before serving!

 photo Mangopannacotta3_zps8f605ec7.jpg

Written by: Nithya
Send in your queries by clicking here

Thursday, February 6, 2014

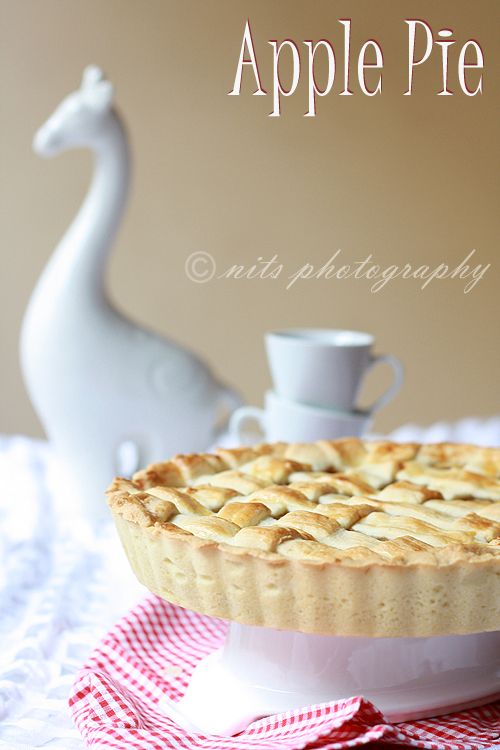
Apple Pie

 photo Applepie2_zpse1bcf865.jpg

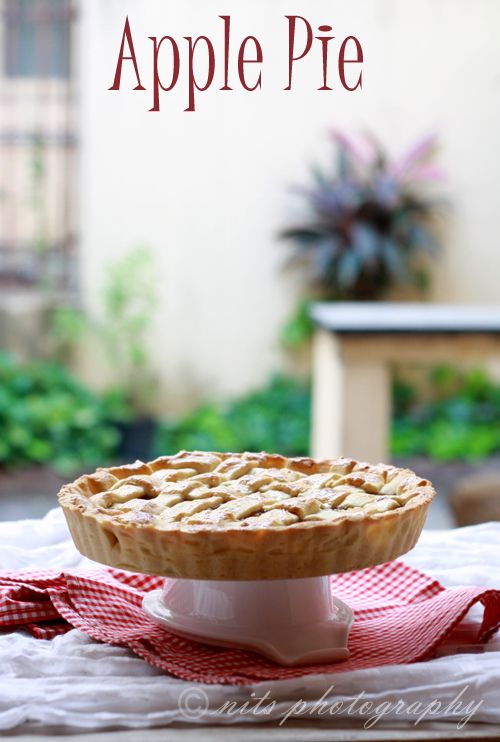
Apple pie for dessert can keep your stress away! How about that new saying!! LOL :P but it did for me. Things have been a bit busy and stressed in life for me and I am trying to break them all by baking some goody godly stuff now and then. This one for sure was a hit and made my day!

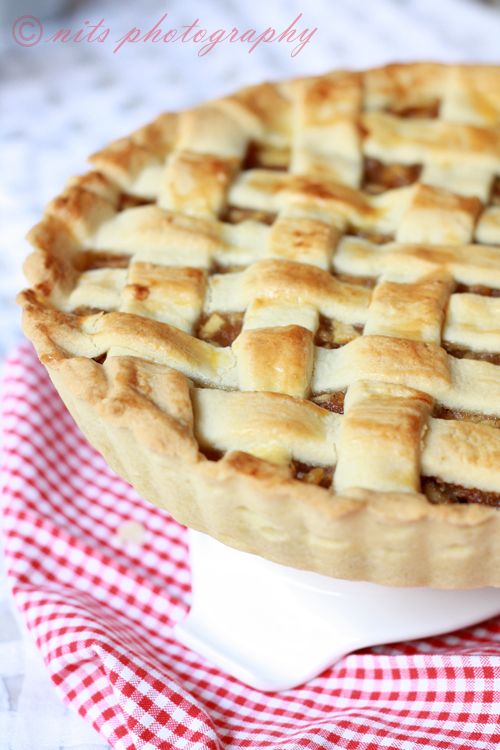
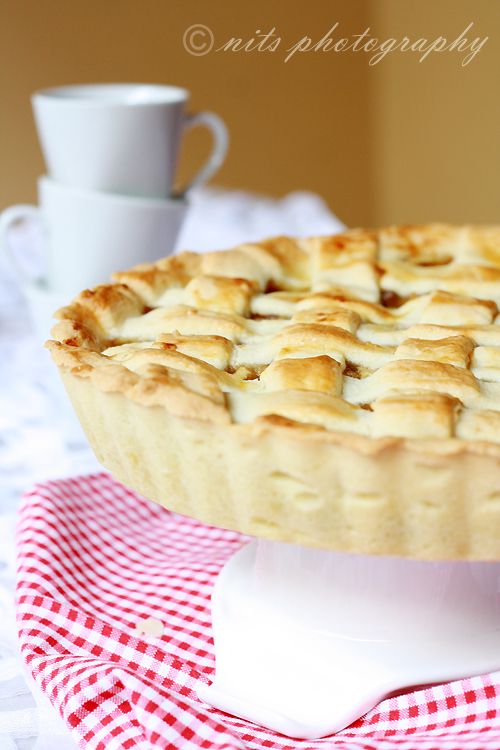
The completely warm and delicious dessert can for sure melt hearts and make you say a mmmmmm :) Its actually pretty easy to make to and wouldnt fail. Ofcourse the lattice strip pattern part is a bit challenging for beginners, its still worth a try and looks pretty decent and who cares if it taste all so great :P

 photo Applepie1_zps5029b62f.jpg

Ingredients:

For Sweet pastry dough:

Maida - 360 gms
Icing Sugar - 180 gms
Butter - 180 gms
Eggs - 72 gms

For Apple filling:

Apples - 3
Brown sugar - 4 tblsp
Butter - 4 tblsp
Cinnamon powder - 1 tsp
Cake crums - 1/2 cup

 photo Applepie3_zpsd049982d.jpg

Method:

Pastry dough:

Take the maida and icing sugar in a mixing bowl. Chop the cold butter into small chunks and drop them into the bowl. Put your hands into work and mix them until it resembles crumbs. 

Now add the beaten egg and work quickly to bring them all together into a dough. Dont work too much on it. Just mix it all and bring them together. Cling wrap and chill for an hour. 

Apple filling:

Peel and chop apples into small pieces. Take in a large pan and add the sugar and butter to it. Mix well until the sugar melts and the apples get cooked a little. Now add the cinnamon powder and cake crumbs and mix well. Remove from flame and allow it to cool. 

Roll the pastry dough into a large circle of 1/4 inch thickness. Carefully line the pie base and cut the extras. Poke holes on the base using a fork. 

Now spoon in the filling on the pie base and spread evenly. 

Roll remaining pastry, cut into 10 strips, each about 1/2 inch wide. Place 5 strips across filling in pie plate. Weave a cross-strip through by first folding back every other strip of the first 5 strips. Continue weaving, folding back alternate strips before adding each cross-strip, until lattice is complete. Trim ends. 
Egg wash the pie. 

Preheat the oven to 350°F or 180°C. 

Transfer the batter to the baking pan and bake at 180°C for 45 - 50 mins or until the pie looks golden brown. 

Serve warm and enjoy eating :)

 photo Applepie_zps07c449e9.jpg

Written by: Nithya
Send in your queries by clicking here

Wednesday, January 29, 2014

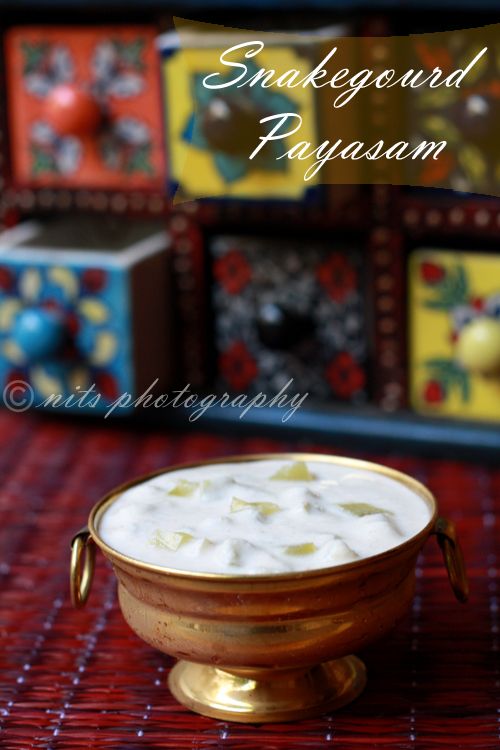
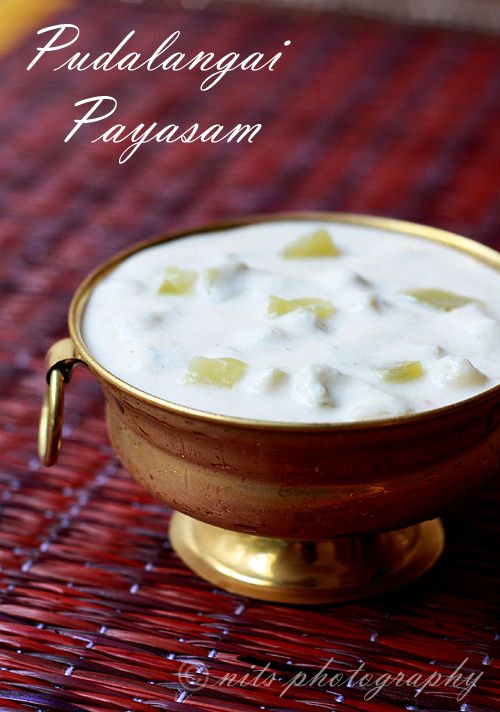
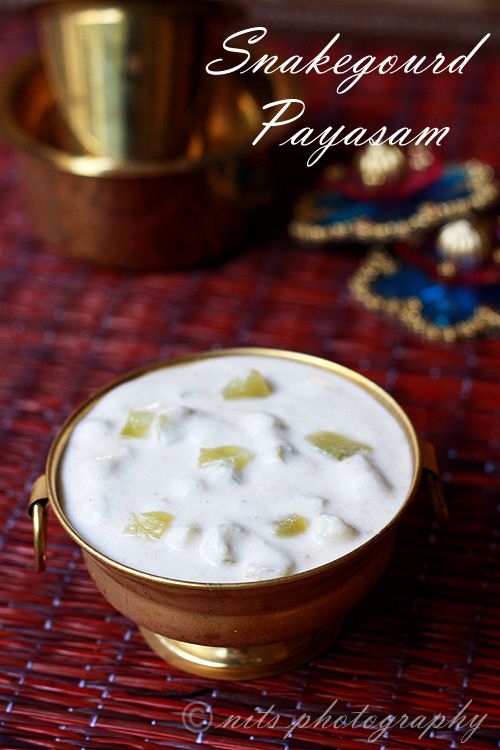
Snake gourd Payasam / Pudalangai Paayasam

 photo Snakegourdpayasam6_zps7e94edcb.jpg

Have you ever licked your spoon or even the bowl after a dessert??!!!! I did for this one!! :P

Making sweets with vegetables is a classic touch to our Indian cooking. We have the pumpkin halwa, Carrot Halwa, Carrot kheer etc.. The list goes on. 

One of such classic delicious dessert is the snake gourd payasam. This payasam is so creamy and rich with ingredients that it doesn't just get boring. Snake gourd and bottle gourd being subtle watery vegetables can be used to make this delicious dessert and I am sure you and your family would love it just as much as we did :)

 photo Snakegourdpayasam4_zpsad46bc9c.jpg

Ingredients:

Snake gourd (Diced) - 2 cups
Poppy seeds - 2 tblsp
Coconut (scrapped) - 1/2 cup
Rice - 2 tblsp
Cashew nuts - 1/4 cup
Milk - 3 cups
Sugar - 1 cup
Ghee - 2 tblsp

 photo Snakegourdpayasam5_zps1cb12e5d.jpg

Method:

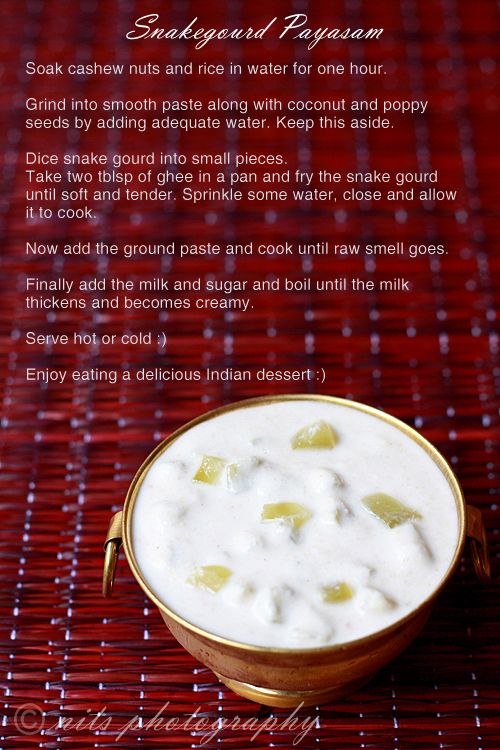
Soak cashew nuts and rice in water for one hour. 

Grind into smooth paste along with coconut and poppy seeds by adding adequate water. Keep this aside. 

Dice snake gourd into small pieces. Take two tblsp of ghee in a pan and fry the snake gourd until soft and tender. Sprinkle some water, close and allow it to cook. 

Now add the ground paste and cook until raw smell goes. 

Finally add the milk and sugar and boil until the milk thickens and becomes creamy. 

Serve hot or cold :)

Enjoy eating a delicious Indian dessert :)

 photo Snakegourdpayasam2_zps0afb13ed.jpg

Written by: Nithya
Send in your queries by clicking here

Wednesday, November 13, 2013

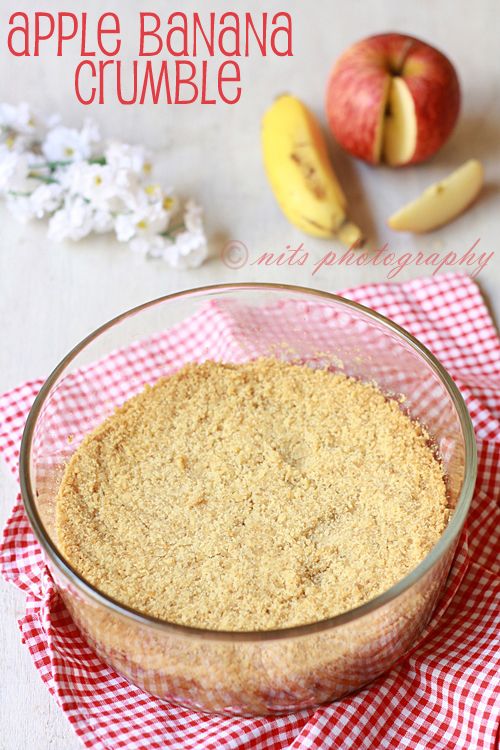
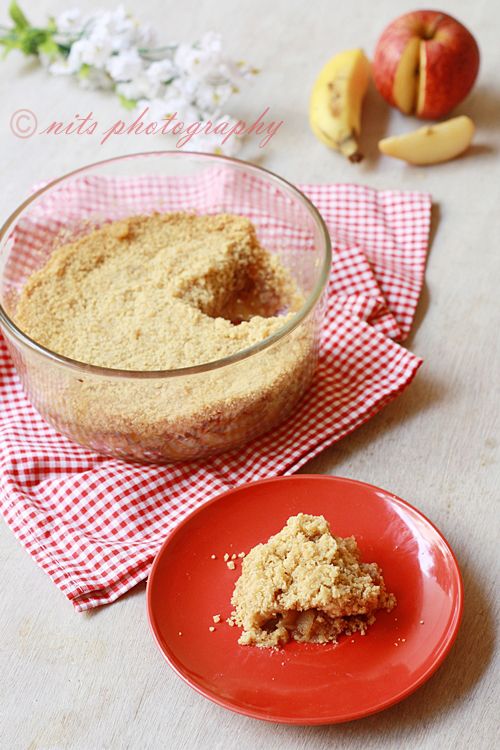
Apple & Banana Crumble

 photo Applebananacrumble_zps72fe887b.jpg


Baking is curing!! I am sure those who bake and love to bake would accept to my point :) 

I was so bored yesterday and felt a lot week and tired because of soar throat and cough. All of a sudden I just wanted to shed all my laziness and do something. I picked up a very simple recipe that my mother had noted down from a magazine printed in early eighties :) Wow!!! Crumble recipe was popular back then?!!! I was pretty surprised to see the recipe that early in and Indian magazine and couldn't resist trying it out. It was a super simple recipe and for sure super duper delicious :)

Its a no fail recipe and sure to attract all at home :)

 photo Applebananacrumble1_zps9ac0999f.jpg

Ingredients:

Apple - 2 cups (Chopped)
Banana - 1 cup (Chopped)
Cinnamon powder - 1 tsp
All purpose flour (Maida) - 1/2 cup
Brown sugar - 1/2 cup
Cold butter - 3 tblsp

 photo Applebananacrumble2_zps5ed42e42.jpg

Method:

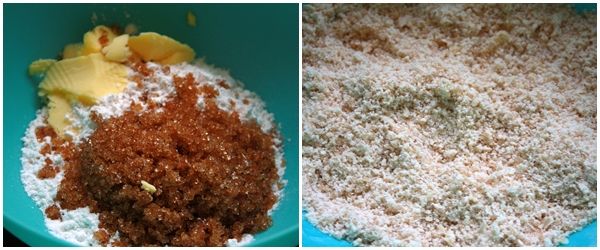
Step 1: Sift the all purpose flour into a mixing bowl. Mix in the brown sugar to it. Now chop and drop in the cold butter. 

Step 2: Mix it with your fingers to make it into crumbs. Keep this aside. 


 photo step1_zpsf58ee838.jpg

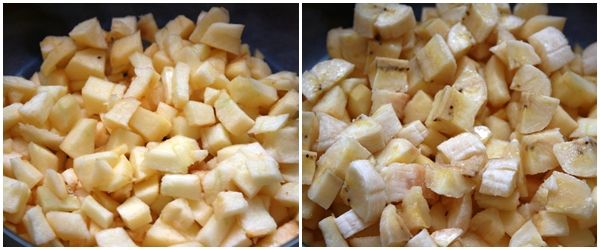
Step 3: Chop the banana and apple into small pieces

 photo step2_zpsadf65fd0.jpg

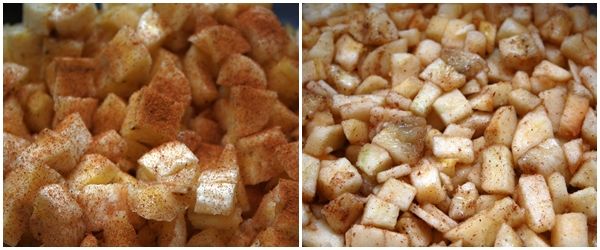
Step 4: Sprinkle the cinnamon powder and mix well. 

 photo step3_zps498a241d.jpg

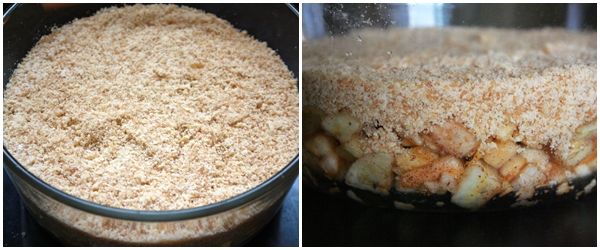
Step 5: Line the baking tray with the apple banana mixture first and press down gently. 

Step 6: Pour the crumbs made earlier on top of the apple layer and press down very gently to get a even top. 

 photo Step4_zps3112a1bf.jpg

Step 7: Preheat the oven to 180°C for 30-35 mins or until the crumbs turn golden brown in color. 

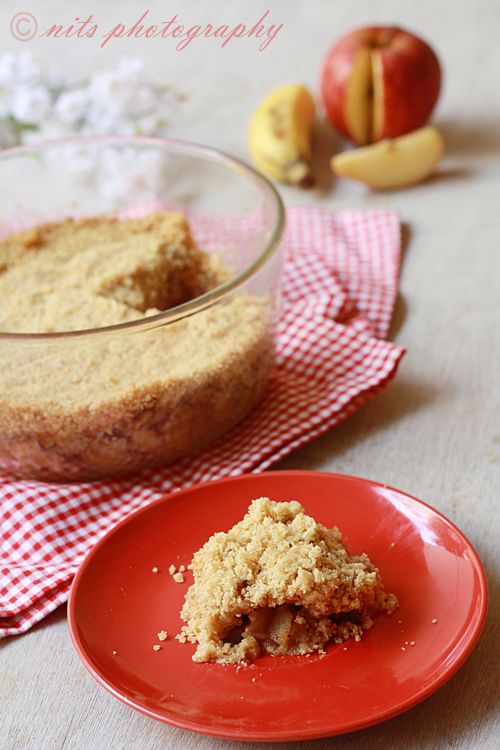
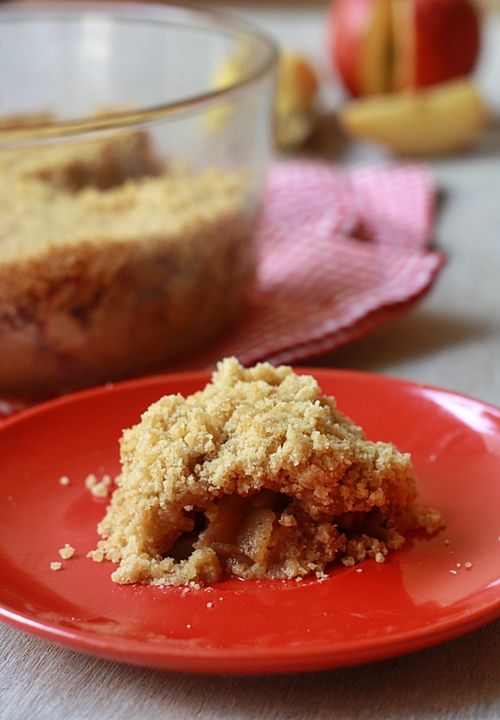
Cut and serve :) I wasnt able to cut it into perfect wedges, but who cares when it delicious. 

Enjoy eating it warm along with ice cream or custard. 

 photo Applebananacrumble3_zps92cb10de.jpg

Written by: Nithya
Send in your queries by clicking here

Friday, April 13, 2012

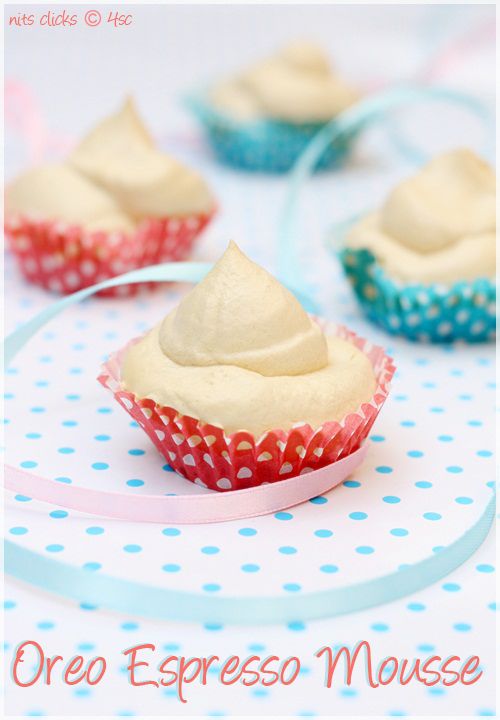
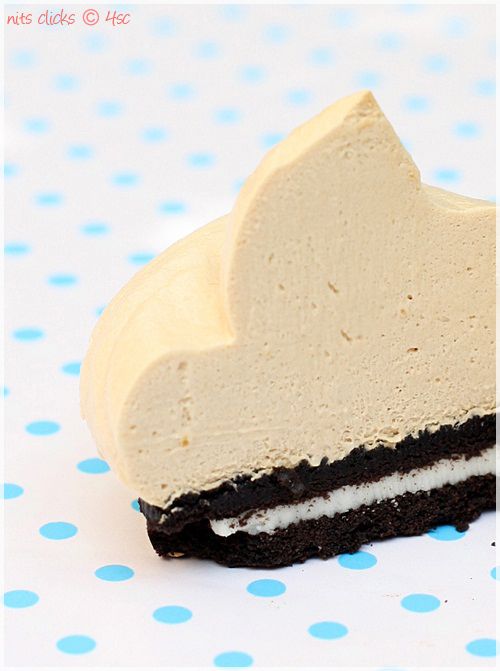
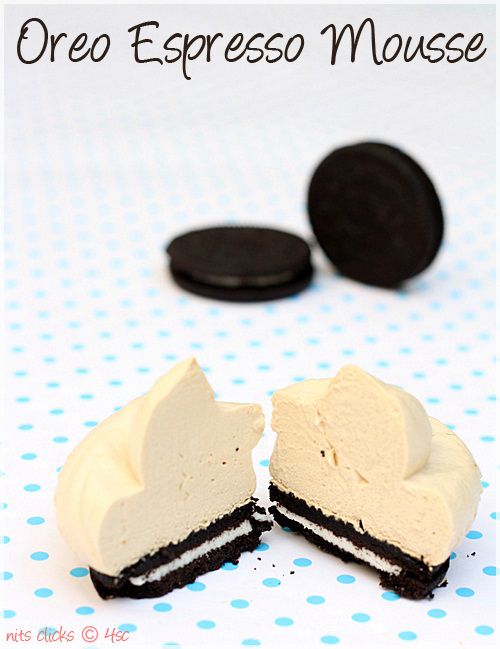
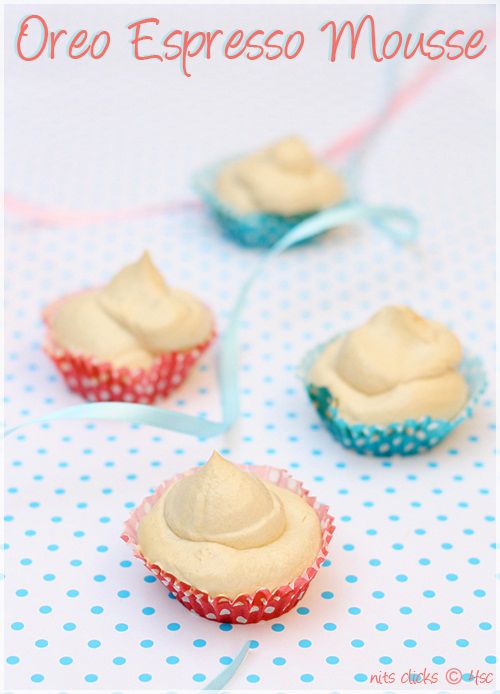
Oreo Espresso Mousse - Million Hits Celebration

Photobucket

I'm getting back to normal from my sickness and yes I have a reason and a medicine that cured me to let you all know :) Its nothing but the motivating MILLION hits (plus more) that have been registered for my little baby blog - www.4thsensecooking.com :) I'm definitely in for a happy feet dance for this :) Hoooorey!!

Many thanks for all the pairs of eyes that viewed my blog and the pairs of hands that appreciated me in the form of comments :)

I have been waiting to celebrate and mark this occasion in my blog and its going to be today with this little dessert that I created :)
Photobucket

I have fallen for Oreo cookies ever since it was introduced and wanted to include them in my dessert. Mousse became our family favorite after the triple chocolate mousse that I made. So I came up with a combination of both in a cute bite-able dessert form :)

I'm sure you too will fall for it :)

Photobucket

Ingredients:

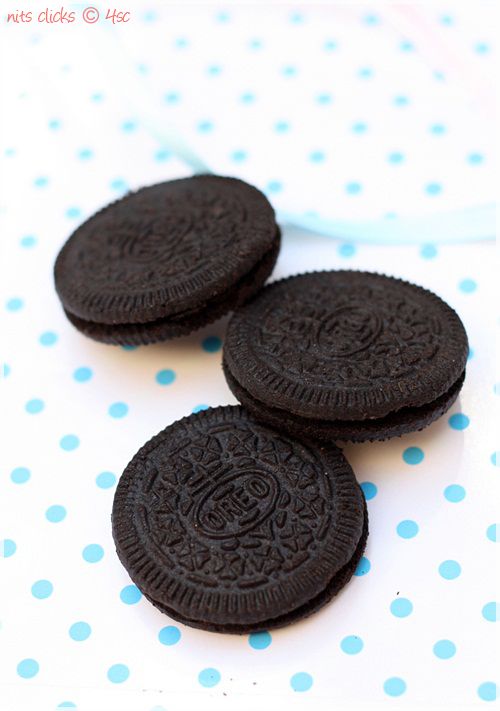
Oreo cookies - 1 pack
Whipping cream - 2oo ml
Sugar - 50 gms (skip if your cream is sweetened)
Espresso - 10 ml
Gelatin - 1 tblsp

Photobucket

Method:

Take the gelatin powder in a microwave safe bowl and add 2 tblsp of water to it. Microwave this for 30 seconds or until it melts completely. Keep it aside.

Whip the cream until stiff peaks form. Fold in the sugar(optional) and espresso slowly until well blent. Now mix the melted gelatin.

Fill the whipped espresso mousse into a piping bag.

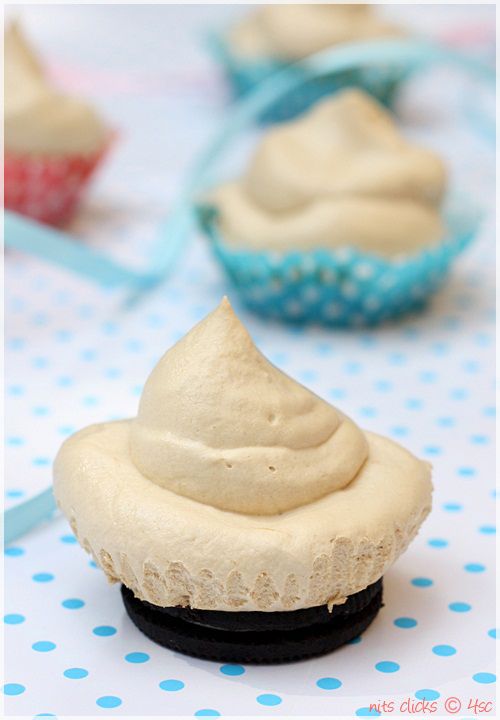
Place one oreo cookie each in cup cake liners. Now pipe swirls of coffee mousse on top of the cookies.

Set them in the fridge for at least an hour and serve chill.

Enjoy biting into a coffee & chocolate cookie dessert :)

Photobucket

Tips:

Do not beat the cream after you add the espresso to it. Just fold in gently and pipe them.

Remove the cup cake liner gently and hold the mousse with the cookie and bite in :)

Photobucket

Written by: Nithya
Send in your queries by clicking here.

Thursday, April 5, 2012

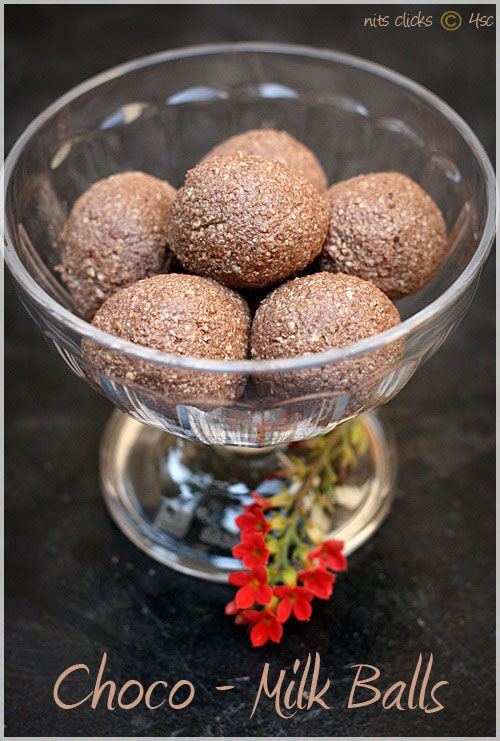
Choco Milk Balls - A quick fix

Photobucket

Do we ever exclaim or jump in joy if something gets spoilt!!!!!! NOOOOO is the answer isn't it.

But I do. I celebrate and enjoy when milk curdles :)

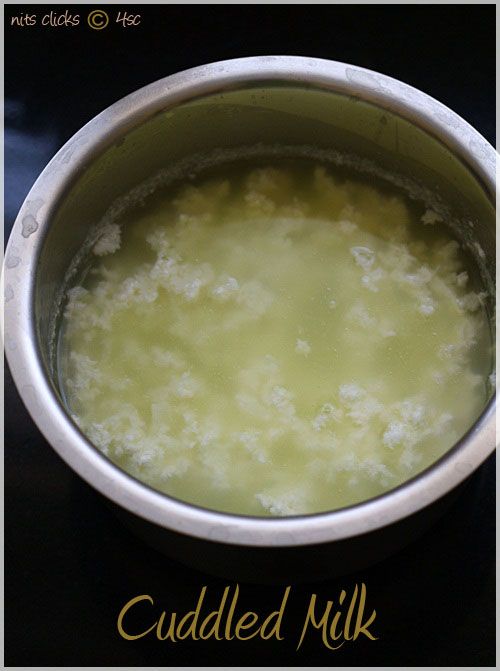
Its summer time and power cut schedules are haphazard that we really cant plan to boil milk and preserve them properly. Last week, it so happened that a pack of milk curdled while boiling and what a sweet psycho was I to smile wide with sparkling eyes! :)

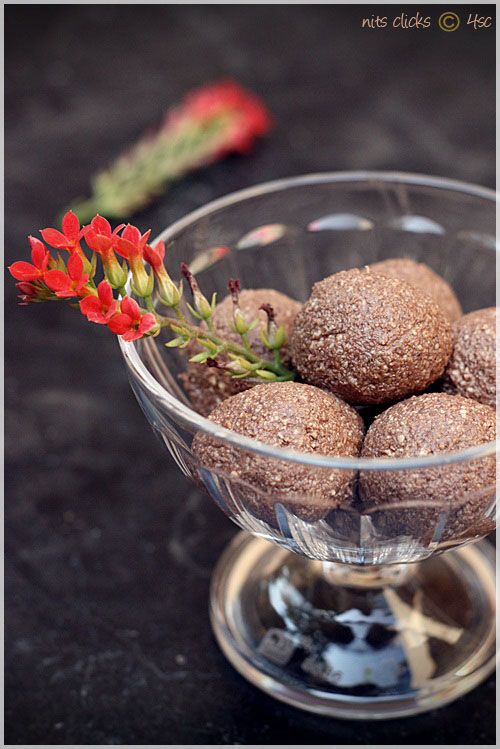
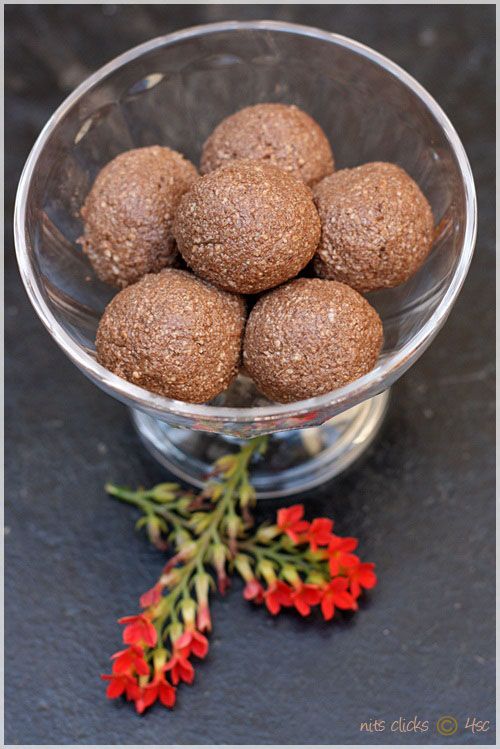
Days back mom used to add sugar to the curdled milk and make a khova kind of sweet and give me and thats when I started loving it. Now the chocolate lover and the 4th sense cook in me hinted an instinct to add cocoa powder to it and roll them into balls to make them as interesting as possible :) Ummmmmmmm simply delicious :)

Photobucket

Ingredients:

Milk(Curdled) - 1/2 ltr
Sugar - 4 tblsp
Cocoa Powder - 2 tblsp

Photobucket

Method:

Once you find your milk curdling, just jump in joy to make this interesting dessert :)

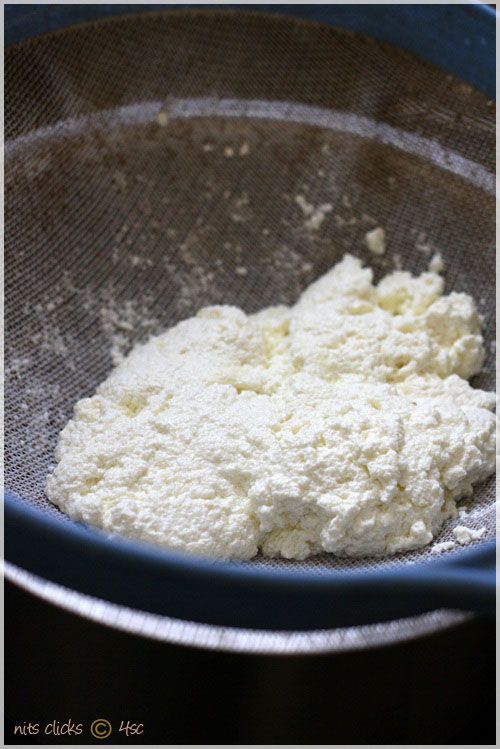
Pass it through a sieve and collect the cuddled milk.

Take it in a pan and add sugar and cocoa powder. Mix well and cook on medium flame until it becomes thick and rolls into a balls.

Remove from flame and allow it to come to room temperature.

Pinch small portions of it and roll it into balls and refrigerate.

Enjoy eating choco milk ladoos :P

Photobucket

Tips:

If you desperately want to make these choco - milk balls, boil milk and when it starts to raise, simmer the stove and add a tsp of lemon juice. The milk will curdle immediately and you can make this dessert as per the instructions above :)

Do not throw the whey water once you filter the curdled milk. Collect it and use it for making chapathi dough. Chapathis would turn out to be really soft this way :)

Photobucket

Written by: Nithya
Send in your queries by clicking here.

Monday, February 27, 2012

Sizzling Sundae

Photobucket

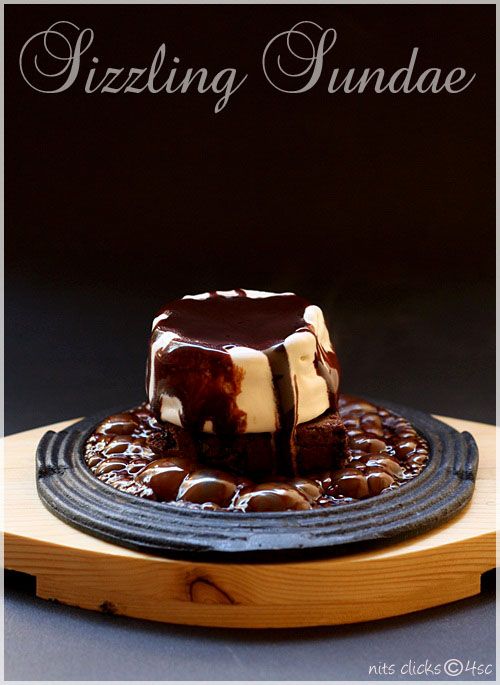
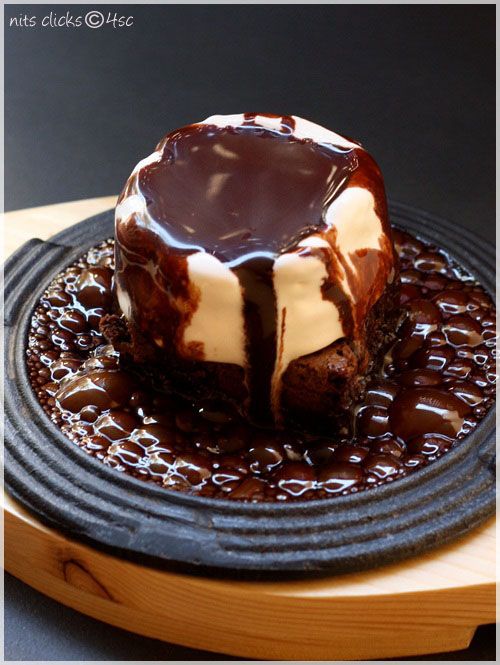
Here it is... The delicious and exciting dessert that I made with my brownies :)

Sizzling sundae or Hot fudge sundae is a sizzling hot cake on a hot plate topped with chill ice cream and chocolate sauce :)

The sizzle and smoke would give you an adrenalin rush for sure :)

Though it looks like a fancy dish served at restaurants, its pretty simple to make at home and the satisfaction and praise that you get for making it from scratch is priceless :)

Making sizzling sundae for dessert would be the best choice to give a most memorable dinner party for your invitee :)

Photobucket

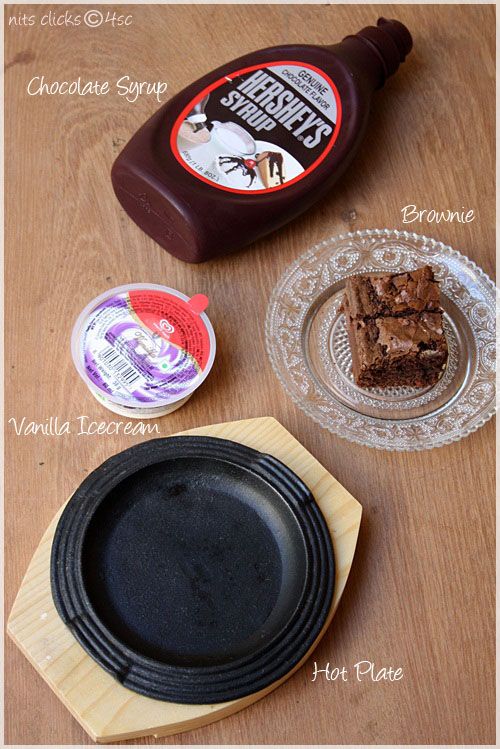
Ingredients:

Hot plate (Sizzlers plate)
Brownie
Vanilla Ice cream
Chocolate sauce
Nuts (optional)

Method:

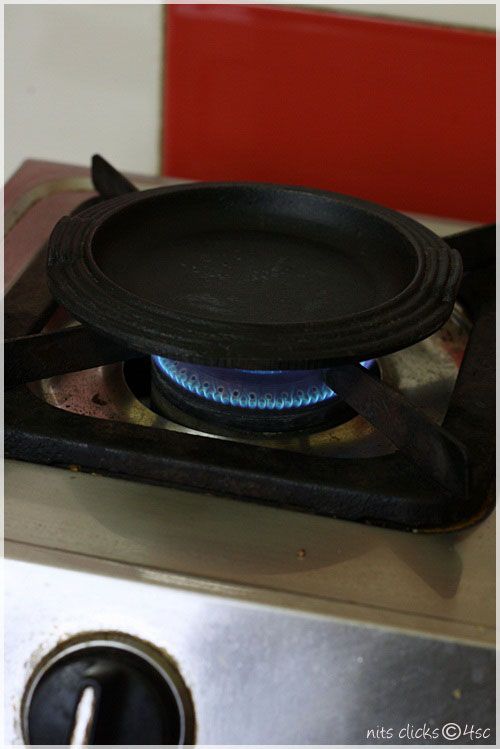
Step 1: Remove the hot plate from the wooden base and heat it over the stove for 5 mins.

Photobucket

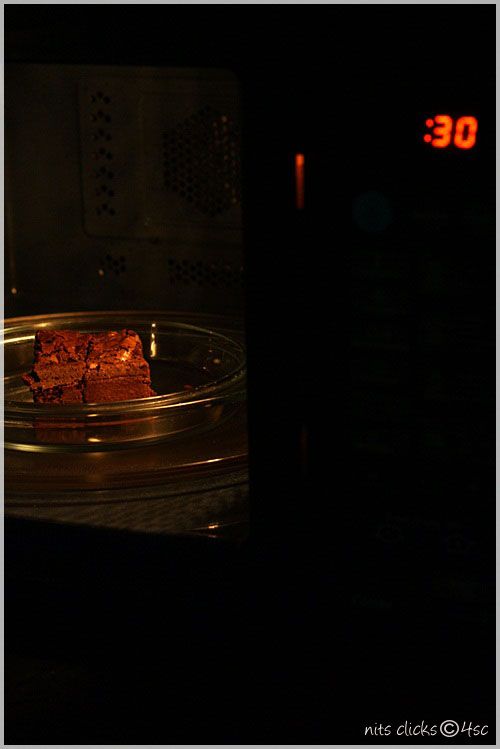
Step 2: Microwave the brownie on high for 30 seconds.

Photobucket

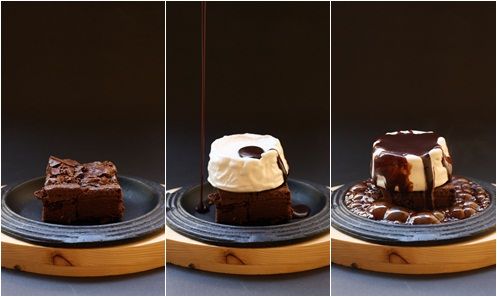
Step 3: Remove the hot plate from the stove wearing your gloves and place it on the wooden base. Be careful, its going to be super hot!!!

Step 4: Place the hot piece of brownie on the plate.

Step 5: Scoop out vanilla ice cream and place it on top of the brownie.

Step 6: Pour the chocolate syrup on top of the ice cream and around the brownie.

Step 7: Enjoy watching the syrup sizzle and bubble up.

Step 8: Quickly grab your spoon and dig in until it is all done :P

Photobucket

Tips:

Top it with some nuts if you wish to.

Do not heat the sauce. It would thicken up and will not flow.

Pour the sauce just before you serve. The sizzle will last only for 5 mins. ;)

Photobucket

Written by: Nithya
Send in your queries by clicking here.

Wednesday, February 22, 2012

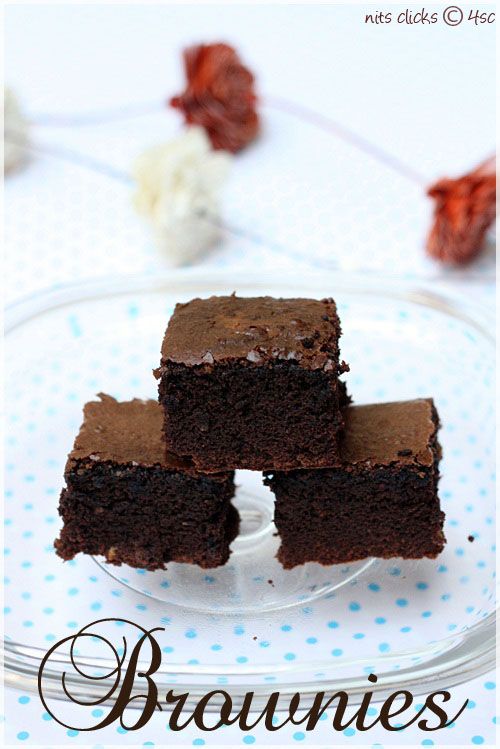
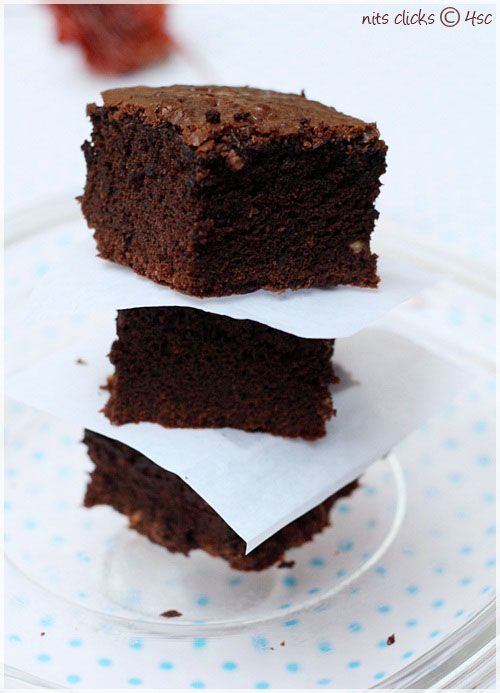
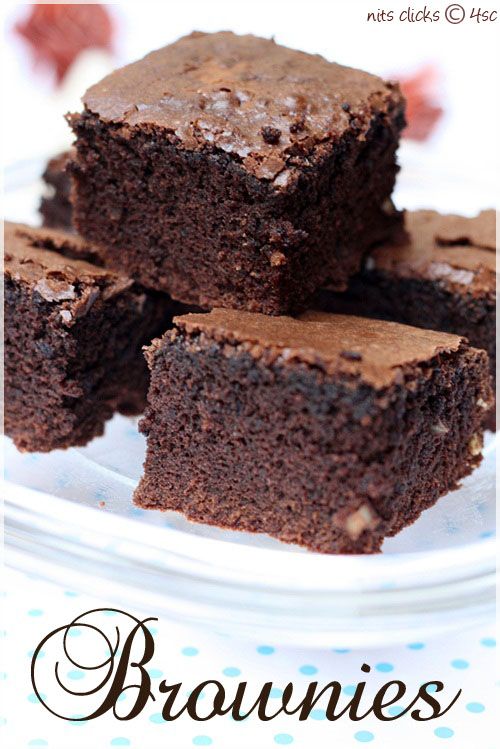
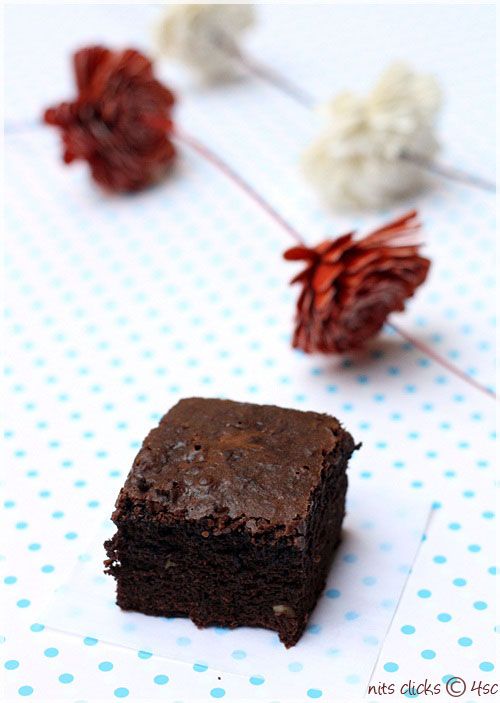
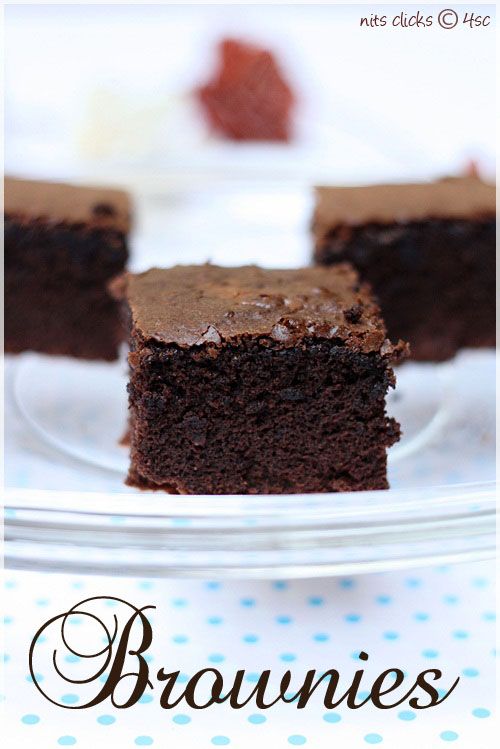
Brownies - Sinfully Delicious!

!Photobucket

Our chocolate loving family with no-doubt loves Brownies too :)

I had bought a pack of dark chocolate from Kodaikanal a couple of weeks back and it had been waiting to turn into brownies :)

These brownies are damn delicious and hard to resist types. I have baked them 4 times in succession already since its very addictive :P Beware!!!

These brownies also turned into a very delicious and luxurious dessert :) You have to wait for two more days to know what I made with these!! Stay tuned ;)

Photobucket

Ingredients:

Dark Chocolate - 115 gms
Butter - 125 gms
Eggs - 2
Caster Sugar - 230 gms
Vanilla essence - 1 tsp
All purpose flour (maida) - 60 gms
Cocoa powder - 2 tbl sp
Walnuts - 10

Photobucket

Method:

Sift the all purpose flour and cocoa powder and keep it aside.

Chop the chocolate into small pieces and butter into small cubes and melt them together over double boiler. (A bowl kept on top of a pan with water)

Beat the eggs in a bowl until thick and foamy. Gradually add caster sugar and beat continuously until the mixture leaves a ribbon like trail when lifted. Add the vanilla essence melted chocolate butter mixture to the bowl and blend in thoroughly.

Now add the sifted flour and cocoa powder into the bowl and fold in until well incorporated. Finally add the chopped walnuts and give a stir.

Photobucket

Preheat the oven to 350°F or 180°C.

Grease and flour the baking pan and pour in the prepared batter into the pans and bake in 180°C for 45 -50 mins or until wooden pick inserted in center comes out clean.

Cool on wire rack for 15 mins and enjoy :)

This will make 9 large pieces of brownies :)

Photobucket

Written by: Nithya
Send in your queries by clicking here.

Popular Posts

Flickr Photostream

www.flickr.com
nits food clicks' items tagged with nitsclicks More of nits food clicks'
Featured on Baking is Hot
my foodgawker gallery
Foodista Drink Blog of the Day Badge