Wednesday, February 26, 2014

Fondant Cakes - For all your celebrations and happy moments!

 photo Babycake3_zpsc7d000a2.jpg

Finally!! Yes Finally I  have started bringing dreams true. First of first, I have brought my little dream of baking cakes and decorating them with fondant true. I am doing the designs that I imagine of and its fantastic to play around with loads of colors, designs and patterns. The cake comes live literally with all these peppy factors. 

Secondly it gives me immense pleasure it bringing someone else's dream cake for their celebration come true for them. Now I know how it feels to see your tailor made cakes and scream out in joy :)

Me, Nithya or fourthsensecooking.com is completely ready and is enjoying to bake cakes for you!

All you need to do is give me a buzz by mail - fourthsensesamayal@gmail.com or leave me a message in my fb page here - https://www.facebook.com/4thsensecooking with your dream cake ideas and I shall try my best to bring it out beautifully for you :)

Here are some of my cake orders for you to view :)

Top Image - A first birthday cake of a little girl!

 photo Anniversarycake_zps8afaf92e.jpg

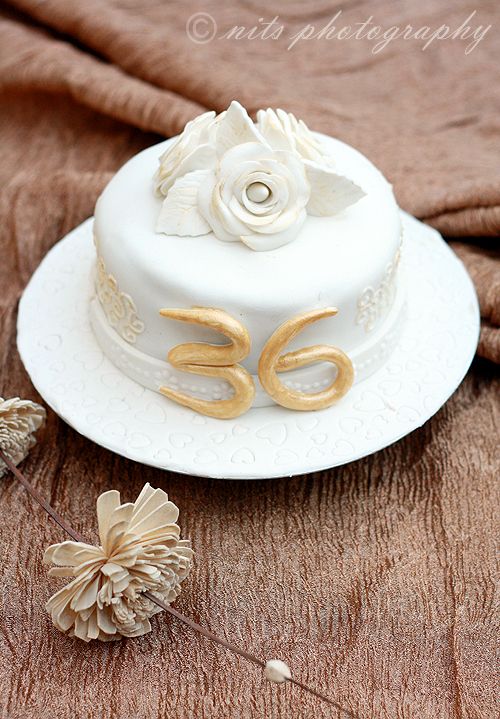
36th Anniversary cake of a lovable couple 

Sachertorte cake (Chocolate sponge layered with dark chocolate icing and apricot jam) covered with fondant. Hand made fondant roses and side design piped with royal icing. 

The couple loved the cake as much as they love each other 

 photo Shoecake4_zps6fce6a86.jpg

Roller Skates themed cake for a naughty little boy!

Vanilla cake with Italian butter cream icing and fondant decoration from my kitchen and hands 

 photo Birdscake2_zps98e32bb7.jpg

The picture say it all :) My latest creation and I simply loved making it for a the family :) 

 photo Racecartheme_zpsde8b9ad4.jpg

This race themed cake was made for a race and cake crazy person :) Vanilla sponge cake with ganache icing, fondant covering and hand modeled fondant topper car. 

Looking forward to work on more wonderful cakes :)

Written by: Nithya

Send in your queries by clicking here

Sunday, February 23, 2014

Yours Truly Featured In 'The Hindu'

 photo Hindufeature1-Nithya_zpsce157a4b.jpg

We can easily classify our days as good, bad, amazing and memorable! Yesterday was one proud and memorable day for me.

A small write up about me and my passion for food photography was featured in India's leading and prestigious daily - 'The Hindu' (Main edition, Page 2). Felt extremely happy, proud and satisfied to have choosen the field of food and photography :)

All thanks to Zubeda Hamid the reporter from Hindu, my family and friends for encouraging me to do all that I love and enjoy to do :)

You can read the article here - http://www.thehindu.com/news/cities/chennai/chen-columns/shutterbugs-get-serious/article5717228.ece

Wednesday, February 19, 2014

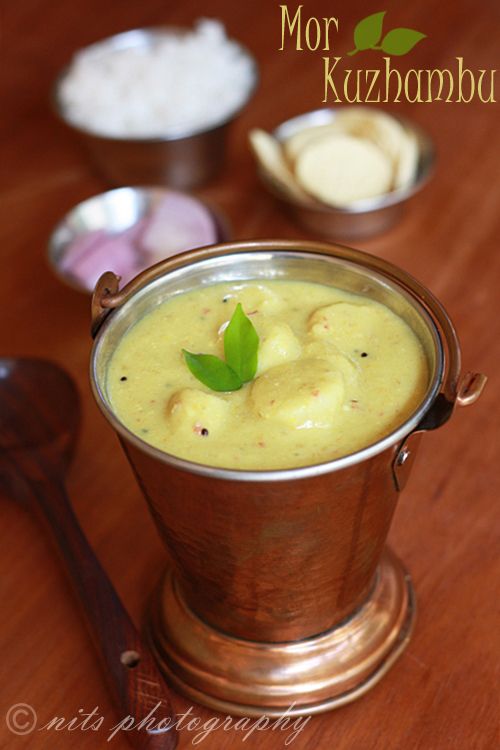
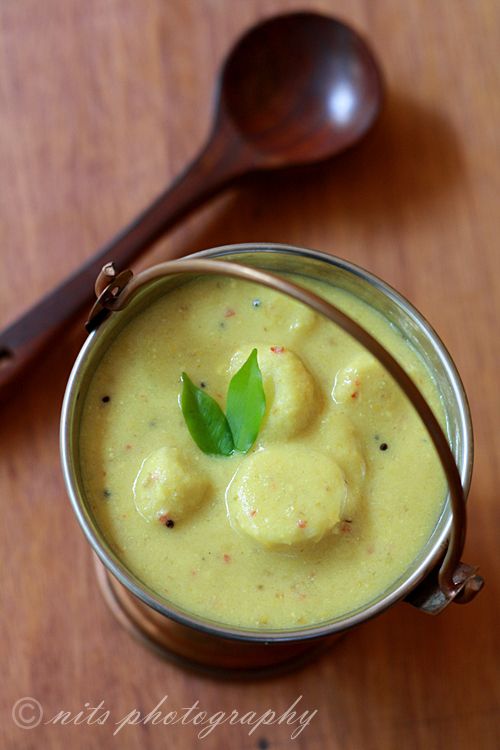
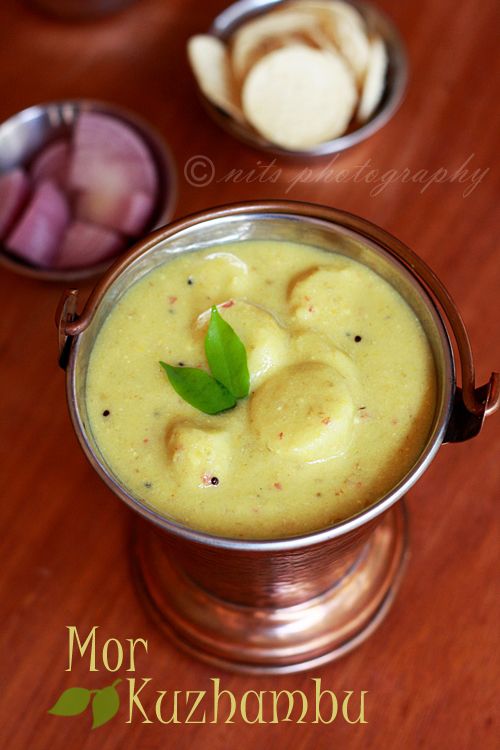
Mor Kuzhambu / Buttermilk curry with Taro Root

  photo Moarkozhambu_zps2d590662.jpg

Mor Kuzhambu is a very staple south Indian dish and is sure a delicacy to be proud of. I love the tang and the flavor of this kuzhambu. I enjoy eating it mixed with rice and having raw onion as side dish for it :) Its not a new recipe but registering my version of it here for my readers :)

Sepang Kizhangu or taro root is again a lovely vegetable when roasted in oil or in this kuzhambu. We can change the primary vegetable of this Kuzhambu to white pumpkin, ladies finger or even cooked chenna to make delicious mor kuzhambu :)

 photo MoarKozhambu3_zps91b6897c.jpg


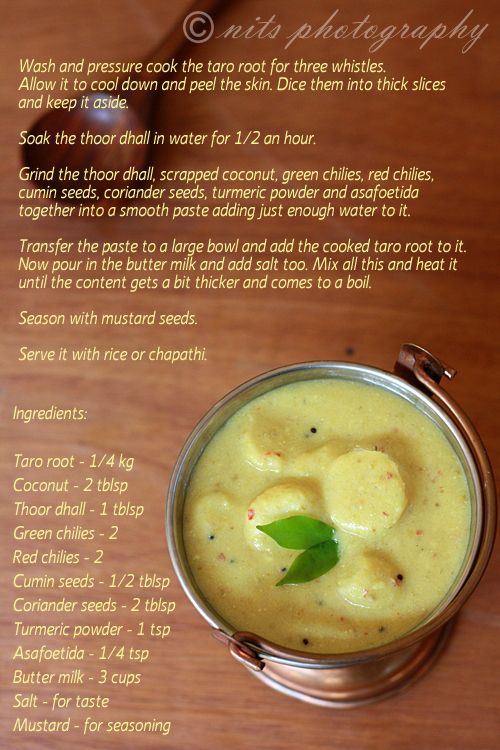
Ingredients:

Sepang Kizhangu (Taro root) - 1/4 kg
Coconut (scrapped) - 2 tblsp
Thoor dhall - 1 tblsp
Green chilies - 2
Red chilies - 2
Cumin seeds - 1/2 tblsp 
Coriander seeds - 2 tblsp
Turmeric powder - 1 tsp
Asafoetida - 1/4 tsp
Butter milk - 3 cups
Salt - for taste
Mustard - for seasoning


 photo Moarkozhambu4_zpsee0c3cda.jpg


Method:

Wash and pressure cook the taro root (sepang kizhangu) for three whistles. Allow it to cool down and peel the skin. Dice them into thick slices and keep it aside. 

Soak the thoor dhall in water for 1/2 an hour. 

Grind the thoor dhall, scrapped coconut, green chilies, red chilies, cumin seeds, coriander seeds, turmeric powder and asafoetida together into a smooth paste adding just enough water to it. 

Transfer the paste to a large bowl and add the cooked taro root to it. Now pour in the butter milk and add salt too. Mix all this and heat it until the content gets a bit thicker and comes to a boil. 

Season with mustard seeds. 

Serve it with rice or chapathi. 

 photo MoarKozhambu1_zps214f3760.jpg

Written by: Nithya
Send in your queries by clicking here

Thursday, February 6, 2014

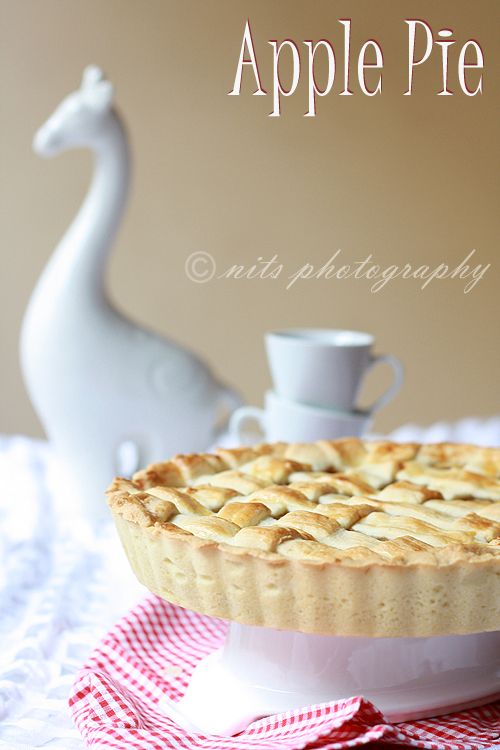
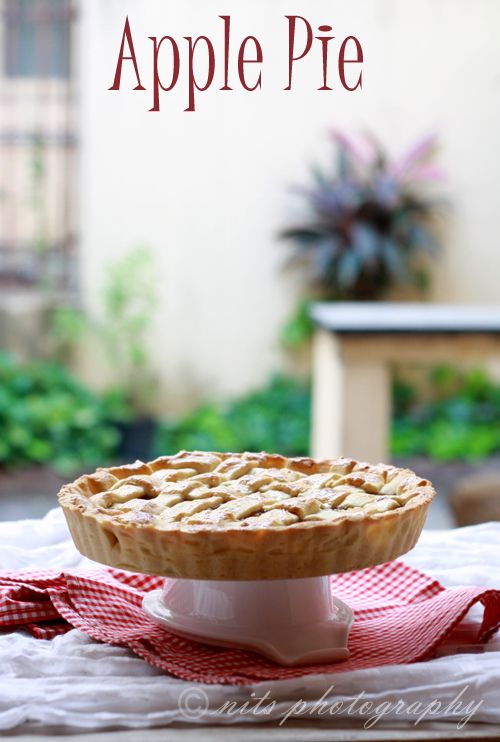
Apple Pie

 photo Applepie2_zpse1bcf865.jpg

Apple pie for dessert can keep your stress away! How about that new saying!! LOL :P but it did for me. Things have been a bit busy and stressed in life for me and I am trying to break them all by baking some goody godly stuff now and then. This one for sure was a hit and made my day!

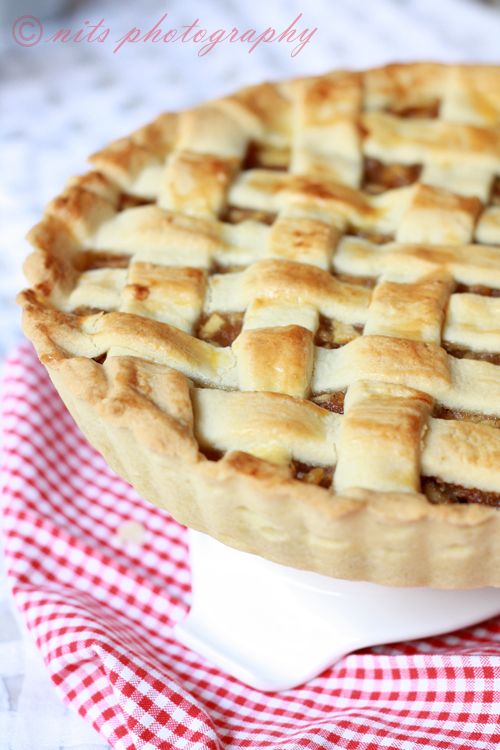
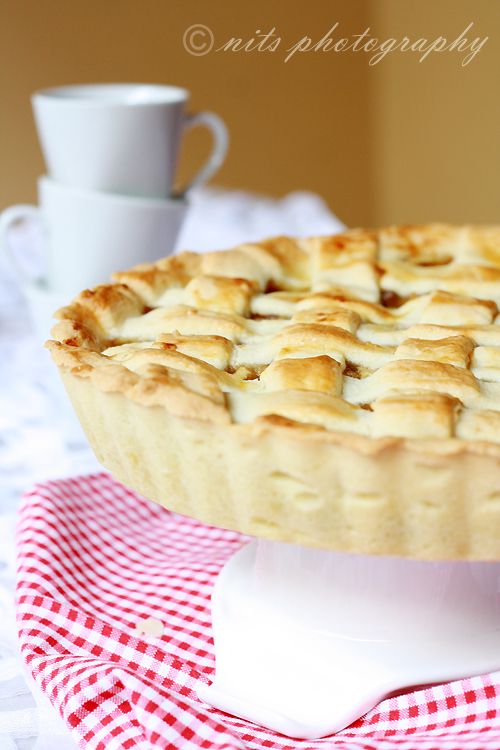
The completely warm and delicious dessert can for sure melt hearts and make you say a mmmmmm :) Its actually pretty easy to make to and wouldnt fail. Ofcourse the lattice strip pattern part is a bit challenging for beginners, its still worth a try and looks pretty decent and who cares if it taste all so great :P

 photo Applepie1_zps5029b62f.jpg

Ingredients:

For Sweet pastry dough:

Maida - 360 gms
Icing Sugar - 180 gms
Butter - 180 gms
Eggs - 72 gms

For Apple filling:

Apples - 3
Brown sugar - 4 tblsp
Butter - 4 tblsp
Cinnamon powder - 1 tsp
Cake crums - 1/2 cup

 photo Applepie3_zpsd049982d.jpg

Method:

Pastry dough:

Take the maida and icing sugar in a mixing bowl. Chop the cold butter into small chunks and drop them into the bowl. Put your hands into work and mix them until it resembles crumbs. 

Now add the beaten egg and work quickly to bring them all together into a dough. Dont work too much on it. Just mix it all and bring them together. Cling wrap and chill for an hour. 

Apple filling:

Peel and chop apples into small pieces. Take in a large pan and add the sugar and butter to it. Mix well until the sugar melts and the apples get cooked a little. Now add the cinnamon powder and cake crumbs and mix well. Remove from flame and allow it to cool. 

Roll the pastry dough into a large circle of 1/4 inch thickness. Carefully line the pie base and cut the extras. Poke holes on the base using a fork. 

Now spoon in the filling on the pie base and spread evenly. 

Roll remaining pastry, cut into 10 strips, each about 1/2 inch wide. Place 5 strips across filling in pie plate. Weave a cross-strip through by first folding back every other strip of the first 5 strips. Continue weaving, folding back alternate strips before adding each cross-strip, until lattice is complete. Trim ends. 
Egg wash the pie. 

Preheat the oven to 350°F or 180°C. 

Transfer the batter to the baking pan and bake at 180°C for 45 - 50 mins or until the pie looks golden brown. 

Serve warm and enjoy eating :)

 photo Applepie_zps07c449e9.jpg

Written by: Nithya
Send in your queries by clicking here

Popular Posts

Flickr Photostream

www.flickr.com
nits food clicks' items tagged with nitsclicks More of nits food clicks'
Featured on Baking is Hot
my foodgawker gallery
Foodista Drink Blog of the Day Badge