Wednesday, May 30, 2012

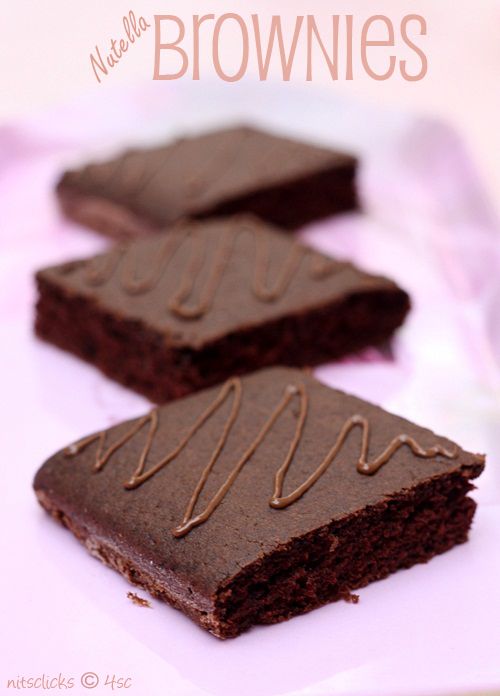
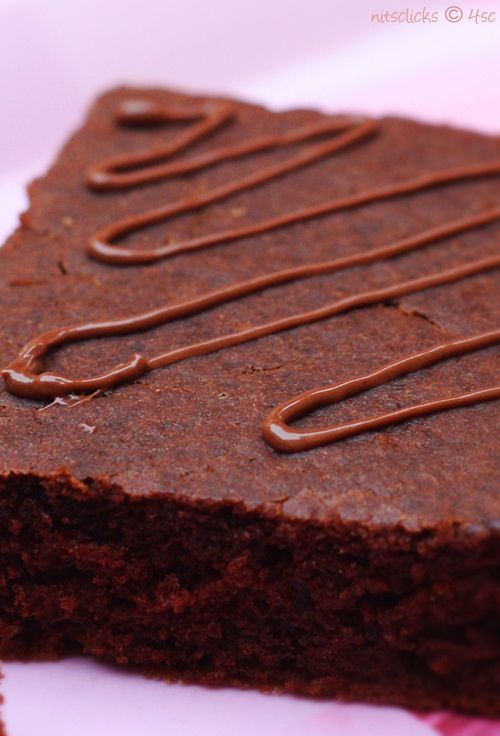
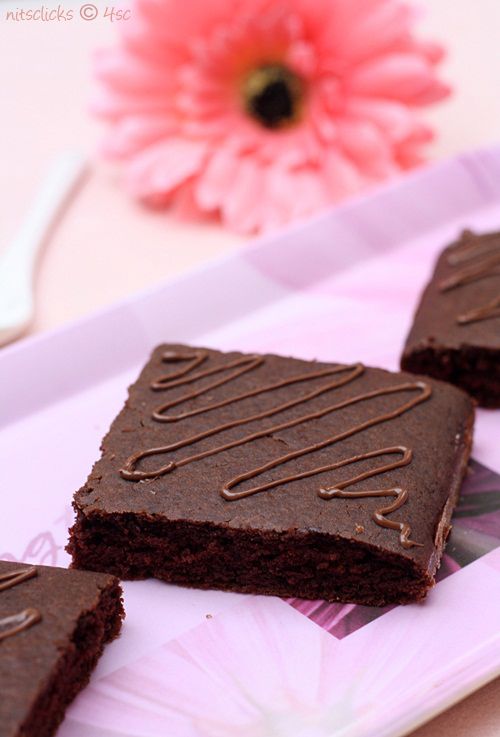
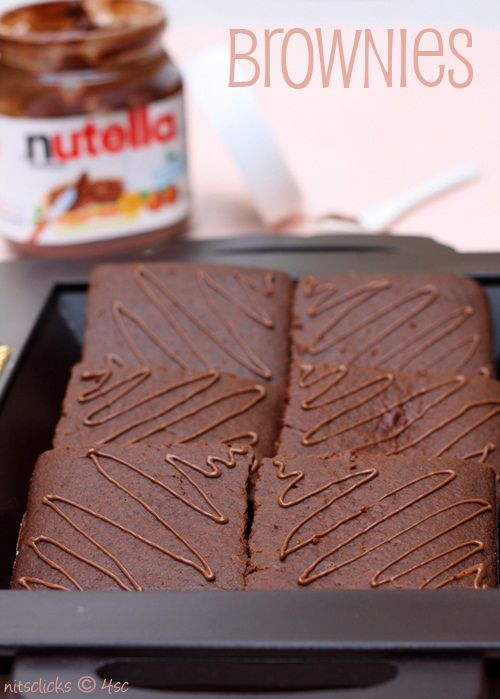
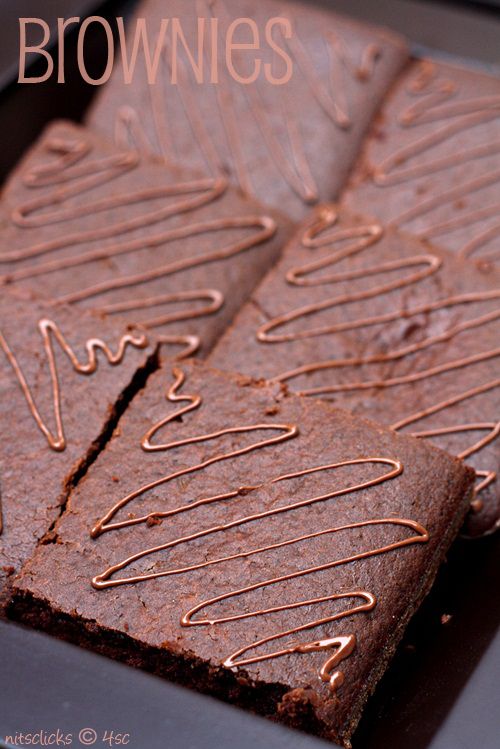
Eggless Nutella Brownies

Photobucket

I am suffering from brownie fever!! have been craving, dreaming, mind cooking and desperately wanting to have brownies for the past ten days, but blame my laziness for not having fulfilled my urge :(

The fever was too high last afternoon that I had to treat it with atleast a couple of brownies and yes I made them finally :) I'm munching on one large square as I'm writing this post and I am up and energetic after the bite :) :) :)

These Brownies come with a good news and a bad news!!

The Bad news is - You cant stop eating them after a bite!
Good news - You dont have to stop! They are low fat and eggless :) yahooooooo

I'm sure these words and pictures are enough to make you wake up and get to the kitchen with your aprons on!! Get set go....

Photobucket

Ingredients:

All purpose flour(maida) - 100 gms
Cocoa powder - 2 tblsp
Powdered Sugar - 100 gms
Salt - a pinch
Baking soda - 1/2 tsp
Cooking oil - 2 tblsp
Butter milk - 1/2 cup
Nutella - 2 tblsp

Photobucket

Method:

Sift all purpose flour, cocoa powder, sugar, baking soda and salt together.

Take the sifted contents in a bowl and combine oil, butter milk and nutella to it. Stir with a spatula until everything combines into a smooth batter.

Preheat the oven to 350°F or 180°C.

Grease and flour the baking pan. Pour in the prepared batter into the pan and bake in 180°C for 20-25 mins or until wooden tooth pick inserted in center comes out clean. Mine was perfect after 23 mins.

Cool on wire rack and slice them into squares.

Eggless nutella brownies are ready :) Serve it warm with vanilla ice cream :)

This quantity would make 6 medium sized squares of brownies.

Photobucket

Tips:

Drizzle some nutella over it for decoration.

Add chopped walnuts or almonds to the batter before baking.
Photobucket

Written by: Nithya
Send in your queries by clicking here.

Monday, May 28, 2012

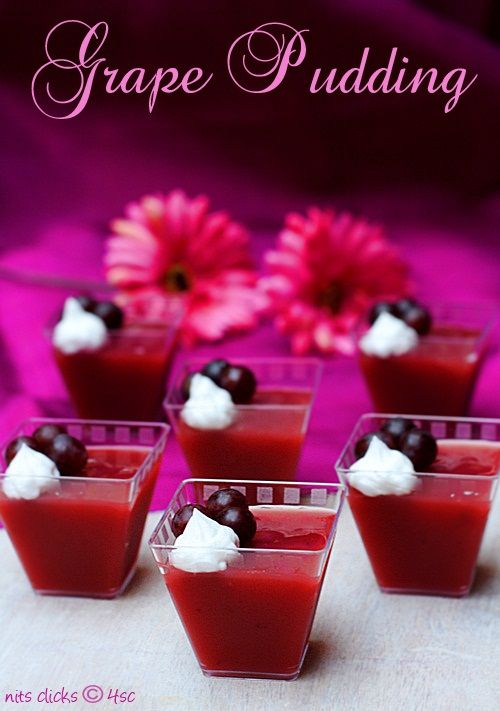
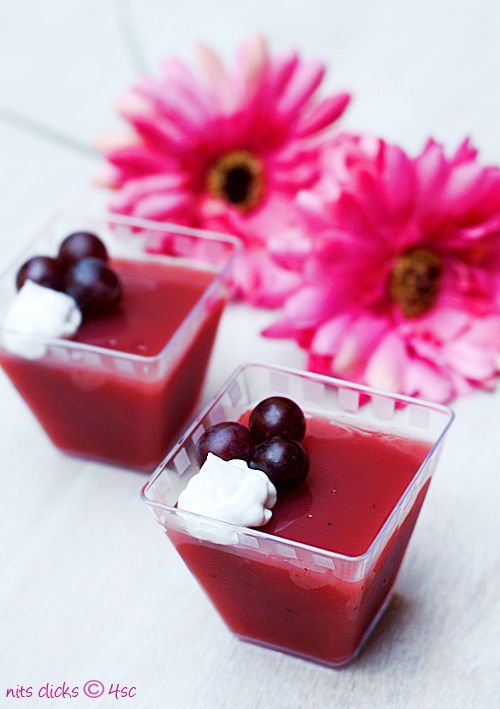
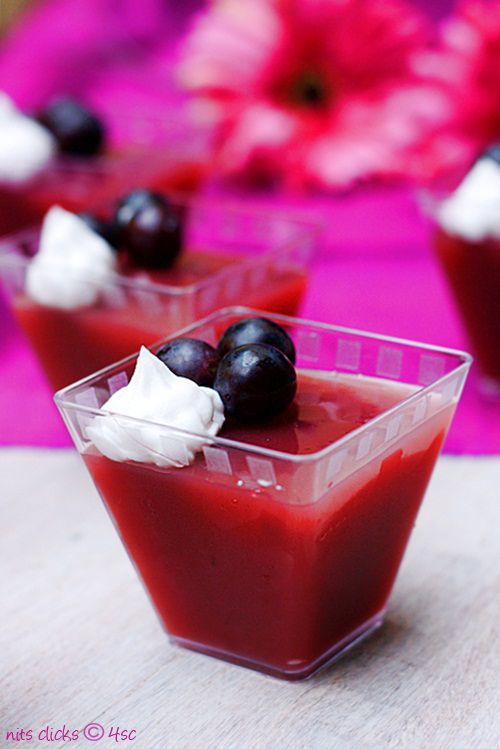
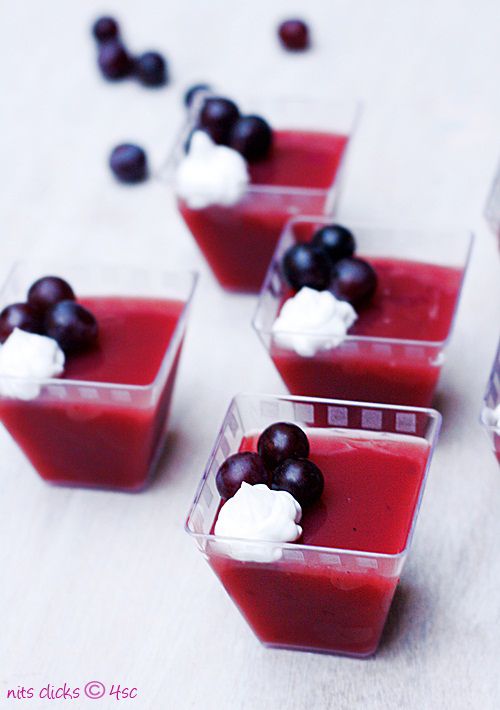
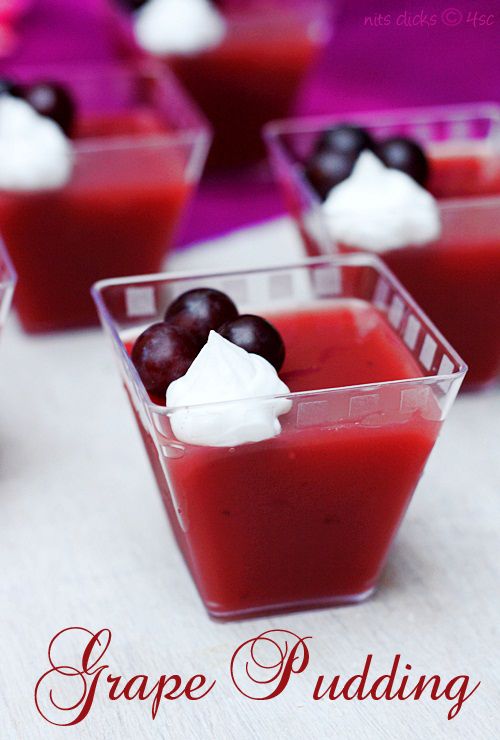
Grape Pudding

Photobucket

I love fruits and fruit juices. I keep refilling my refrigerator with some fruits always. I prefer snacking on fruits than anything else. It has become a routine to have fruits as it is or as shakes in the evening.
I bought a nice pack of black grapes last week and was wanting to make something interesting with it. A simple juice was becoming a little boring to my tongue and I was craving for some pudding as well. So 'bling' the bulb over my head glowed with an idea and I put both the cravings together to make a fresh fruit juice pudding!! Isn't that sounding yummy!! It tasted too :)

Photobucket

Ingredients:

Black Grape juice - 2 cups
Tonovin essence(grape essence) - 1 tsp
Sugar - 1/2 cup
Corn flour - 1/4 cup
Water - 1/4 cup
Whipped cream
Grapes for decoation

Photobucket

Method:

Take the corn flour, sugar and water in a thick bottomed pan. Cook on medium heat stirring continuously until it thickens into a smooth paste.

Reduce the flame and add grape juice and essence. Mix well and cook on low flame until it is slightly thick. Sauce consistency. Remember that the pudding would thicken as it cools.

Remove from flame and pour into 6 dessert cups and set it in the fridge for 2 hours.

Top it with whipped cream and fresh black grapes.

Enjoy the real fruit flavored pudding :)

Photobucket

Tips:

Using the grape essence is a must since it gives a nice color and flavor to the pudding.
You can use few drops of essence when you whip the cream to make a grape cream :)

Photobucket

Written by: Nithya
Send in your queries by clicking here.

Thursday, May 24, 2012

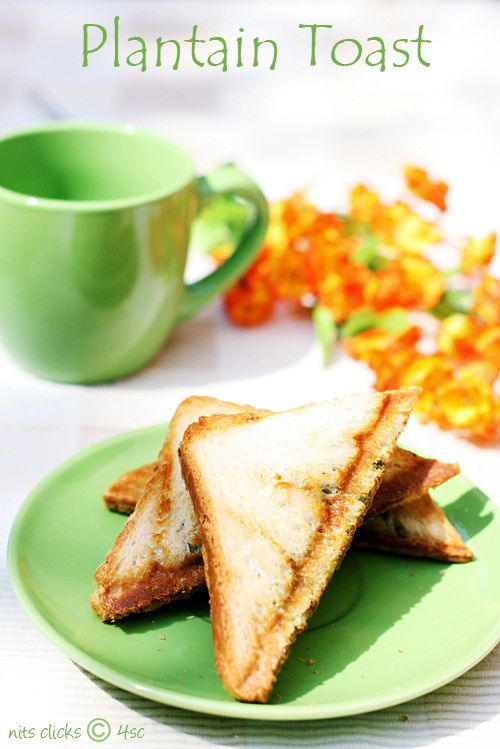
Plantain Toast

Photobucket

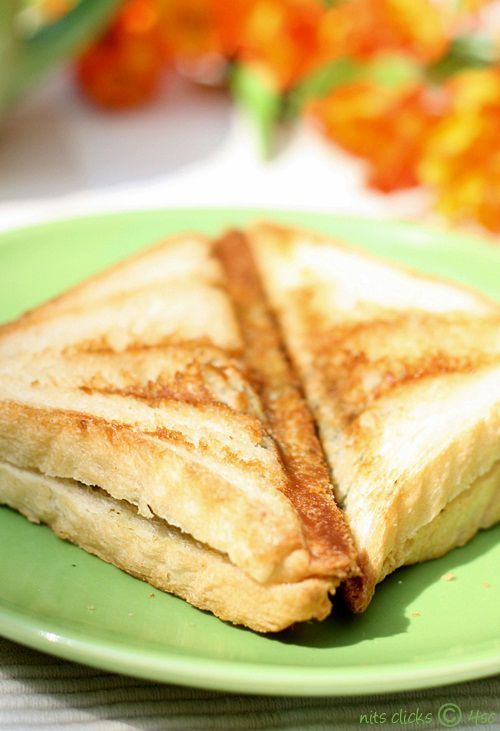
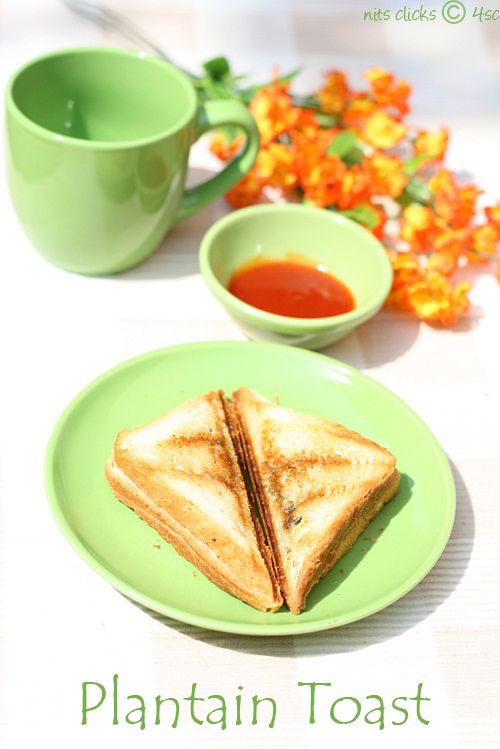
Having toast for breakfast on a sunny morning is like a pleasant feast for me. I like to keep my breakfast simple yet delicious.

This plantain toast was sure a treat to the tongue and super healthy as well. Replacing potato to plantain makes it all the more healthy and a good way to add plantain to our food too :)

Photobucket

Ingredients:

Plantain (Vazhakka/ Antikai) - 2
Turmeric powder - 1/2 tsp
Onions - 2
Mustard - 1/2 tsp
Urad dhall - 1 tsp
Green chillies - 4
Salt - for taste
Lemon juice - 1 tblsp

Bread
Butter

Photobucket

Method:

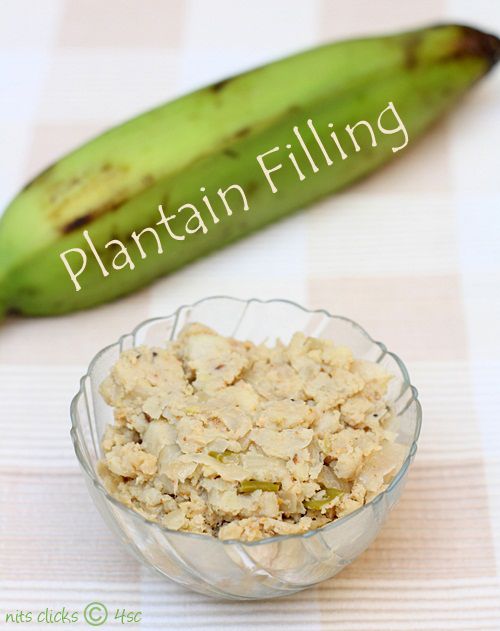
To make the filling -

Cut each plantain into two without removing the skin. Take water in a heavy bottomed vessel and drop the cut plantains. Add some salt and turmeric powder to the water and cook this for around 10 mins on medium flame turning the plantains once in a while until well cooked. (or just cook the plantains in your own method until soft)

Remove from water and peal the skin off. Smash the plantains without lumps.

Dice onions into small squares. Chop the chillies finely.

Take 4 tsps of oil in a kadai and crackle mustard seeds and urad dhall. Now add the chopped onions and chillies and fry until onions turn golden brown.

Add the mashed plantain and cook on medium flame for 5 mins. Now add salt and mix well. Cook for another 10 mins with a lid on. Finally reduce the flame and mix in the lemon juice thoroughly.

Plantain filling is ready.

Photobucket

To make green chutney -

Grind a bunch of mint leaves along with 2 green chillies, salt and lemon juice into a smooth paste.

To make toast -

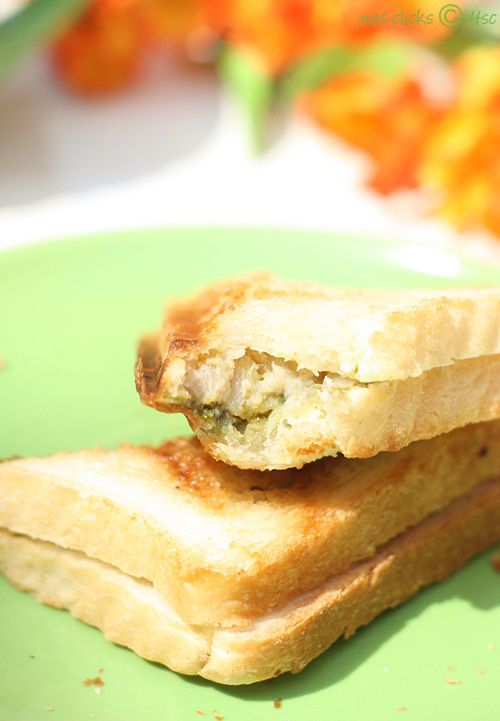
Take two slices of bread. Apply butter on both the slices. Pick one slice from it and apply green chutney on the other side of the bread. Spread the above made plantain filling on the second bread and close with the green chutney facing the filling. Now toast the breads using your toaster or on the pan.
Serve hot with tomato ketchup :)

Photobucket

Written by: Nithya
Send in your queries by clicking here.

Monday, May 21, 2012

Coffee Cup Cakes with Chocolate Fondant

Photobucket

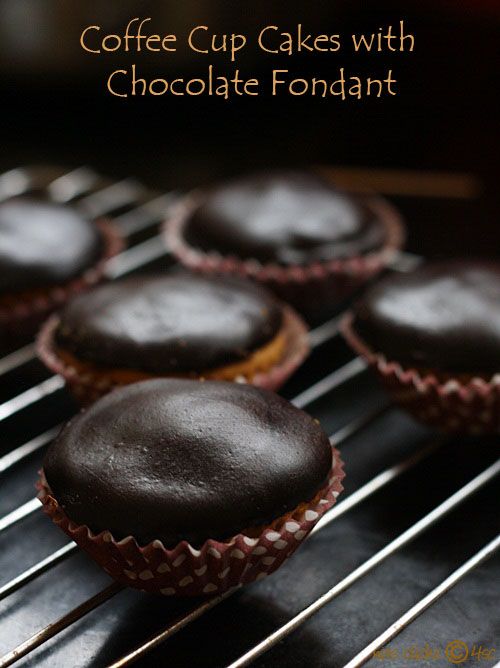
Hooreyyyyyy!! My first try of fondant cake looks beautiful :) I have always dreamt of making fondant cakes. All credits for such dreams go to ultimate cake off and just cakes tv shows. The huge cakes with lovely colorful fondant covering is so magical to see. Since then I have been wanting to make one myself and a ready made pack of chocolate fondant found in nearby store kindled my senses and yup here I go with my first trial with fondant!! :)

I loved making it and when the cake was ready to decorate, all my inspirational videos and photographs ran on my mind at a super speed that I couldnt resist trying them all. So each of my cup cake looks different and some look so Indianish too :) Care a damn, I love my cupcakes and so did my family :)

Will soon be trying fondant from scratch and posting it too :)

Photobucket

Coffee cup cakes recipe: -

Ingredients:

All purpose flour (maida) - 1 1/3 cup
Cooking soda - 3/4 tsp
Salt - a pinch
Butter - 1/3 cup
Sugar - 1/3 cup
Egg - 1
Coffee decoction - 1/4 cup

Photobucket

Method:

Preheat the oven to 350 degrees F. Line cupcake tins with paper liners.

In a bowl, whisk flour, baking powder and salt.

In a separate bowl, beat together butter and sugar until light-colored and fluffy. Add the egg and beat well. On low speed, add flour mixture, alternating with coffee decoction.

Divide batter among prepared liners, 1/3 cup in each. Bake at 350 degrees F for 20 - 25 minutes or until firm to touch.

Let cupcakes cool in pan on rack for 5 minutes. Remove from pan to rack and cool completely before frosting.

Photobucket

Assembling the cake for fondant decoration.

You need a cream base on top of the cake for the fondant to stick on it. Hence I simply spread a thin layer of nutella over the coffee cup cakes.

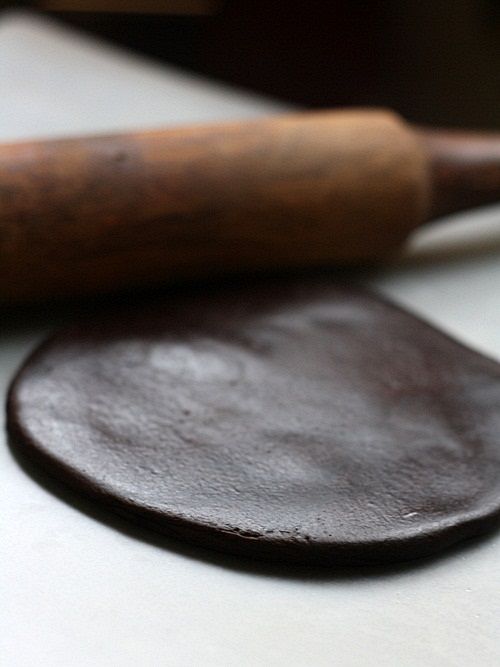
The next step is to roll the ready made fondant(or home made) to a 1/4 inch thickness. Cut them into desired shape and size. Here I used a large circular cookie cuter to cut circles.

Photobucket

Place the circular fondant on your left palm and take the cup cake on your right hand and place it inverted on top of the fondant circle. Press it slightly with your hand for the fondant to stick to the cake. Leave it on wire rack until decoration.

Photobucket

Royal icing recipe : -

Ingredients:

Egg white - from 1 egg
Icing sugar - 1 1/2 cup aprox
Lemon juice - 1 tsp

Method:

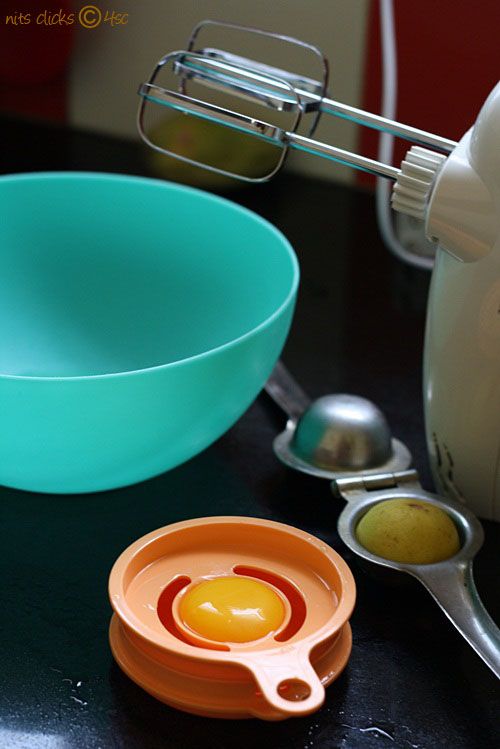
Beat the egg white for 5 mins or until frothy. Add the lemon juice and 1/2 cup of icing sugar and beat. Continue adding icing sugar in intervals until the icing forms stiff peaks. This consistency would be right to design using a cone.

Make cones with plastic sheet and fill it with royal icing and draw the desired designs over the fondant covered cakes :)

Photobucket

Written by: Nithya
Send in your queries by clicking here.

Friday, May 18, 2012

Mixed Legume Salad

Photobucket

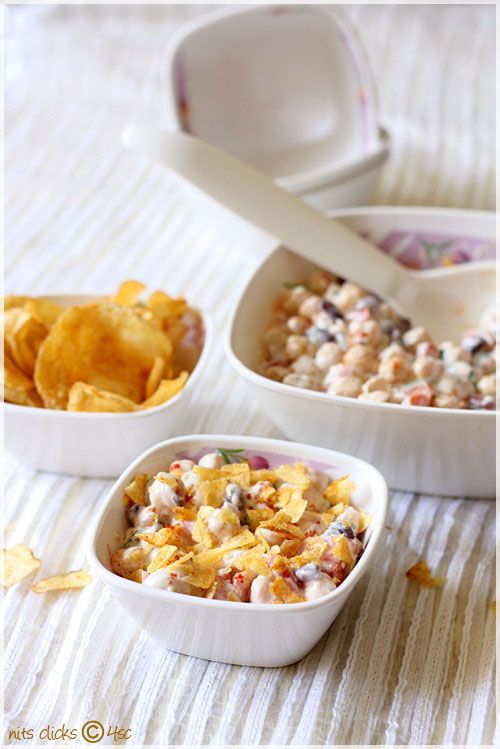
Salads = Healthy food! The first thought that pops up in the mind when we speak of healthy diet is salads. Yes! Salads are really healthy and that too when legumes are included they are double healthy.

This salad is my favorite since my most favorite ingredient, the curd is the binding part of it :)

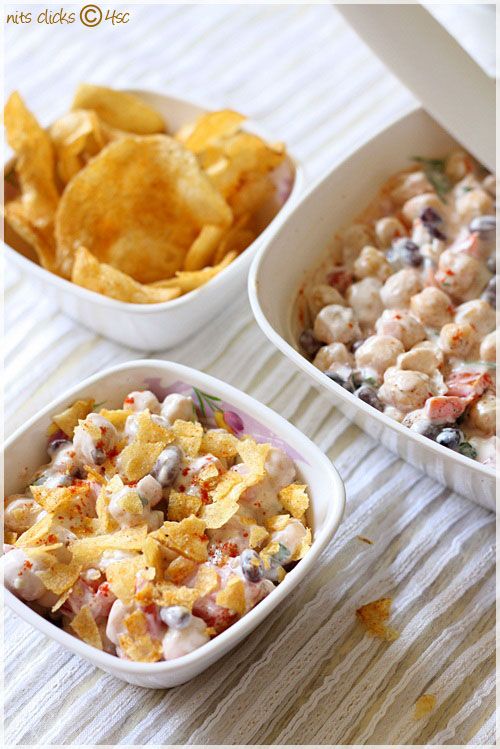
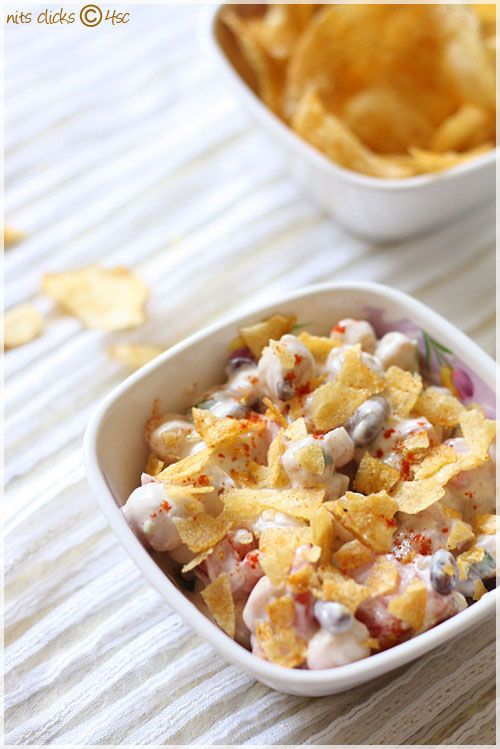
The crispy potato chips topping is the high light of the salad. It makes the dish so delicious and crunchy. Kids wouldn't feel salads are boring when such a nice topping is done ;) Got the trick!! :)

Photobucket

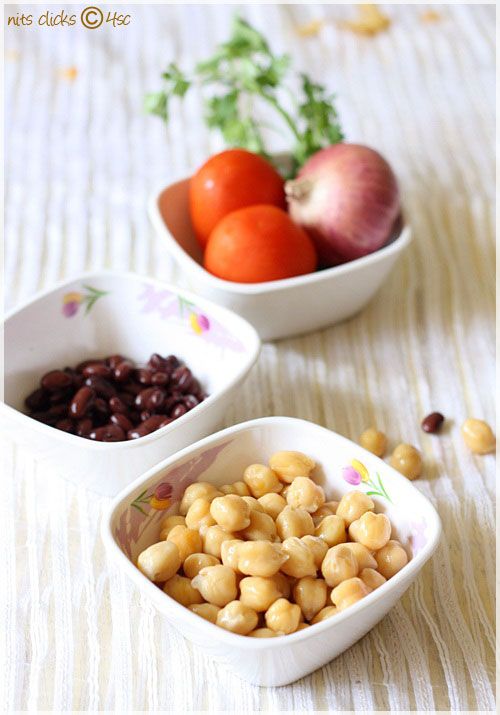
Ingredients:

Chickpea (channa) - 2 cups
Red beans - 2 cups
Tomato - 2
Onion - 1
Coriander leaves
Hung curd - 1 cup
Chilly powder - 1/2 tsp
Chaat masala - 1/4 tsp
Aamchur - 1/4 tsp
Salt - for taste
Potato chips for topping

Photobucket

Method:

Soak the legumes over night in water. Steam cook both the legumes.

Chop onions and tomato into small squares.

Take the legumes in mixing bowl and add hung curd and all the spices. Mix well and sprinkle cut coriander leaves.

Serve them in serving plates and sprinkle crushed potato chips and serve immediately.

Enjoy the crunchy and healthy salad :)

Photobucket

Hung curd:

Take a large bowl and spread a muslin cloth over it. Spoon in two cups of curd on the cloth. Tie it tight and hang it over the sink for the water to drain. The curd would become thick and rich.

Photobucket

Written by: Nithya
Send in your queries by clicking here.

Tuesday, May 15, 2012

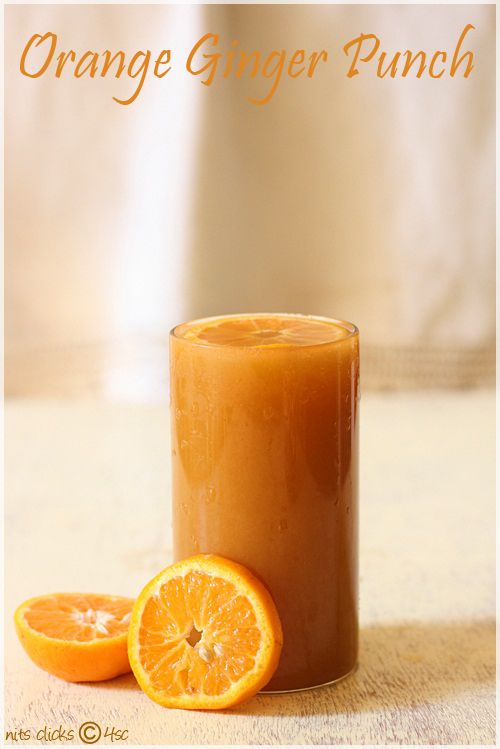
Orange Ginger Punch

Photobucket

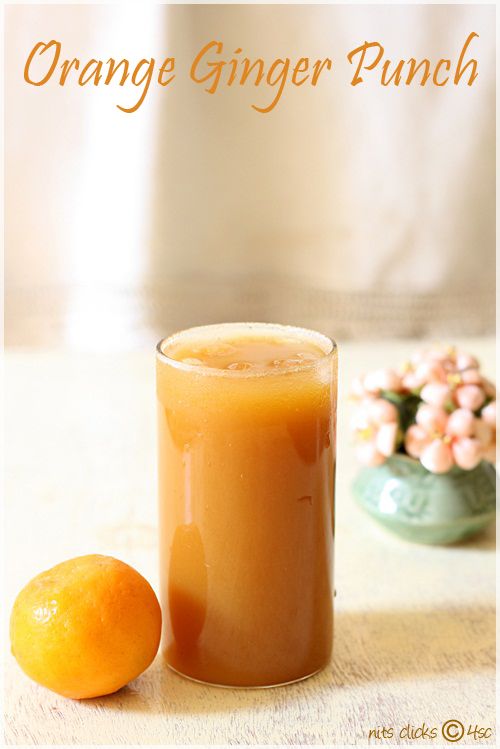
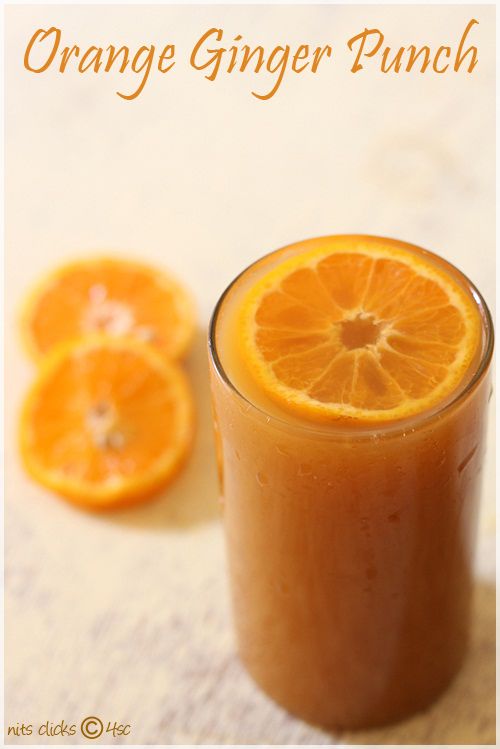
Orange ginger punch!! So apt for the scorching summer.

The sun is showing no mercy on us. Its super duper hot and no signs of summer showers in Chennai too :(

Drinking loads of liquids can only help us keep ourselves hydrated. I have been making a lot of squashes and juices this week and here is the first of the series.

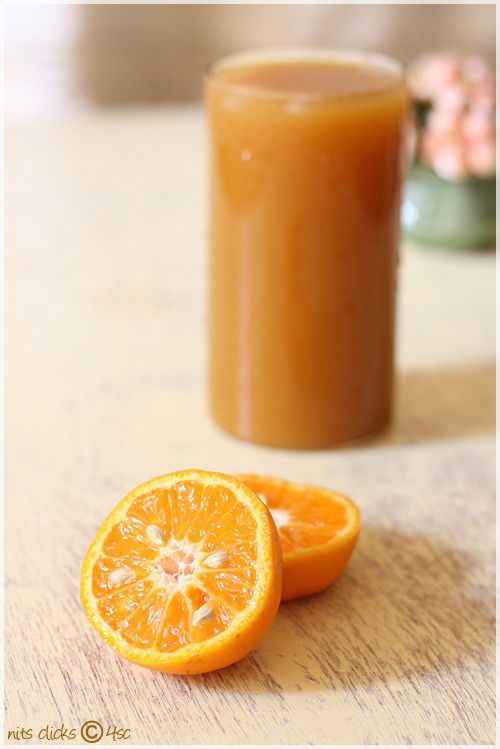
Orange gives the tang, the tea gives you freshness and ginger breaks the monotony. Energize yourselves with this orangy punch :)

Photobucket

Ingredients:

Orange juice - 1 cup
Ginger - 1/2 inch piece
Tea powder - 2 tsp
Sugar - 2 tsp
Honey - 1 tblsp

Photobucket

Method:

Grind ginger in mixie by adding few drops of water. Strain to get ginger extract.

Take tea powder, sugar and 1/4 cup of water in a pan and boil it for two mins and strain it. Allow it to cool down.

Mix orange juice, ginger extract and tea together.

Take a serving glass and pour the honey to the base and fill the glass with the above made orange punch.

Drop in ice cubes and serve it super chill :)

Photobucket

Written by: Nithya
Send in your queries by clicking here.

Thursday, May 10, 2012

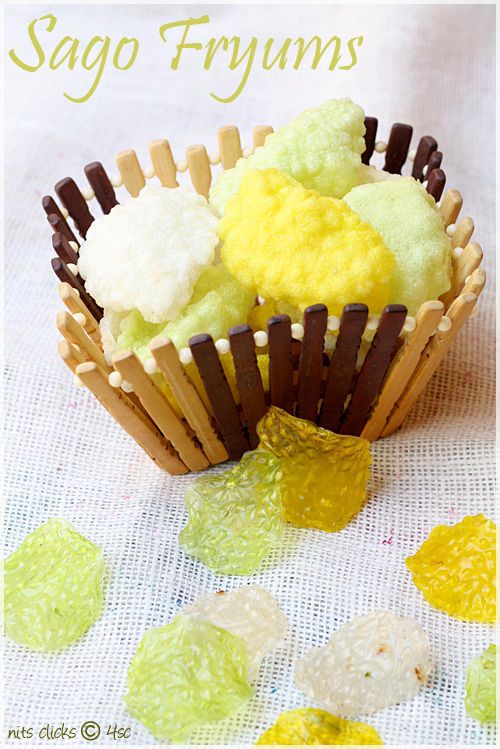
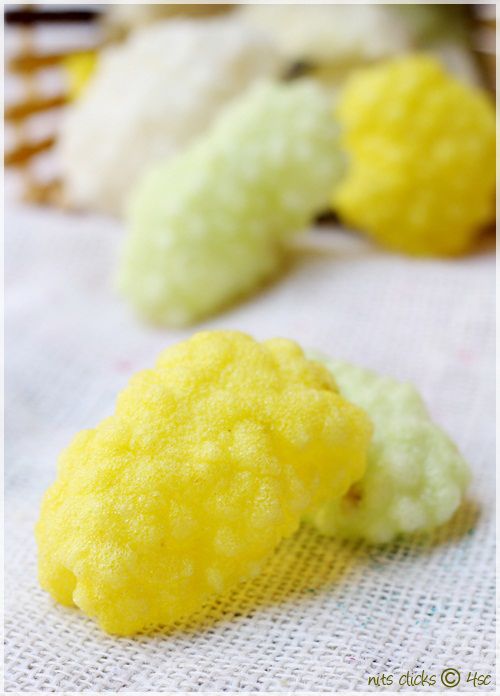
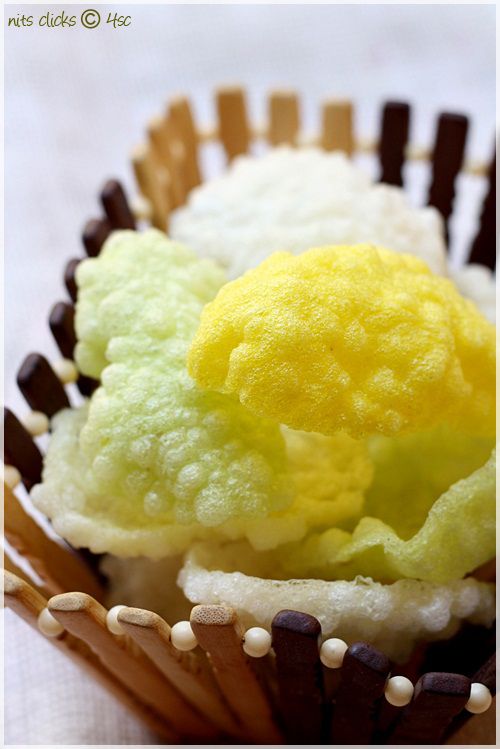
Sago Fryums / Sabubiyam Odiyalu / Javarisi Vadam

Photobucket

Crunchy and crispy fryums is for sure the favorite of kids. why not adults?!!! I simply love it with sambhar rice :)

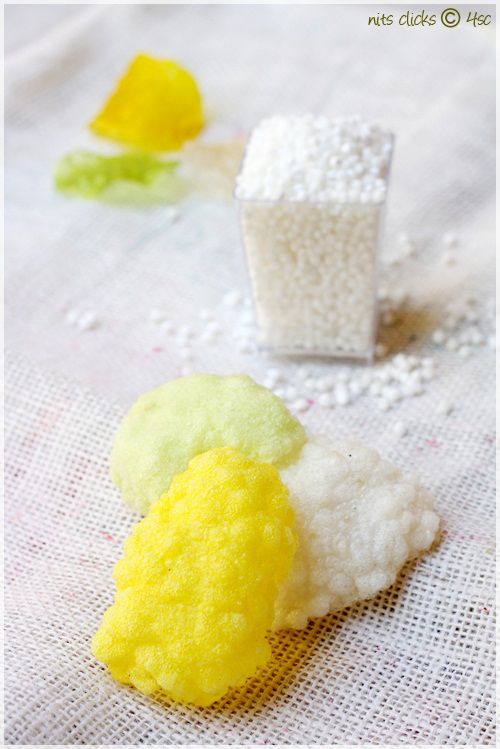
There are many varieties and shapes of fryums, but this is my most favorite one. The tiny balls make it look extra attractive.

Grandma had come home and making these fryums is her forte :) She made it just like a breeze and I loved learning it from her and helping her out in the process.

It is so simple to make them at home and this is the right season to do it too. It super hot summer and it hardly takes few hours to make and two days to get it done completely. Grab the chance right now and I am sure you would make it and enjoy them as well :)

We also made two other varieties which I shall post soon :)

Photobucket

Ingredients:

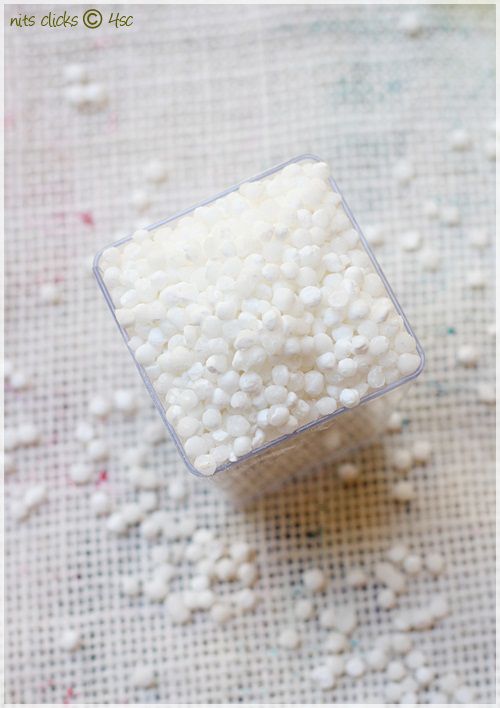
Sago - 2 cups
Water - 10 cups
Green chillies - 10
Asafoetida - 1 tsp
Salt - for taste
Food color of your choice

Plastic sheets to dry the fryums.

Photobucket

Method:

Take the water and sago in a heavy bottomed vessel and cook on medium flame until it is 3/4th done. The sago would become big in size and would become almost transparent. This process could take around 20 - 30 mins.

Remove from flame and close the vessel with a lid.

Grind the chillies coarsely.

Add salt, asafoetida and coarsely ground chillies and mix well. Finally add the food color you require and mix well.

Photobucket

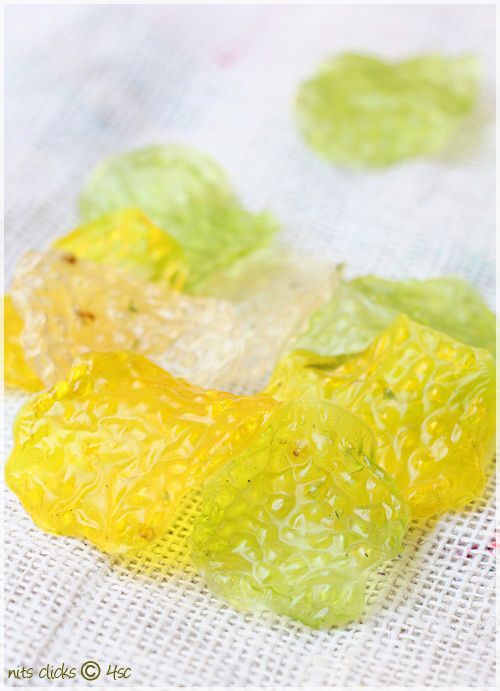
Spread plastic sheets on the ground, under direct sun light. Spread half a ladle of the above made mixture into a circular shape. Do the same until all the batter is done.

Allow this to dry for two days under hot sun. Peal them out from the plastic sheet and dry it on a plate for two more days until it is completely dry.

Store in air tight containers.

Fry them in hot oil and enjoy eating crispy sago fryums :)

Photobucket

Note:

Try eating one when it is half dried ;P you would love it for sure.

Photobucket

Written by: Nithya
Send in your queries by clicking here.

Monday, May 7, 2012

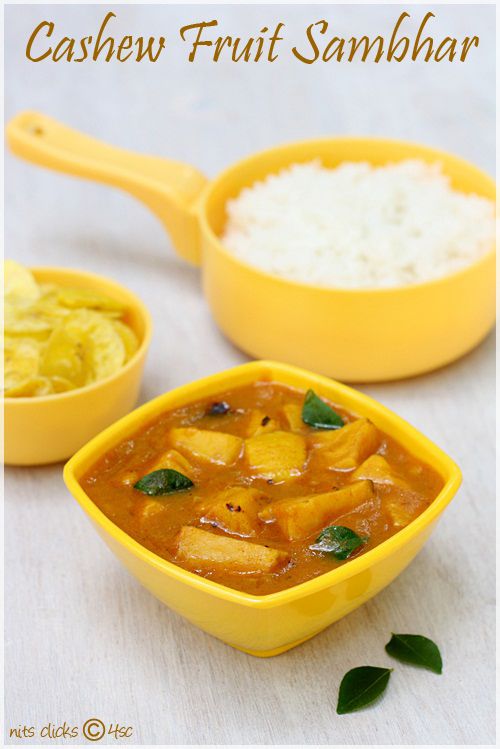
Cashew Fruit Sambhar

Photobucket

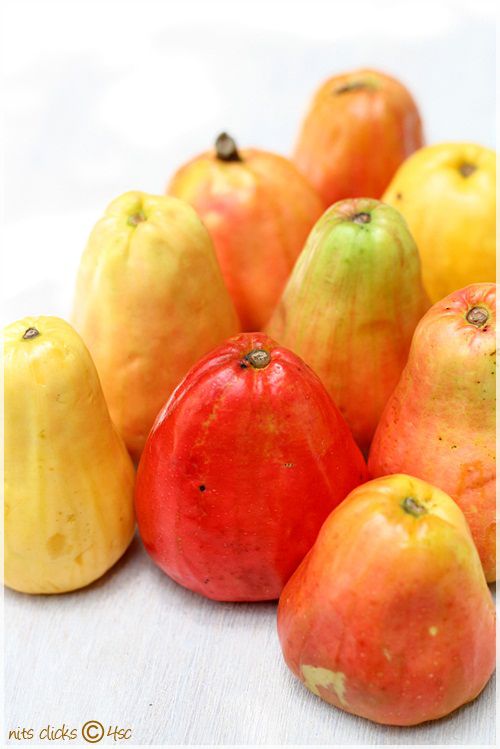
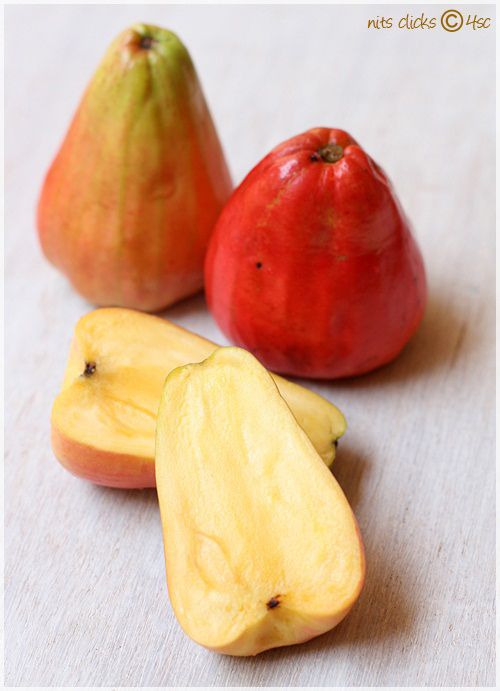
Cashew fruit!!! Yes, its the fruit of the cashew tree. This is probably the first time I ever saw it in the fruit form. I loved its look and was pretty excited when I bought it a couple of days back when we drove to Trichy.

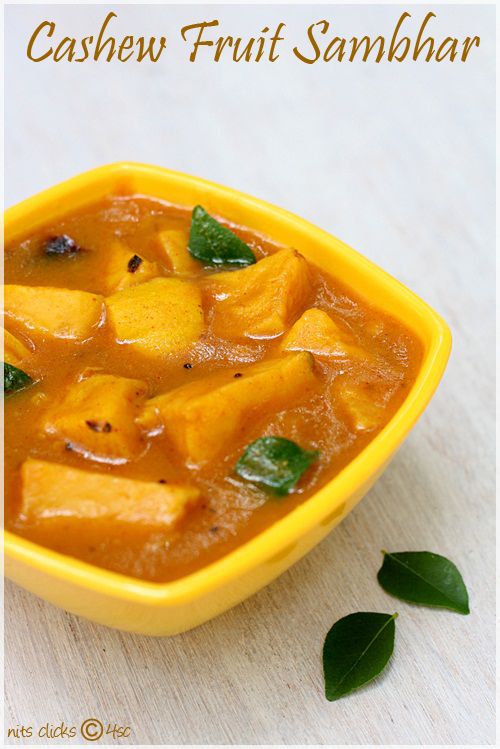
My mom made a delicious sambhar with it and said this recipe was a very traditional one her grandma used to make. I loved the taste since it was sweet and hot and the fruit chunks were super juicy too :)

I'm not sure of the availability of this fruit in the city, but by any chance you come across this fruit, grab it for sure to make this sambhar :)
Photobucket

Ingredients:

Cashew fruit - 10
Tamarind paste - 2 cups
Jaggery - 2 tblsp
Chilly powder - 1 tsp
Salt - for taste
Rice flour - 1 tblsp
Curry leaves - 10
Mustard seeds - 1/2 tsp
Asafoetida - a pinch

Photobucket

Method:

Wash and cut 1/4 inch of the cashew fruit from the broader side and discard it. Dice the rest of the fruit into smaller chunks.

Take the tamarind paste in a thick bottomed vessel and add 1 cup of water to it. Drop in the diced cashew fruits and cook on medium flame until the fruit turns soft and well cooked.

Now add chilly powder, salt, asafoetida and jaggery and mix well. Dilute the rice flour in 2 tblsp of water and add it, stirring constantly. Now the sambhar will thicken. Allow it to boil for two more mins and remove from flame.

Season with mustard and curry leaves.

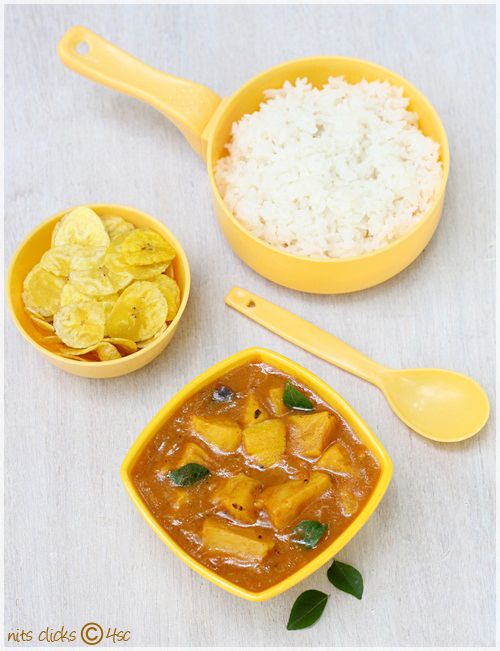
Serve hot with rice and chips. Delicious and rich cashew fruit sambhar is ready. :)

Photobucket

Note:

This sambhar would be sweet and hot and would be a good choice for kids.

The fruit is juicy and has subtle sweet taste so it would be absolutely delicious when you bite the fruit chunks in the sambhar. :)

Photobucket

Written by: Nithya
Send in your queries by clicking here.

Friday, May 4, 2012

Featured in Indian Express - Indulge :)

Yahoooooooooooooooo! I am super happy to share the news that my little blog 4th sense cooking has been featured in a popular daily - 'Indian Express'. The supplement Indulge has a lovely write up of my blog along with a pic :)

It feels really good that my hobby blog gets into lime light, my passion becomes my profession and my dream comes true :)

Thanks to Almighty and all others who were behind me for it :)


Click on the pic to read the writeup :)


Hugs,

Popular Posts

Flickr Photostream

www.flickr.com
nits food clicks' items tagged with nitsclicks More of nits food clicks'
Featured on Baking is Hot
my foodgawker gallery
Foodista Drink Blog of the Day Badge