
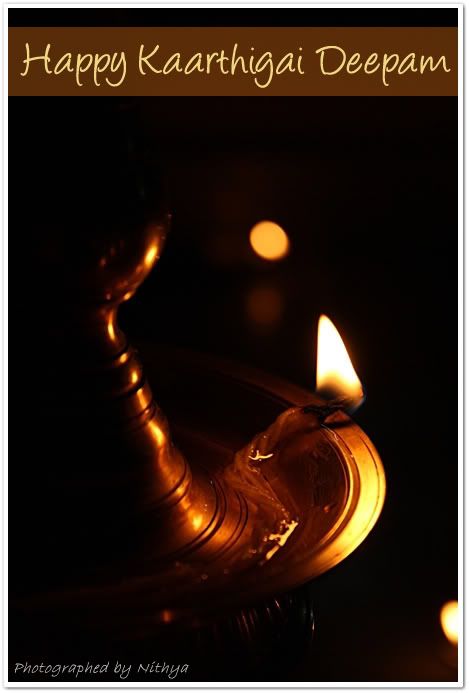
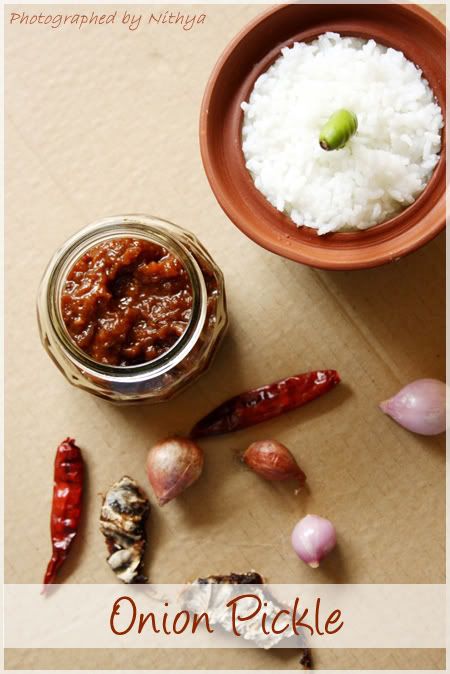
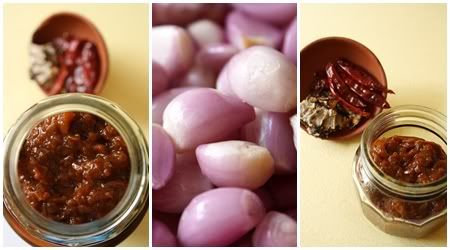
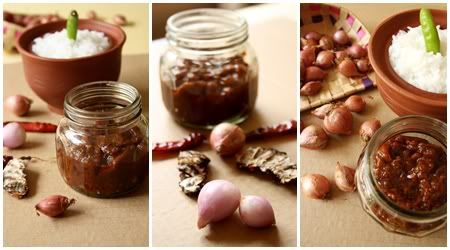
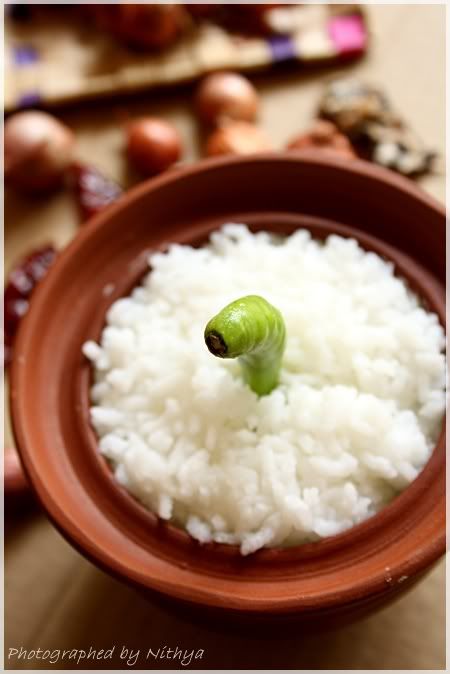
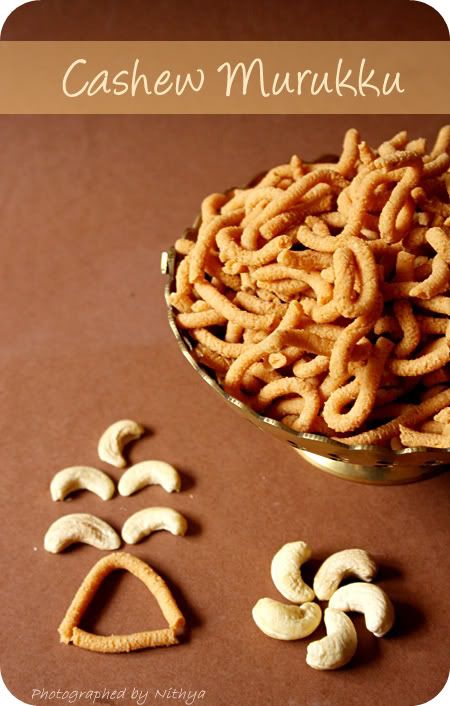
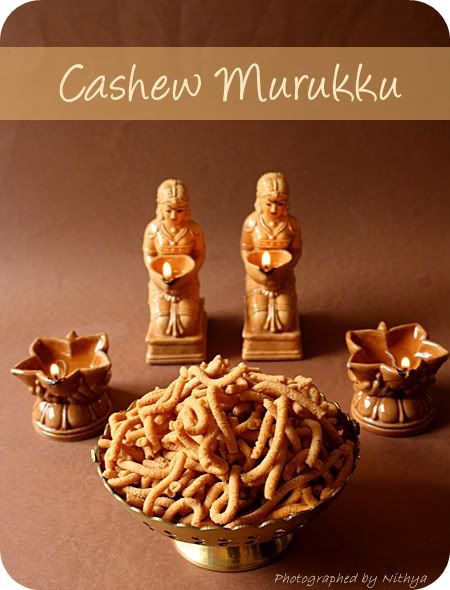
Wish you all a very happy Kaarthigai :)
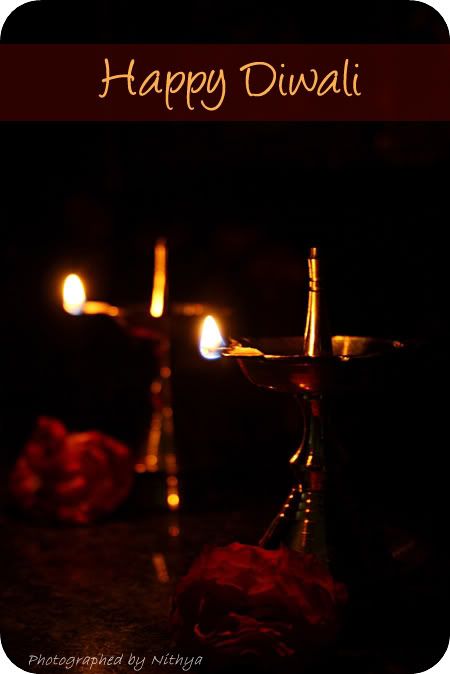
Kaarthigai Deepam is a festival of lights, celebrated in the Tamil month of Kaarthigai.
It is celebrated in a special manner in Thiruvannamalai. It is believed that Lord Shiva takes the form of a jothi on the hill of Thiruvannamali. Therefore, this festival is also known as Annamalai Deepam. Here, a special torch is lighted on the zenith of the hill and it is believed that Lord Shiva's jothi will be visible on this day.
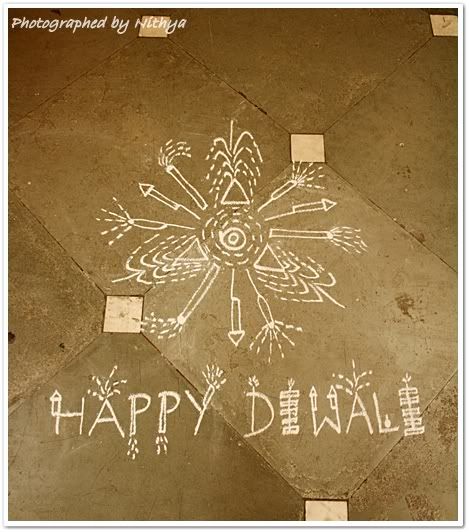
On this day, people clean their houses. In the evening, they draw kolams (rangoli) in the front of the house and also place some lamps on it. The lamps glow all over the streets on this day. In this way, people of TamilNadu celebrate Kaarthigai Deepam for three days.
It is celebrated in a special manner in Thiruvannamalai. It is believed that Lord Shiva takes the form of a jothi on the hill of Thiruvannamali. Therefore, this festival is also known as Annamalai Deepam. Here, a special torch is lighted on the zenith of the hill and it is believed that Lord Shiva's jothi will be visible on this day.
On this day, people clean their houses. In the evening, they draw kolams (rangoli) in the front of the house and also place some lamps on it. The lamps glow all over the streets on this day. In this way, people of TamilNadu celebrate Kaarthigai Deepam for three days.
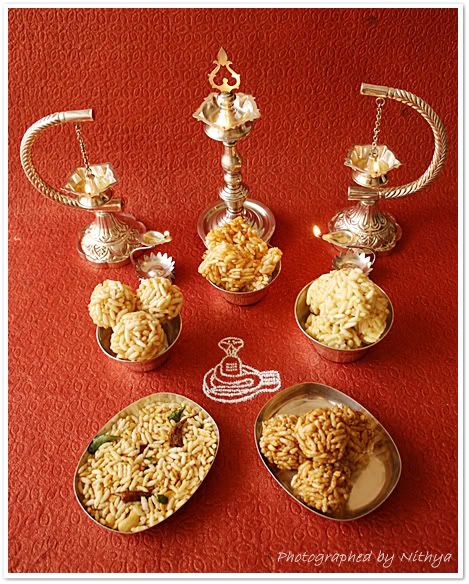
As ever, I was extremely excited about the festival and wanted to try my hand on many new varieties of puffed rice(Pori) snacks.
Experiments were successful and are tasting awesome too :)
Experiments were successful and are tasting awesome too :)
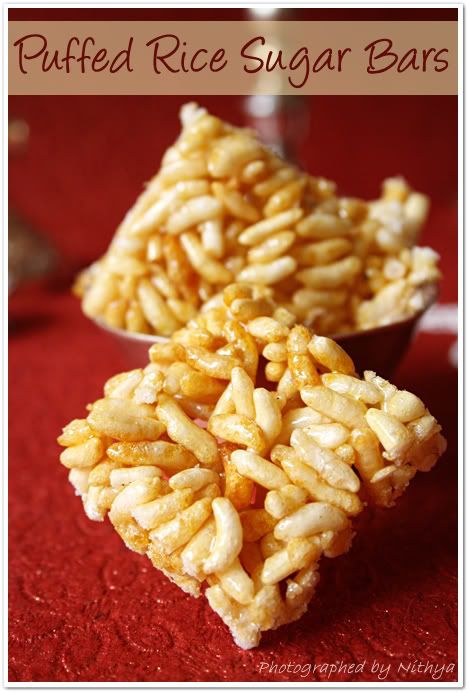
Puffed Rice Sugar Balls
Ingredients:
Sugar - 1/4 cup
Puffed rice - 2 cups (depends on how it incorporates)
Cardamom powder - 1/4 tsp
Method:
Take a dry pan and add the sugar to it. Heat it until it completely melts and caramelizes into a light brown syrup. Switch off the stove immediately and add the puffed rice and cardamom powder. Stir quickly until the sugar coats the puffed rice completely.
Immediately pour it on a greased plate and flatten them. Cut out squares while the mixture is still hot.
Allow it to cool for a while and store in air tight container.
This quantity would make 12 medium sized squares.
Enjoy the crispy crunchy caramelized sugar bars :)
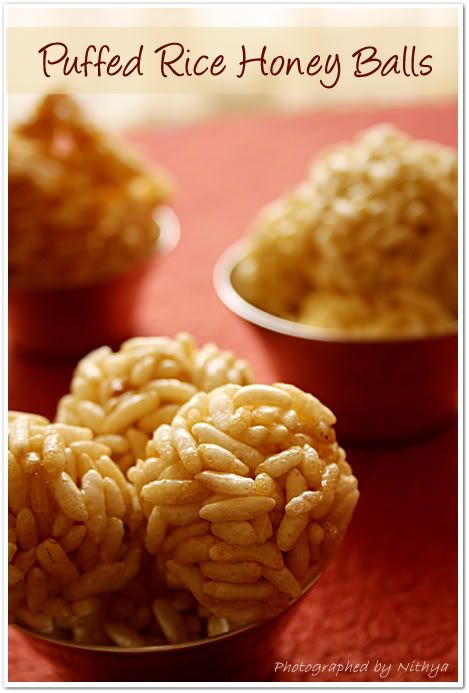
Puffed Rice Honey Balls
Ingredients:
Puffed rice - 2 cups
Honey - 1/4 cup
Water - 1/4 cup
Cardamom - a pinch
Method:
Take the honey and water in a pan. Boil until the honey reaches 1 string consistency. Once it reaches, simmer the stove and add the cardamom and puffed rice immediately. Stir well until the puffed rice is coated well with the syrup. Take it off the flame and allow it to cool for few mins.
Now grease your hands with ghee and roll out balls. Store them in air tight container.
Crispy and yummy puffed rice honey balls are ready :)
This quantity would make 12 medium sized balls.
Enjoy making :)
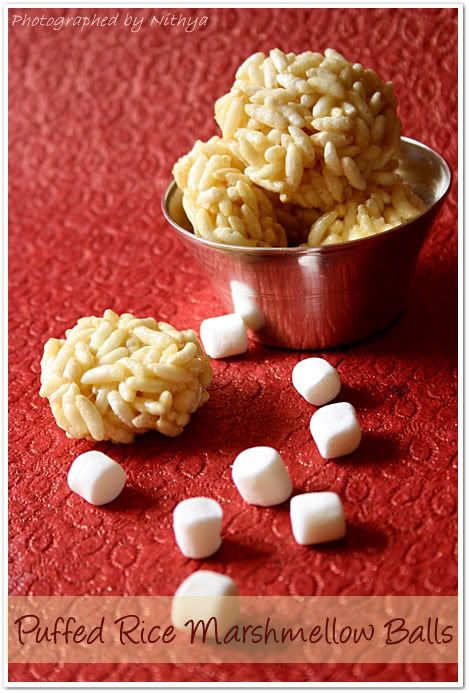
Puffed Rice Marsh-mellow Balls
Ingredients:
Puffed rice - 1 cup
Marsh mellows - 1 cup
Butter - 1 tblsp
Method:
Melt the butter in a pan and add the marsh mellows to it. Stir continuously until it melts totally. Add the puffed rice immediately and mix in until it gets coated well. Switch off the stove and allow it to cool for ten mins.
Roll them into balls and store in air tight container.
This quantity makes 7 medium sized balls. I made flat balls to make a difference :)
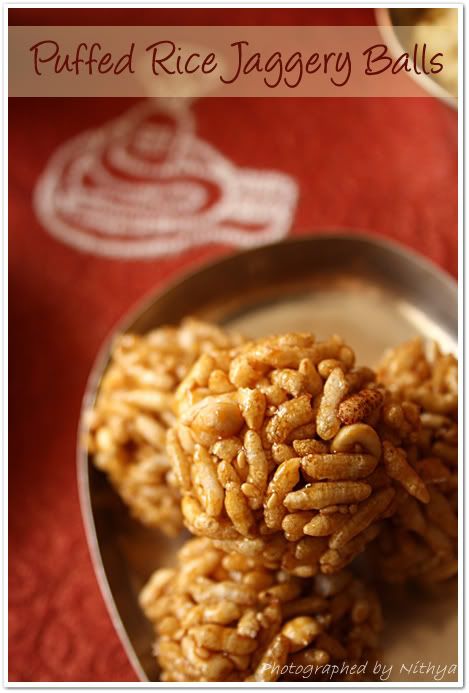
The recipe for this puffed rice jaggery balls were posted last year. Check out the recipe here.
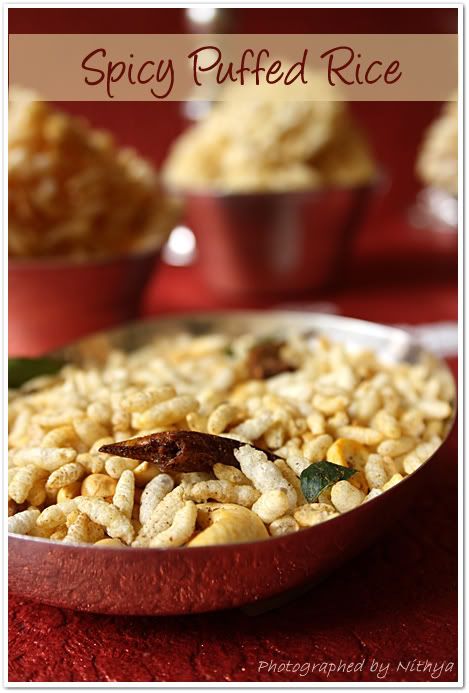
The recipe for spicy puffed rice was posted previously. Checkout for the recipe here.


 Fondant Cakes
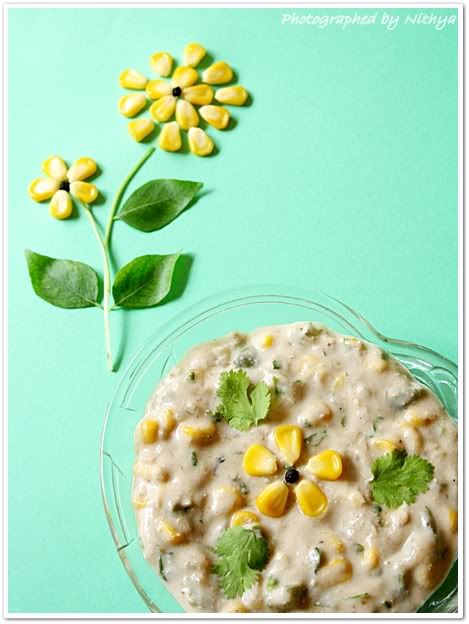
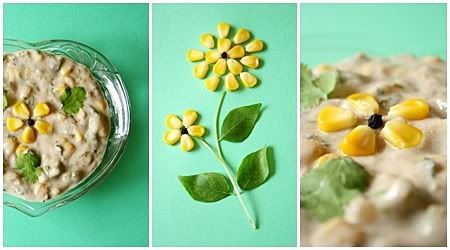
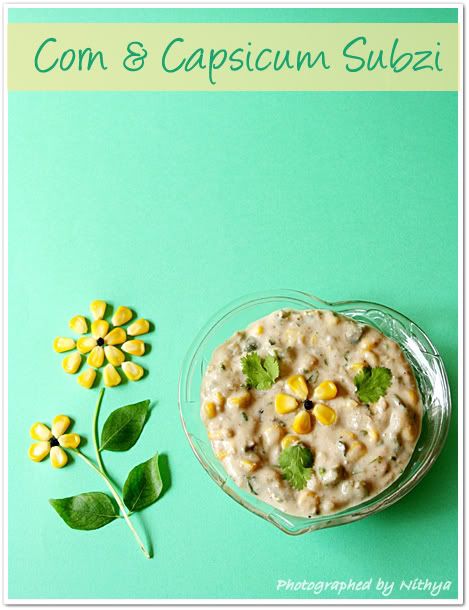
 Side Dishes (Subzi/Chutney)
 Lunch
Lunch Salads
 Chaat Items
 Sweets
 Product Review
 Kids Special
 Color Mania
 Mango Mood


Fondant Cakes - 1
Fondant Cakes - 2
Fondant Cakes - 3
Fondant Cakes - 4