Showing posts with label Cakes. Show all posts

Wednesday, January 1, 2014

Fruit & Rum Cake

 photo RumampFruitcake3_zps27c8d967.jpg

Wish you all a FUNtastic New Year!!

First of Jan!! Loads of dreams opening up for the coming year and that's the day all folks enjoy by partying hard. 

My way of celebration was sitting back at home, awake until 12,wishing all at home, going to a temple, visiting an orphanage and of course baking for my family :) It definitely was a picture perfect day :)

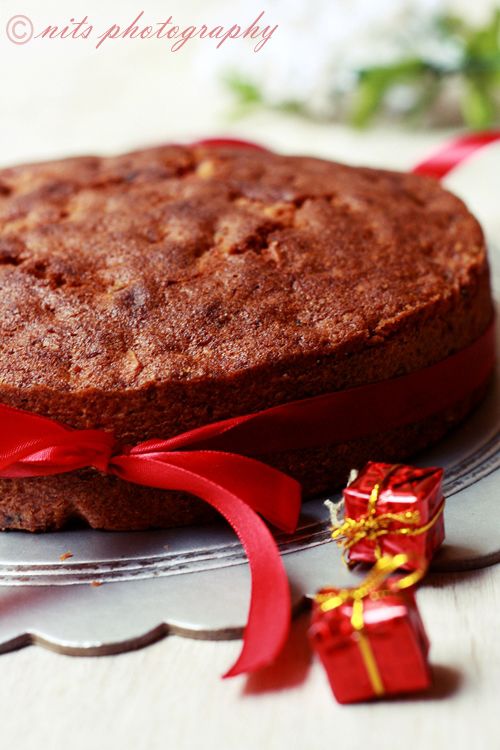
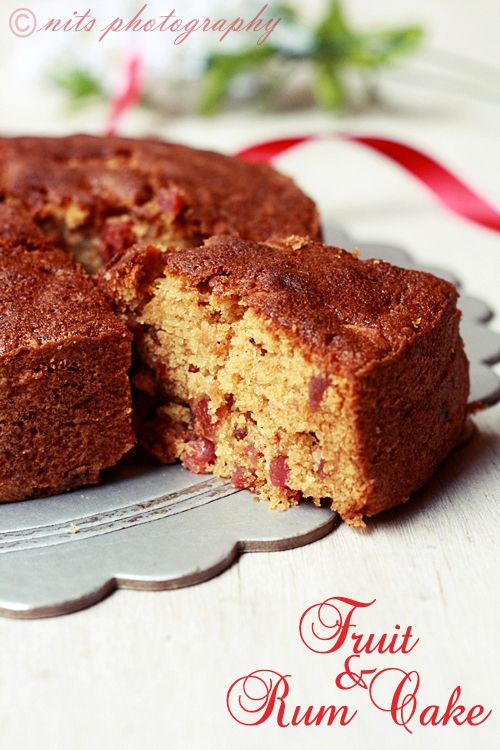
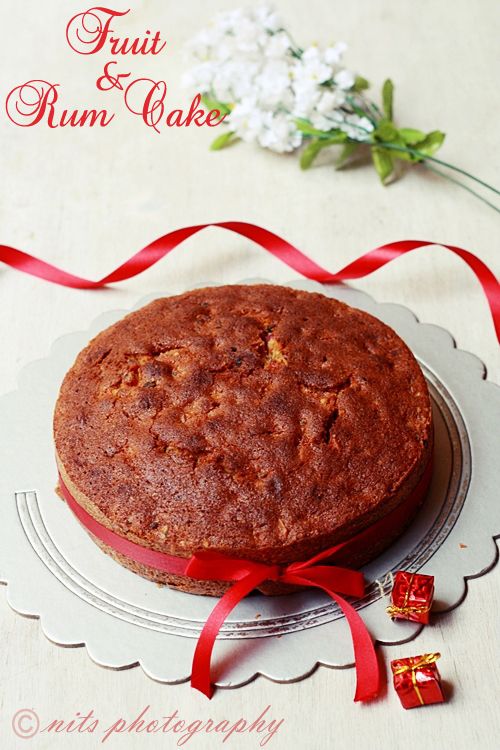
Though I don't drink alcohol, the sound of it in any dish like 'Rum and raisin icecream' would definitely excite me a bit. Hence I soaked my fruits in Rum and tatadaaaaa my delicious Fruit and Rum cake was the best cake I have ever baked :) Collars up when my family approved and loved it :P

That's a beautiful beginning and wish its happily ever after! :P

 photo RumampFruitcake1_zpsf5e9f708.jpg

Ingredients:

Cherries - 1/4 cup
Tutty Fruity - 1/4 cup
Raisins - 1/4 cup
Candied orange peel - 4 peels
Dried and Candied berries and mango strips - 1/4 cup
Dried Black currants - 1/4 cup
Dark Rum - 1/2 cup
Butter - 1 cup
Brown sugar - 1 cup
Eggs - 2
Vanilla essence - 1/2 tsp
Caramelized sugar syrup - 3 tblsp
Milk - 1/4 cup
All purpose flour (Maida) - 1 cup
Cinnamon powder - 1 tsp
Garam Masala powder - 1/2 tsp
Cooking Soda - 1/2 tsp
Salt - a pinch
Macadamia nuts - 1/4 cup
Walnuts - 1/4 cup

 photo RumampFruitcake2_zpsc551d54b.jpg

Method:

Chop all the fruits and candied berries into small pieces and soak it in rum for a day or more. I soaked mine in a bottle for a week. :) Rum can be replaced by apple juice for people who do not prefer alcohol. 

Preheat the oven to 350°F or 180°C. 

Chop all the nuts coarsely.

Cream butter and sugar until fluffy. Add one egg at a time and beat well. Mix in the vanilla essence. 

Sift maida, cinnamon powder, garam masala powder, salt and cooking soda together. 

Fold in the sifted flour by 3 parts into the butter sugar mixture. 

Now take sugar in a dry pan and add just few drops of water. Allow the sugar to melt and caramelize into dark caramel. 

Add the caramel and milk alternatively to the batter and mix well. 

Finally mix in the chopped nuts and soaked fruits along with the rum to the batter. 

Grease and flour a 8 inch round pan. 

Transfer the batter to the baking pan and bake at 180°C for 45 - 50 mins or until wooden tooth pick inserted in center comes out clean.

Cool on wire rack for 15 mins.


Slice, serve and enjoy :)
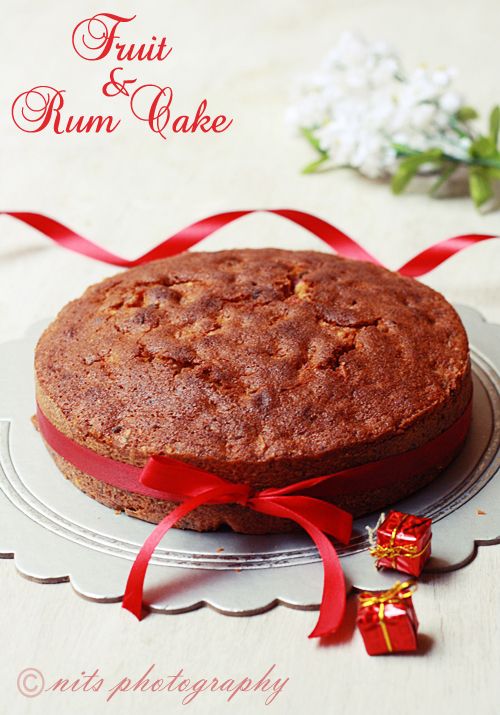
 photo RumampFruitcake_zps7470ca74.jpg

Written by: Nithya
Send in your queries by clicking here

Thursday, November 22, 2012

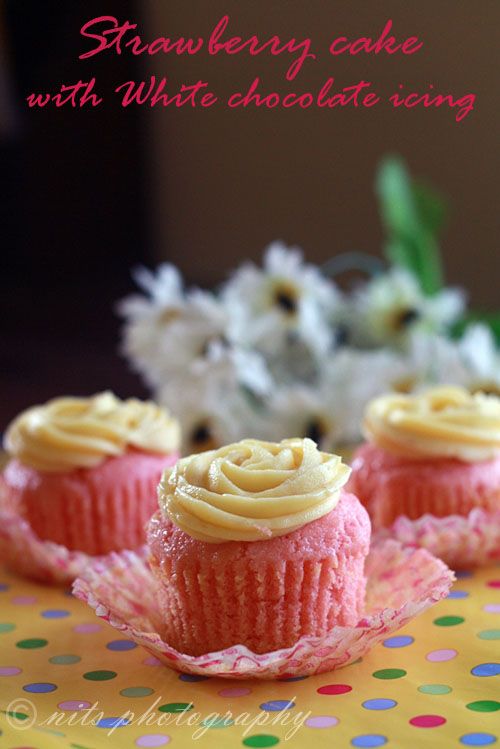
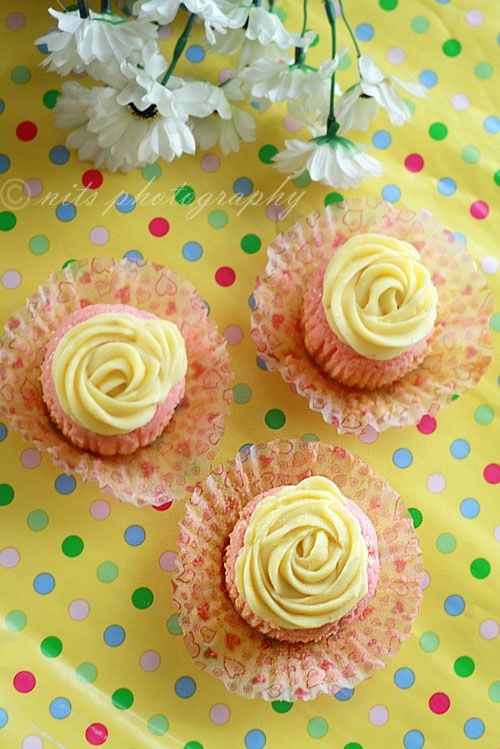
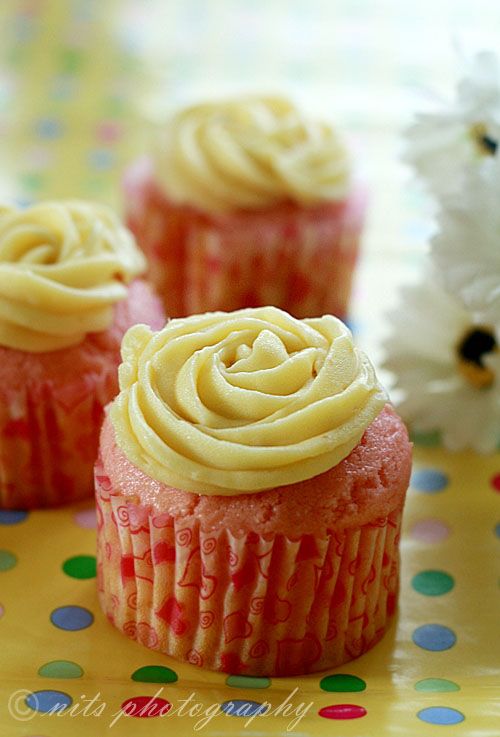
Strawberry Cake with White Chocolate Icing

Photobucket

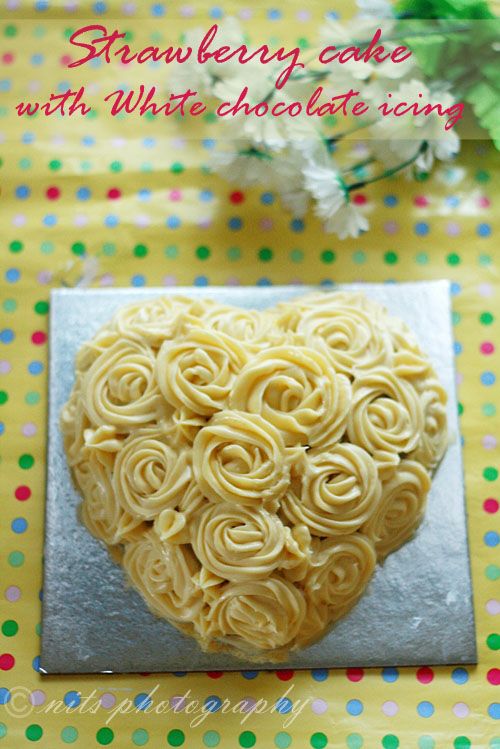
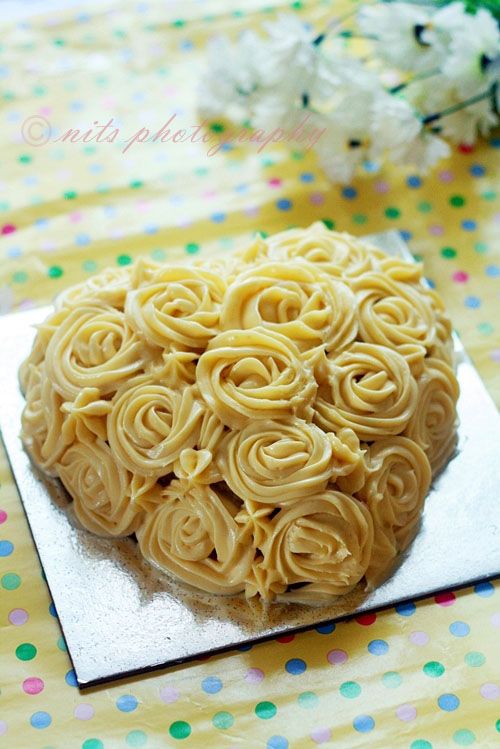
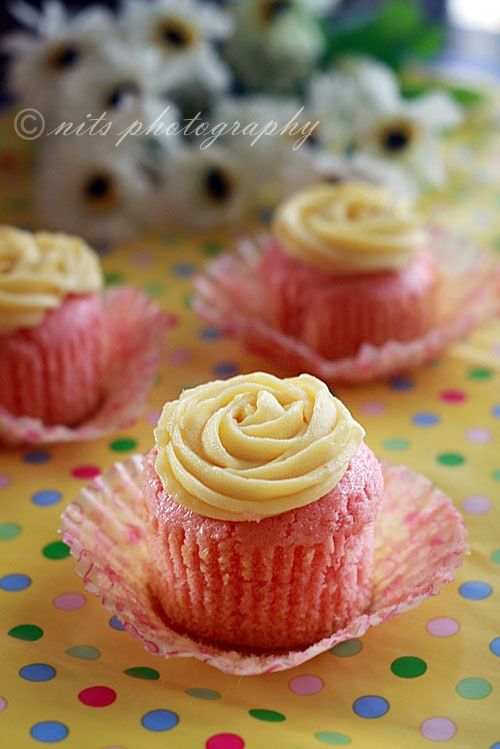
Strawberry cake with white chocolate frosting!!! Yummy and a sweet adrenaline rush I should say :) 
This was one cake that I loved as soon as I made it and did a happy feet dance :) Though not so perfect with the frosting, it still made me feel proud of this acquired skill of mine ;) A heart full of roses..Who wouldn't like it! 
The cake is simple, eggless and delicious!! 

Photobucket

Ingredients:

For cake:

All purpose flour (maida) - 250 gms
Cooking soda - 1/2 tsp
Baking powder - 1 tsp
Butter - 100 gms
Milk maid - 200 ml
Water - 50 ml
Milk - 100 ml
Strawberry Emulsion - 1/2 tsp

For frosting:

White chocolate - 100 gms
Butter - 140 gms
Icing sugar - 75 gms


Photobucket

Method:

Sieve maida, cooking soda and baking powder together. 

Take a mixing bowl and beat butter and milk maid until smooth. Add the strawberry emulsion and beat until well mixed. Fold in the maida, baking powder mixture alternating with milk and water until well incorporated. 

Pour the batter in the greased and floured mould and smoothen the top with spatula. 

Preheat oven to 180°C and bake the cake for 30-40 mins. 

Check if cooked by inserting a tooth pic in the center. The cake done if the toothpick comes out clean.


Photobucket

Icing:

Chop white chocolate into small chunks. Melt it over double boiler and keep it aside until it becomes warm but does not solidify again.

Meanwhile beat butter and sugar until stiff. 

Beat in the white chocolate into the butter sugar mixture.

Take a disposable icing bag and put in the star shaped nozzle. Fill it with icing and pipe small circles from inside out to make pretty rosettes. 

Enjoy the cake :)
Photobucket

Tips:

If you dont have emulsion for flavoring, simply use 1/2 tsp of strawberry essence and 1/4 tsp of pink food color to get the same results. 

White chocolate frosting is quite sweet so try to keep the sugar levels in the cake subtle. 

Photobucket

Written by: Nithya
Send in your queries by clicking here

Friday, October 19, 2012

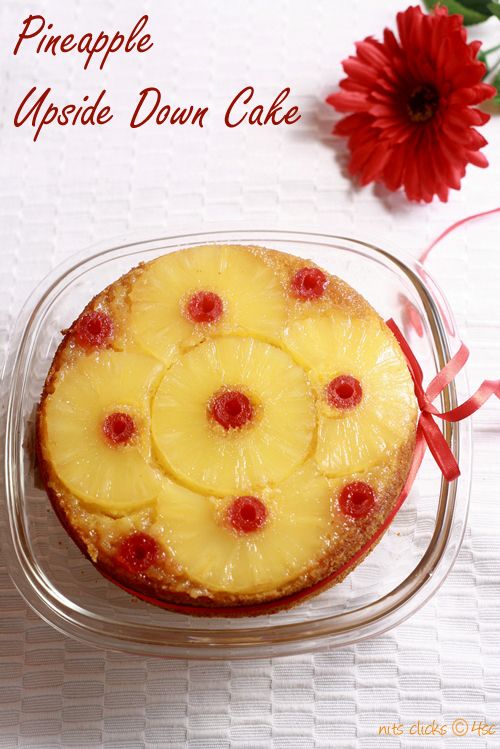
Eggless Pineapple Upside Down Cake

Photobucket

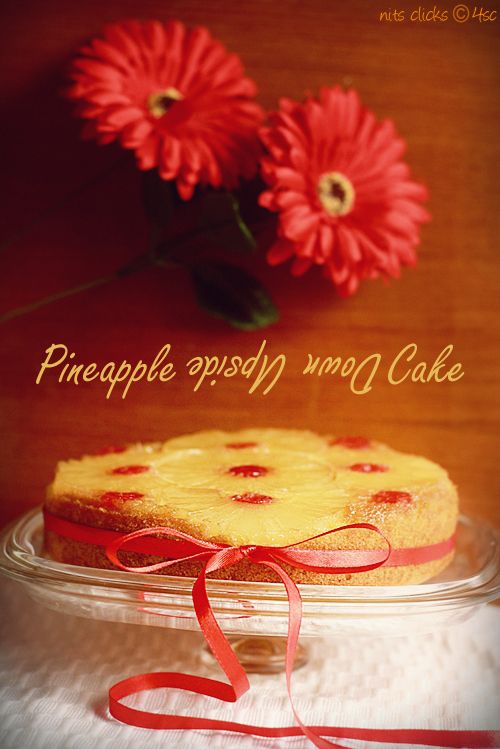
Birthday's are always special. Comes just once a year but adds 1 to your age making you a little older!! LOL


Photobucket

Ingredients:

Pine apple slices (I used canned) 
Cherries

For caramel - 

Sugar - 4 tblsp
Butter - 2 tblsp
Water - 1 tblsp

For Cake - 

All purpose flour (maida) - 250 gms
Cooking soda - 1/2 tsp
Baking powder - 1 tsp
Butter - 100 gms
Milk maid - 200 ml
Water - 50 ml
Milk - 100 ml
Pineapple essence - 1/2 tsp
Yellow food color - a pinch

Photobucket

Method:

To make the caramel - 

Take the butter and sugar in a pan and heat until the butter and sugar melts. Now add the water and keep stirring under medium flame until the sugar caramelizes to light brown color. Remove from flame and immediately pour it into a round baking pan. 

Drain the pineapples from the syrup in the tin. Now arrange them on top of the caramel poured in the baking pan. Arrange the cherries as per your taste too and keep the pan aside. 

For the cake -

Sieve maida, cooking soda and baking powder together. 

Take a mixing bowl and beat butter and milk maid until smooth. Add the pineapple essence and food color and beat until well mixed. Fold in the maida, baking powder mixture alternating with milk and water until well incorporated. 

Pour the batter over the arranged pineapples slowly and smoothen the top with spatula. 

Preheat oven to 180°C and bake the cake for 30-40 mins. 

Check if cooked by inserting a tooth pic in the center. The cake done if the toothpick comes out clean.

Invert the cake immediately on the wire rack and allow it to cool. 

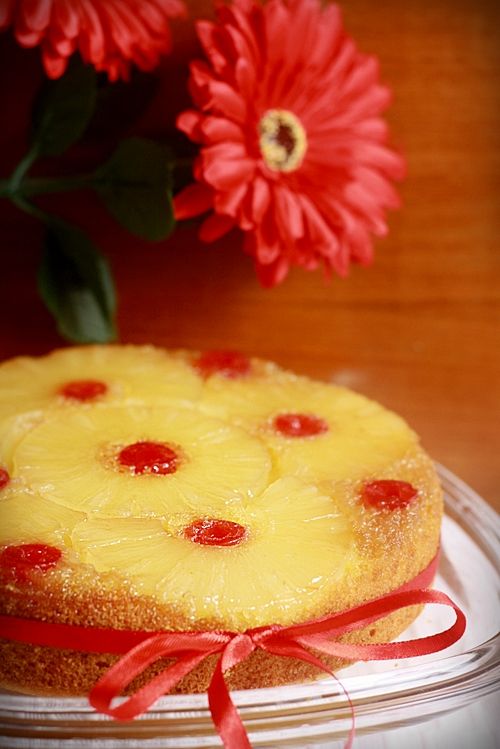
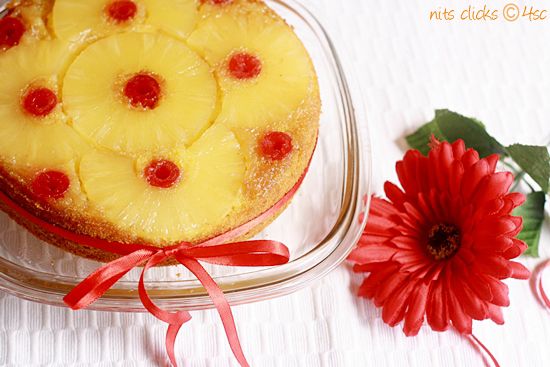
Enjoy the beautiful and delicious pineapple cake :)

Photobucket

Written by: Nithya
Send in your queries by clicking here

Monday, August 6, 2012

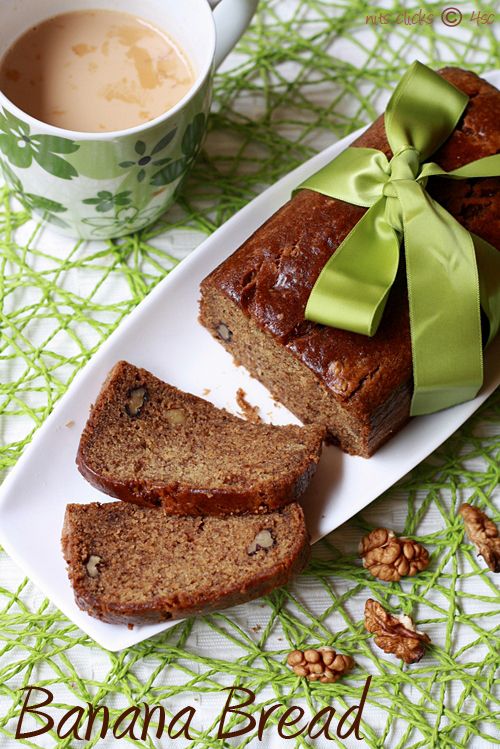
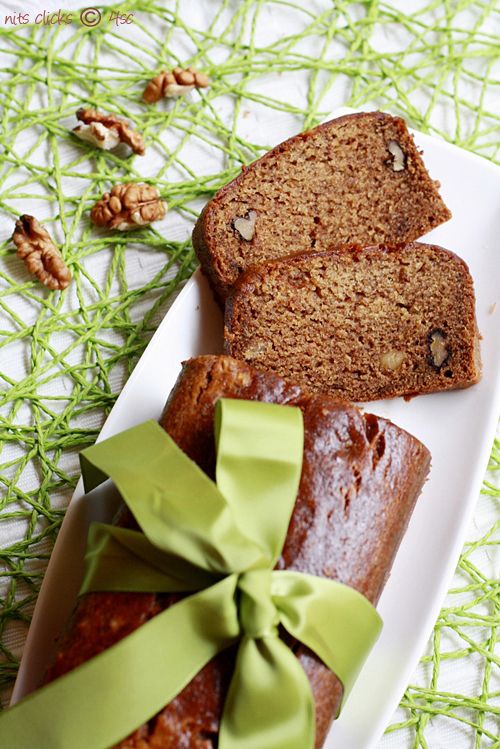
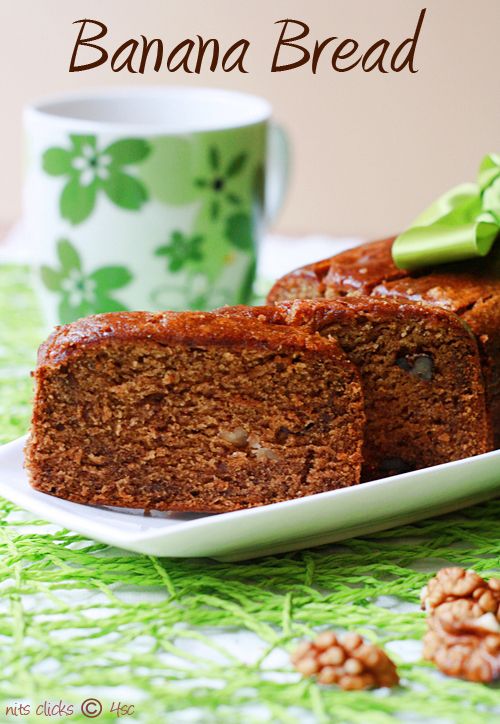
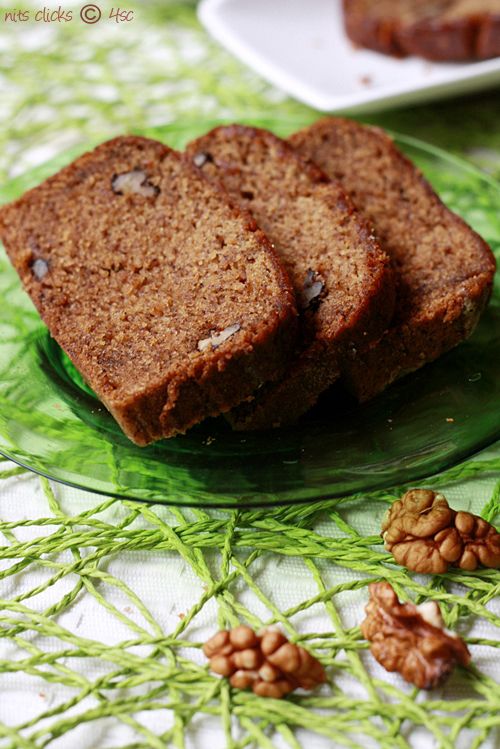
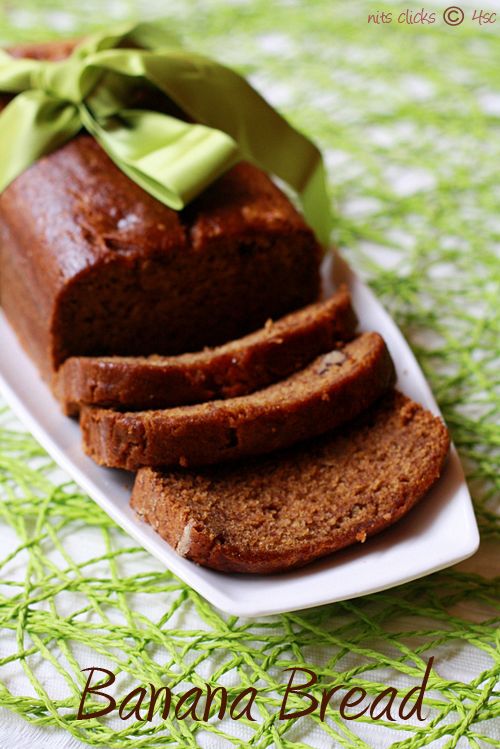
Banana Walnut Bread - Eggless

Photobucket

A humble fruit that is delicious. A humble fruit that look beautiful. A humble fruit that fills your tummy. A humble fruit that cures your body from constipation. A humble fruit that is available throughout the year. The humble fruit that most of you love.

Oh yeah I know you guessed it right. The banana is the hero of today's recipe. :)

I so much love banana that I can have it 365 days a year for the next 75 years if I survive 100 like some one blessed :P

Incorporating banana's or rather replacing eggs with bananas in baking is a boon I say. It adds taste, aroma and incredibly tempting flavor.

I had a dozen of super ripen bananas at home and couldnt stop day dreaming about banana bread. Hence shook off my laziness and whipped up the batter within 10 mins. Put it in the oven and sat with satisfaction. It was 10 mins up and the kitchen was already smelling heavily of banana.. Ummmmmm.. thats when disaster struck in the form of power cut. Oh the dare devil against baking was there. :( Waited patiently for the next 1 hour until it came back and with so much of prayers I switch the oven on again. My prayers got answered and was blessed to get a pretty soft, dense, delicious banana bread out of the oven.

Everyone liked it, so did I :)

Recipe inspired from my buddy blogger Jeyashri - here.

Photobucket

Ingredients:

Banana - 3 small (or 2 large)
Wheat flour - 1/2 cup
Maida - 3/4 cup
Brown sugar - 3/4 cup
Milk - 1/4 cup
Oil - 1/4 cup
Curd - 2 tblsp
Cooking soda - 1 tsp
Vanilla essence - 1/2 tsp
Walnuts - 10

Photobucket

Method:

Sieve maida, wheat flour and cooking soda together and keep it aside.

Chop bananas into small pieces and grind it along with sugar and milk into a smooth paste.

Now take the ground mixture in a large mixing bowl. Add oil, vanilla essence and curd to it and mix well. Finally fold in the sifted flour mixture into it.

Chop the walnuts and mix them into the batter.

Photobucket

Preheat the oven to 180°C.

Grease a bread tin with butter and dust all purpose flour evenly. Pour in the batter into the bread tin and bake at 180°C for 40-50 mins.

Remove from oven and allow the bread to cool on wire rack for a while before cutting out slices.

Photobucket

Written by: Nithya
Send in your queries by clicking here.

Monday, July 2, 2012

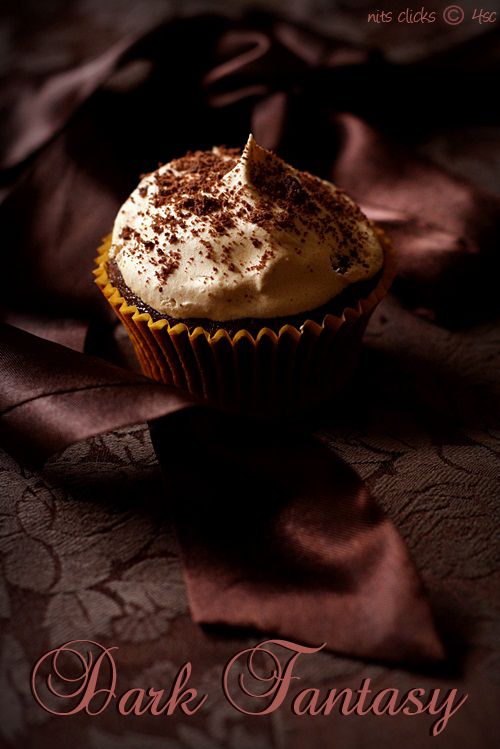
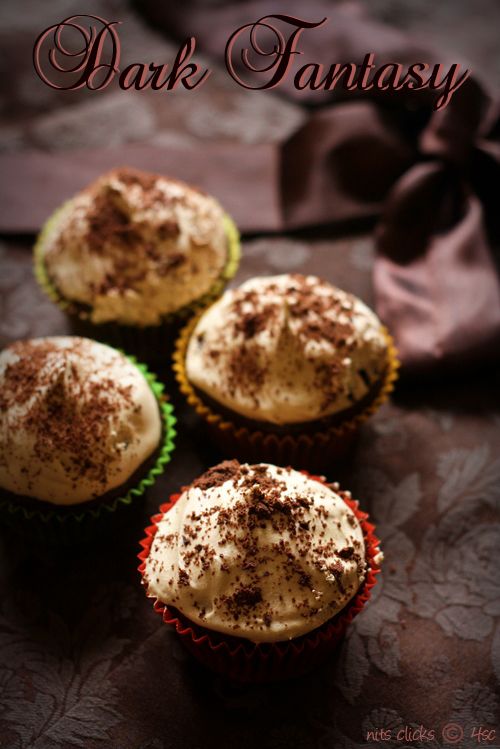
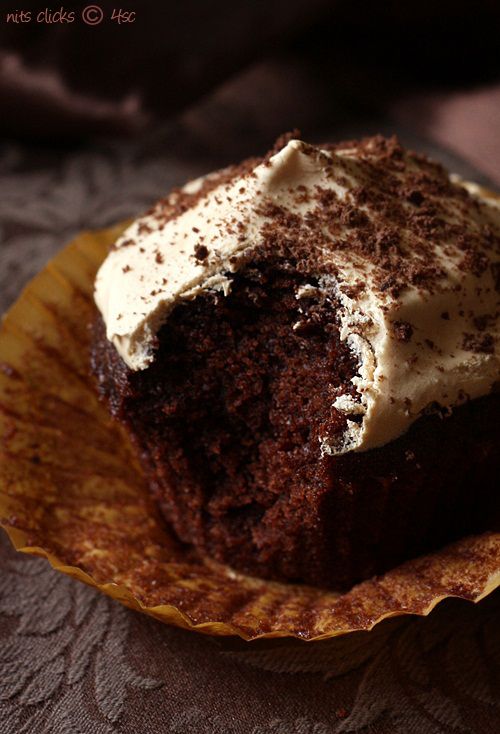
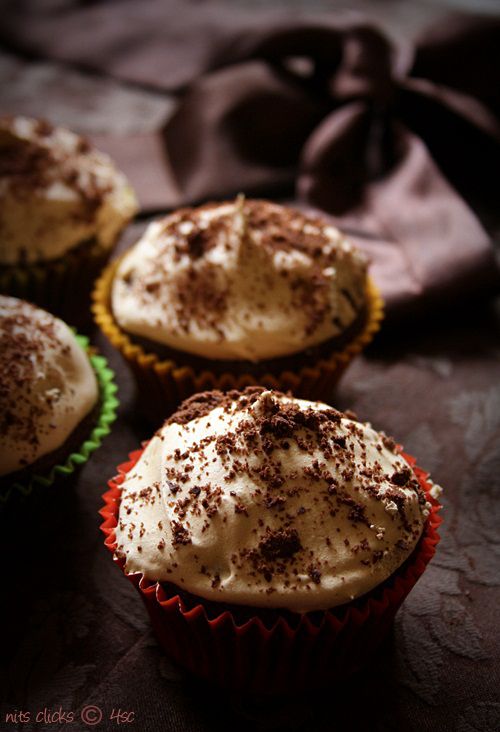
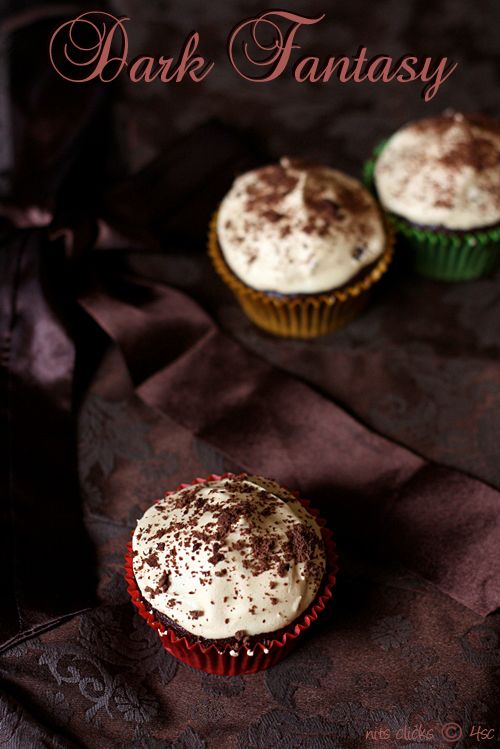
Dark Fantasy Cup Cakes - Eggless & Low fat

Photobucket

Chocolate and baking cures pain!

You really need to believe me!! I met with a kitchen disaster last Wednesday and have been kind of facing pain and was out of the kitchen for almost a week. Felt so bored and couldn't resist being away from my kitchen and my blog. I hardly got any mails and queries and that's when I realized how addicted or rather attached to my blog I am.

After having a pretty bad hot sambhar bath on my legs, I choose to start off again with a safer mode of cooking and took up the oven for baking some delicious cakes that will bring me back to mood.

The mood was set to bake but had hardly any ingredients like eggs or condensed milk at home. So I choose the simplest recipe and the cake came out at its best. It was dark, moist, sweet and super soft. The dense texture as well as the light coffee cream icing made it more delicious and filling too :)

This dark fantasy cup cakes are one of my best eggless creations for sure :) Patting my back for the come back recipe :)

Photobucket

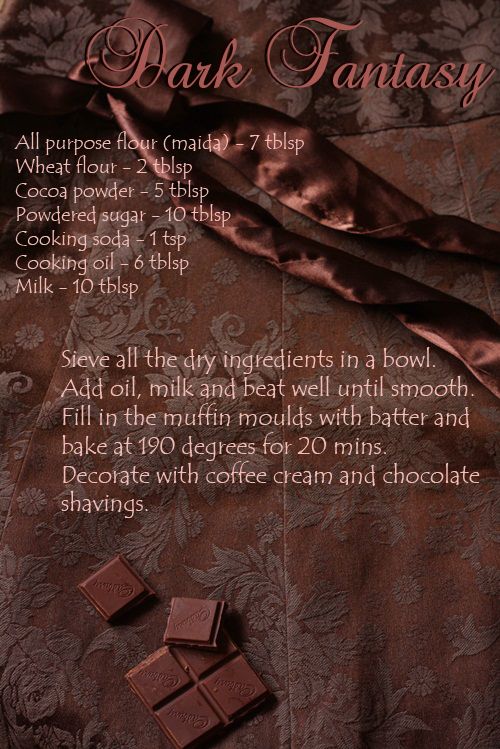
Ingredients:

All purpose flour (maida) - 7 tblsp
Wheat flour - 2 tblsp
Cocoa powder - 5 tblsp
Powdered sugar - 10 tblsp
Cooking soda - 1 tsp
Cooking oil (groundnut / sunflower / canola) - 6 tblsp
Milk - 10 tblsp

Photobucket


Method:

Sieve maida, wheat flour, powdered sugar, cocoa powder and cooking soda together.

Take it in a mixing bowl. Add milk and oil to it and beat well with hand beater. The batter should be smooth without lumps. It should be in pouring consistency.

Photobucket

Preheat oven to 180°C. Line the muffin tray with liners.

Fill muffin cups with batter almost full leaving just 2 mm from the top and bake it for 18-20 mins at 180°C. Adjust the time according to your oven settings.

Check if cooked by inserting a skewer in the center. Once done, allow it to cool on a wire rack for a while.

This quantity makes exactly 6 dense and beautifully puffed up cupcakes.

Photobucket

Coffee cream:

Beat fresh cream until stiff peaks form.

Take 1 tsp of instant coffee powder and mix it in 1 tblsp of warm water.

Fold in the coffee mixture into the cream and pipe it on the cup cakes.

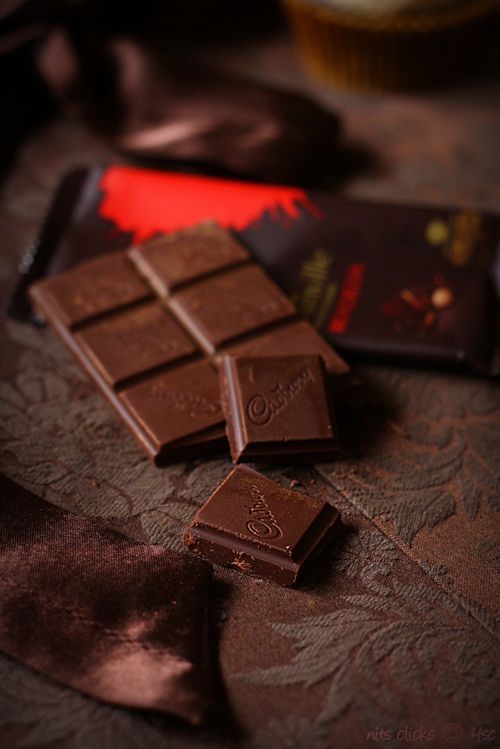
Grate some dark chocolate (Bonneville) and sprinkle on top.

Enjoy the delicious dark fantasy cup cakes :)

Photobucket

Tips:

Allow the cup cakes to completely cool down before you do the icing.

Refrigerate the cake before serving for best results and delicious chill dessert.

Photobucket

Written by: Nithya
Send in your queries by clicking here.

Thursday, June 14, 2012

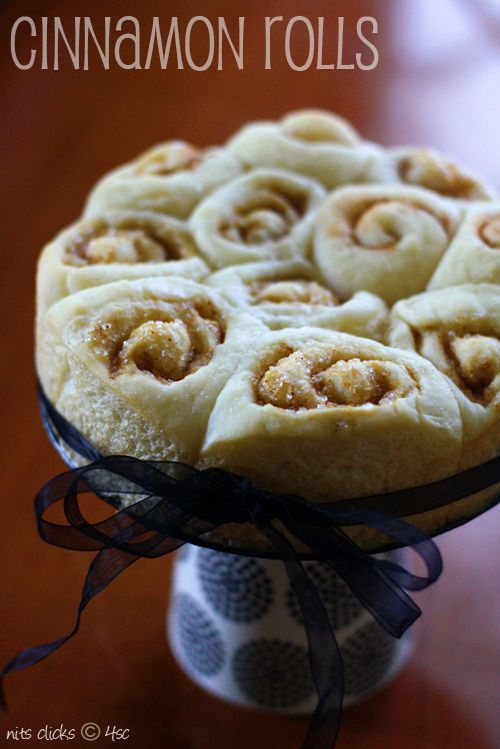
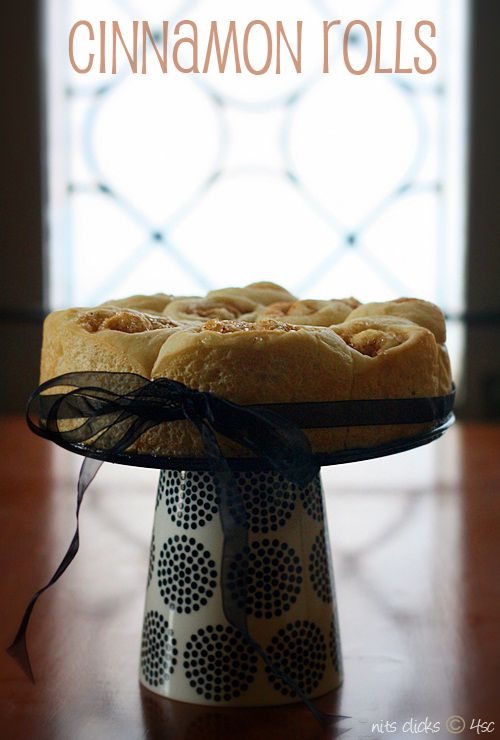
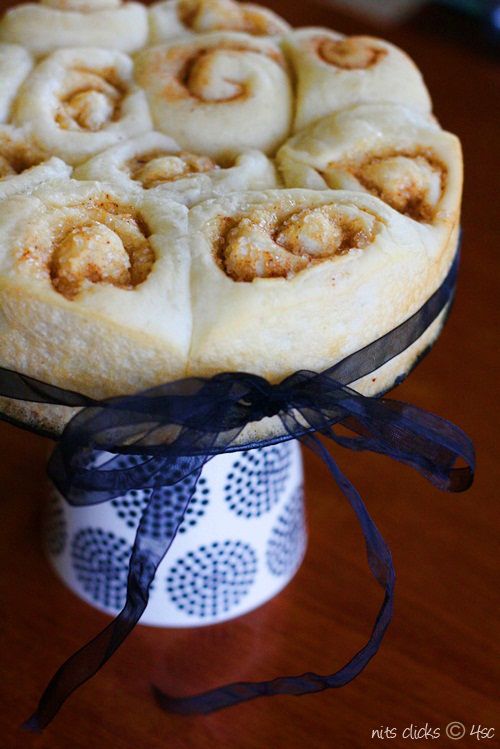
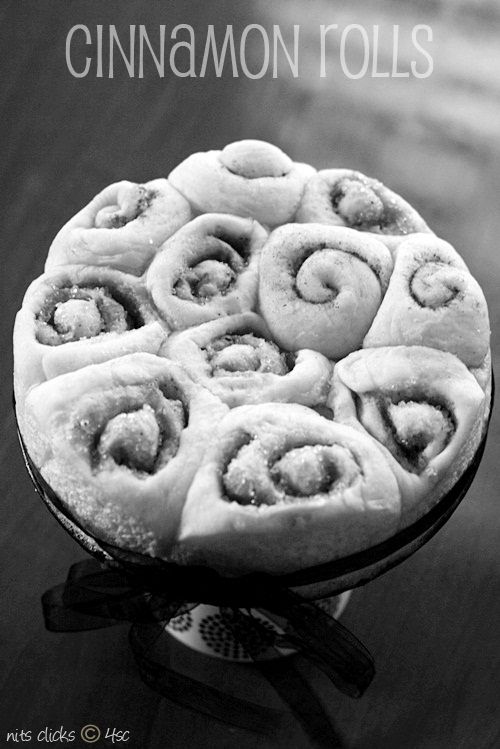
Eggless Cinnamon Rolls

Photobucket

The smell of cinnamon while baking is the best of all the aromas I have ever experienced and loved. :) Most of you would agree to me!

The spice is so delicious when added to both savory and sweet dishes. Its such a versatile spice which I fell is not very well used here in India.

I have fond memories of eating cinnamon rolls from mcrennett. They make a large roll which can be sliced into veges and served. Their rolls had the cashew flavor and I wanted to have it in mine too :) Dad used to get us the cinnamon roll and veg puffs for snacking and I have just loved it so much that the moment I recollect it, I'm able to bring back the taste in my tonge :) yummy :)

Photobucket

Ingredients:

All purpose flour (Maida) - 1/2 kg (2 1/2 Cups)
Sugar - 50 gms
Salt - 1 tsp
Yeast - 15 gms
Water
Butter - 2 tblsp

Cinnamon powder - 2 tblsp
Cashews - 10
Sugar - 1/2 cup
Butter - 2 tsp

Photobucket

Method:

Clean your work surface ( Kitchen slab is good enough).

Sieve the all purpose flour on the work surface and make a well in the center.

Tip in the yeast, sugar and salt in the center. Add 1/2 cup of lukewarm water on top of the yeast and rub with your fingers until the yeast, salt and sugar dissolve in the water. Now gently push in the all purpose flour and kneed well. Add more of lukewarm water and kneed until everything comes together into a sticky dough.

Now pour the melted butter on the dough and kneed well incorporating air into the dough. This is simply done by stretching the dough to a feet long and folding it into half, incorporating air in the center. Keep doing this by rotating the dough in both the directions. You need to kneed the dough for 15 mins in this method for best results.

Grease a large bowl with butter and place the dough in it. Wrap with cling film and keep it in a warm place for one hour or until it doubles in quantity.

Photobucket

Once it doubles, knock the air out and roll it into a 1/4 inch large rectangle with the longer side facing you.

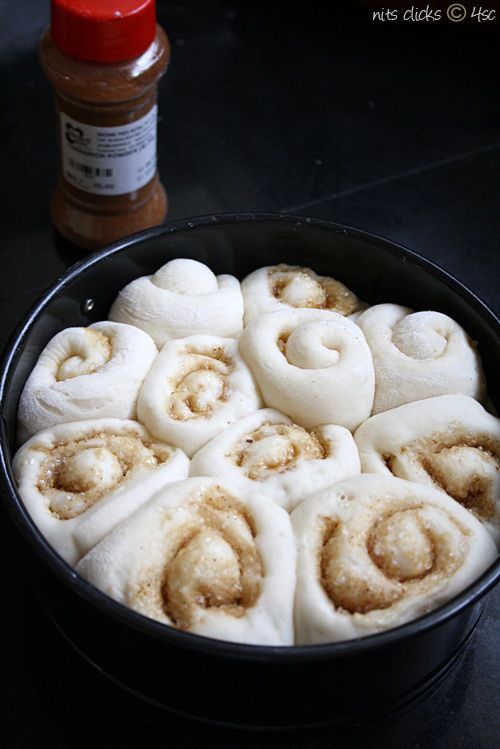
Apply butter lightly on top of the rolled dough and sprinkle sugar, coarsely ground cashew powder and cinnamon powder evenly over it and roll it into a long spiral bread.

Slice them into 2 inch pieces and place them in a greased baking pan. Once again allow it to raise for 1/2 an hour.

Meanwhile preheat the oven to 180°C.

Bake the rolls for 20 - 25 mins. Until it is well puffed up and light brown on top.

Enjoy the delicious cinnamon rolls :)

Photobucket

Written by: Nithya
Send in your queries by clicking here.

Wednesday, May 30, 2012

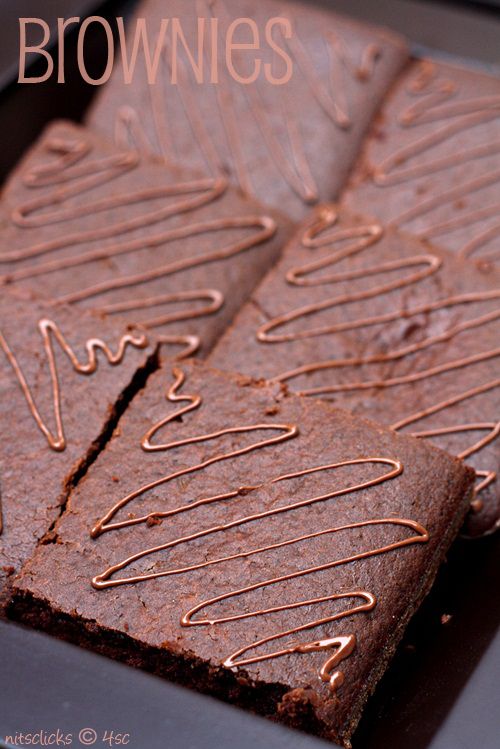
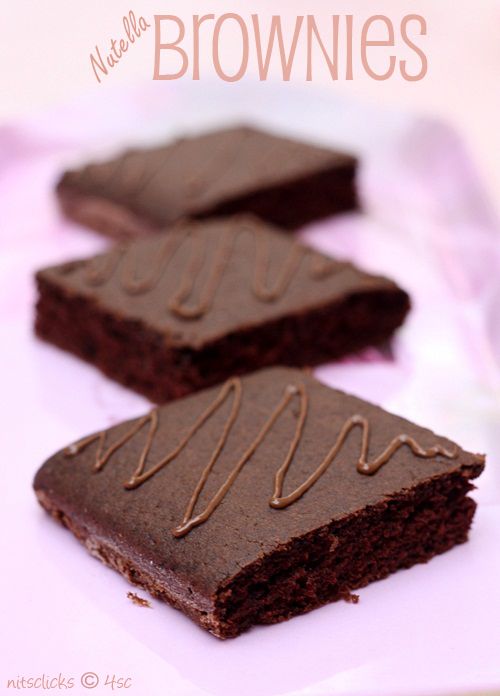
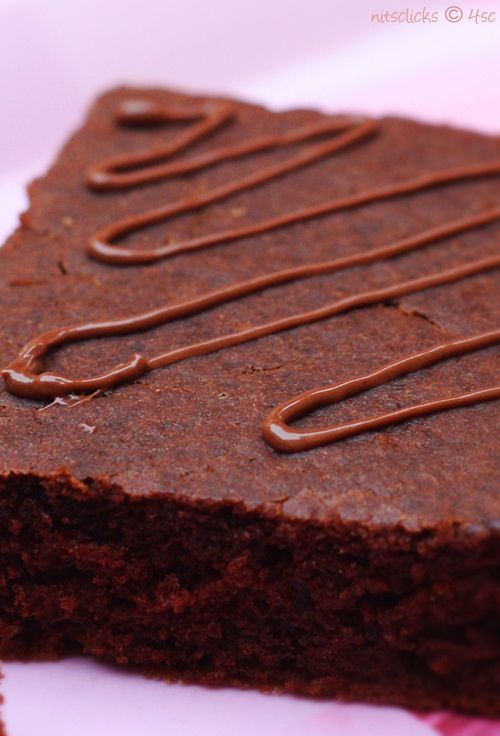
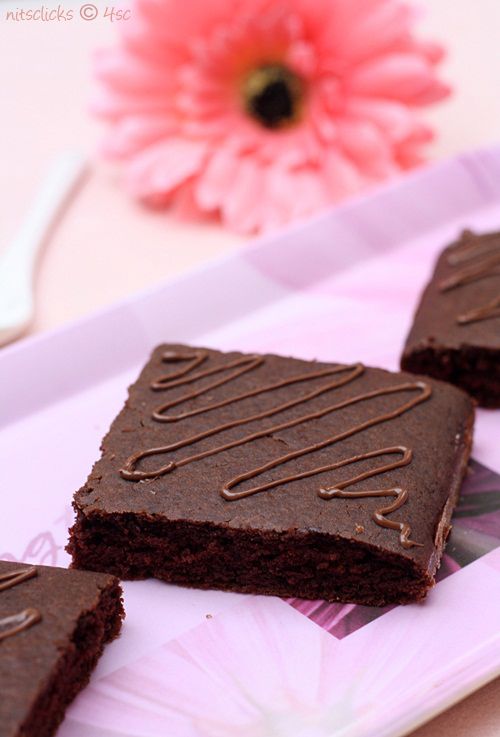
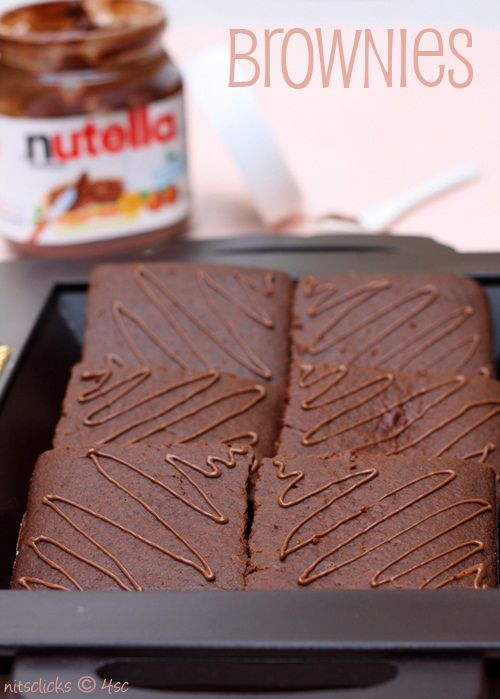
Eggless Nutella Brownies

Photobucket

I am suffering from brownie fever!! have been craving, dreaming, mind cooking and desperately wanting to have brownies for the past ten days, but blame my laziness for not having fulfilled my urge :(

The fever was too high last afternoon that I had to treat it with atleast a couple of brownies and yes I made them finally :) I'm munching on one large square as I'm writing this post and I am up and energetic after the bite :) :) :)

These Brownies come with a good news and a bad news!!

The Bad news is - You cant stop eating them after a bite!
Good news - You dont have to stop! They are low fat and eggless :) yahooooooo

I'm sure these words and pictures are enough to make you wake up and get to the kitchen with your aprons on!! Get set go....

Photobucket

Ingredients:

All purpose flour(maida) - 100 gms
Cocoa powder - 2 tblsp
Powdered Sugar - 100 gms
Salt - a pinch
Baking soda - 1/2 tsp
Cooking oil - 2 tblsp
Butter milk - 1/2 cup
Nutella - 2 tblsp

Photobucket

Method:

Sift all purpose flour, cocoa powder, sugar, baking soda and salt together.

Take the sifted contents in a bowl and combine oil, butter milk and nutella to it. Stir with a spatula until everything combines into a smooth batter.

Preheat the oven to 350°F or 180°C.

Grease and flour the baking pan. Pour in the prepared batter into the pan and bake in 180°C for 20-25 mins or until wooden tooth pick inserted in center comes out clean. Mine was perfect after 23 mins.

Cool on wire rack and slice them into squares.

Eggless nutella brownies are ready :) Serve it warm with vanilla ice cream :)

This quantity would make 6 medium sized squares of brownies.

Photobucket

Tips:

Drizzle some nutella over it for decoration.

Add chopped walnuts or almonds to the batter before baking.

Photobucket

Written by: Nithya
Send in your queries by clicking here.

Monday, May 21, 2012

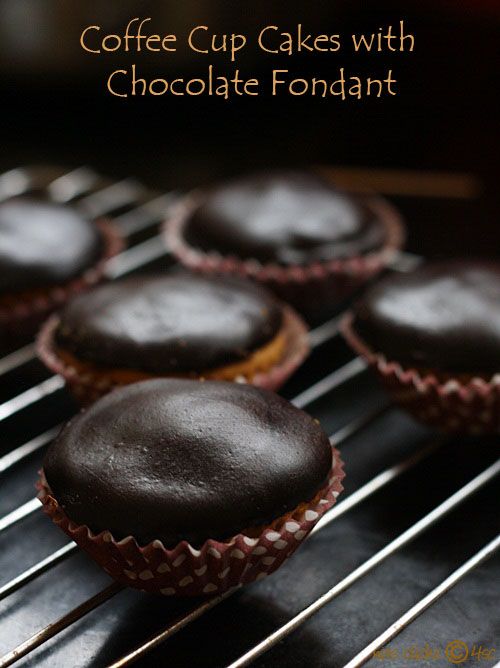
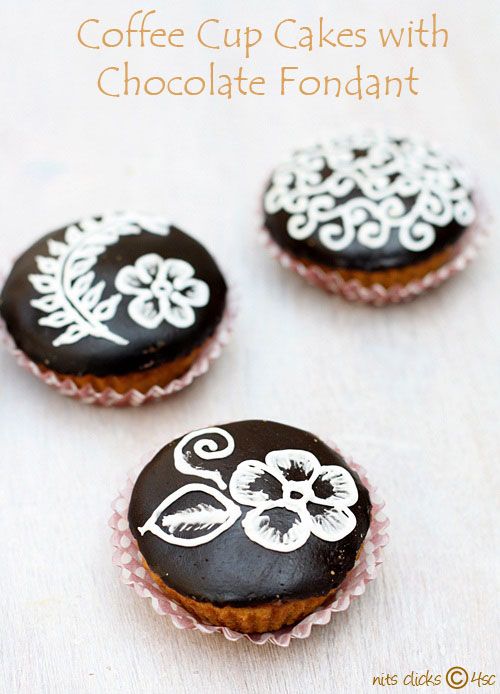
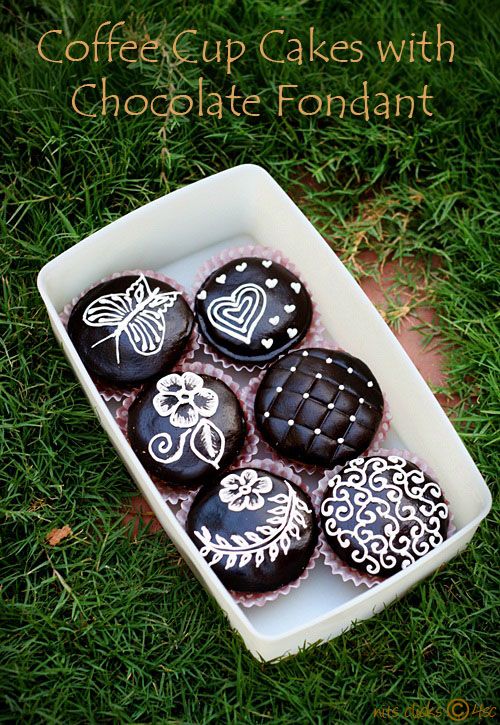
Coffee Cup Cakes with Chocolate Fondant

Photobucket

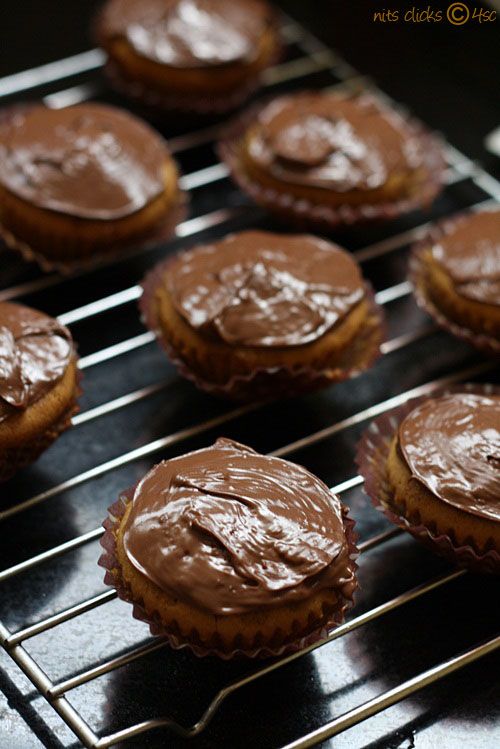
Hooreyyyyyy!! My first try of fondant cake looks beautiful :) I have always dreamt of making fondant cakes. All credits for such dreams go to ultimate cake off and just cakes tv shows. The huge cakes with lovely colorful fondant covering is so magical to see. Since then I have been wanting to make one myself and a ready made pack of chocolate fondant found in nearby store kindled my senses and yup here I go with my first trial with fondant!! :)

I loved making it and when the cake was ready to decorate, all my inspirational videos and photographs ran on my mind at a super speed that I couldnt resist trying them all. So each of my cup cake looks different and some look so Indianish too :) Care a damn, I love my cupcakes and so did my family :)

Will soon be trying fondant from scratch and posting it too :)

Photobucket

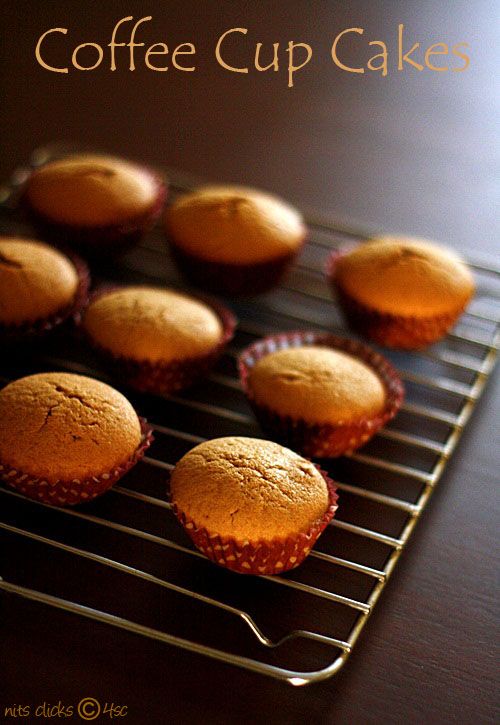
Coffee cup cakes recipe: -

Ingredients:

All purpose flour (maida) - 1 1/3 cup
Cooking soda - 3/4 tsp
Salt - a pinch
Butter - 1/3 cup
Sugar - 1/3 cup
Egg - 1
Coffee decoction - 1/4 cup

Photobucket

Method:

Preheat the oven to 350 degrees F. Line cupcake tins with paper liners.

In a bowl, whisk flour, baking powder and salt.

In a separate bowl, beat together butter and sugar until light-colored and fluffy. Add the egg and beat well. On low speed, add flour mixture, alternating with coffee decoction.

Divide batter among prepared liners, 1/3 cup in each. Bake at 350 degrees F for 20 - 25 minutes or until firm to touch.

Let cupcakes cool in pan on rack for 5 minutes. Remove from pan to rack and cool completely before frosting.

Photobucket

Assembling the cake for fondant decoration.

You need a cream base on top of the cake for the fondant to stick on it. Hence I simply spread a thin layer of nutella over the coffee cup cakes.

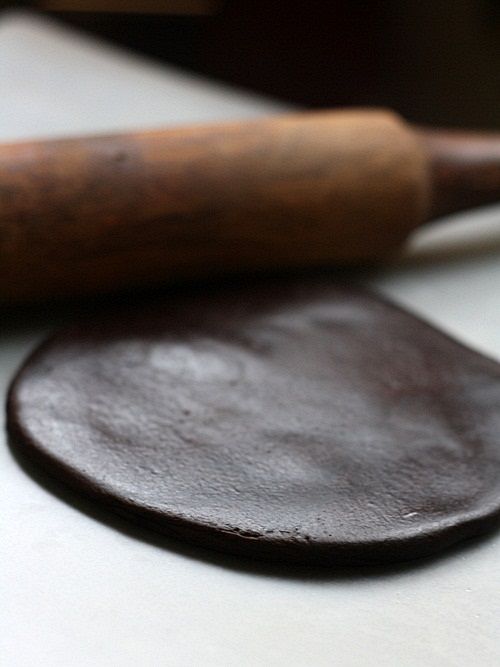
The next step is to roll the ready made fondant(or home made) to a 1/4 inch thickness. Cut them into desired shape and size. Here I used a large circular cookie cuter to cut circles.

Photobucket

Place the circular fondant on your left palm and take the cup cake on your right hand and place it inverted on top of the fondant circle. Press it slightly with your hand for the fondant to stick to the cake. Leave it on wire rack until decoration.

Photobucket

Royal icing recipe : -

Ingredients:

Egg white - from 1 egg
Icing sugar - 1 1/2 cup aprox
Lemon juice - 1 tsp

Method:

Beat the egg white for 5 mins or until frothy. Add the lemon juice and 1/2 cup of icing sugar and beat. Continue adding icing sugar in intervals until the icing forms stiff peaks. This consistency would be right to design using a cone.

Make cones with plastic sheet and fill it with royal icing and draw the desired designs over the fondant covered cakes :)

Photobucket

Written by: Nithya
Send in your queries by clicking here.

Popular Posts

Flickr Photostream

www.flickr.com
nits food clicks' items tagged with nitsclicks More of nits food clicks'
Featured on Baking is Hot
my foodgawker gallery
Foodista Drink Blog of the Day Badge