Showing posts with label Snacks. Show all posts

Tuesday, May 13, 2014

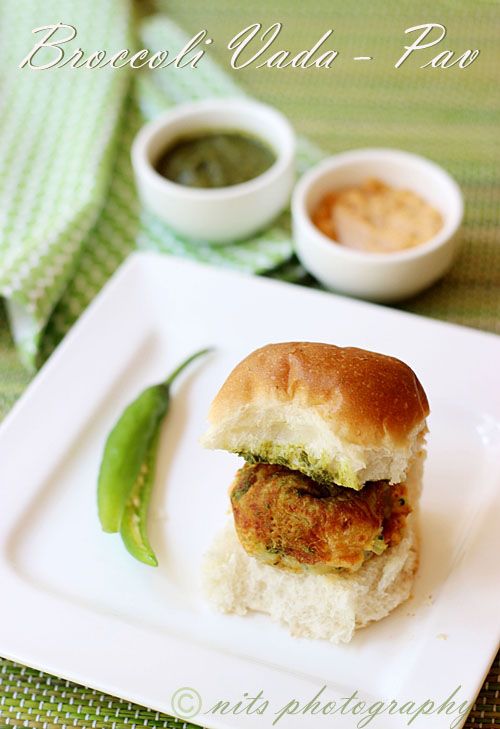
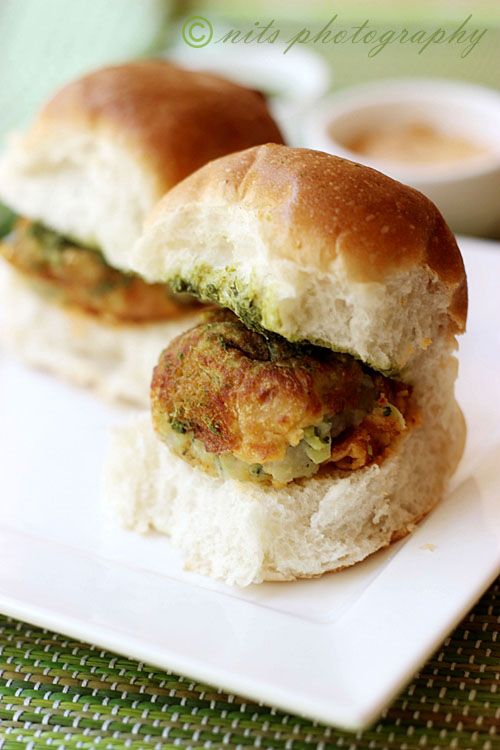
Broccoli Vada Pav

 photo Vadapav_zpse5d6f95c.jpg

Vada pav is the asset of the North! Yup they are the best selling snack or chat any where in North India. I have enjoyed them during my visit to Pune and longing to have them sometime from Mumbai too :)

Ever since my visit to Pune, I have been wanting to make some Vada pavs at home. Browsed loads of recipes but ended up making my own version of it with broccoli addition and guess what, it was a super duper hit too :) My cousins who visited me enjoyed it so much that they wanted the recipe too :P sometimes random cooking brings fame! :P

 photo Vadapav1_zpsc3ebec39.jpg

Ingredients:

Pav buns - 10

For the filling:

Broccoli - 1 
Potato - 3 large
Garlic - 5 pods
Ginger - 1/4 inch piece
Pepper powder - 1 tsp
Jeera powder - 1 tsp
Lemon juice - 1 tsp
Salt - for taste

For the coating:

Besan flour - 1/2 cup
Rice flour - 1/4 cup
Salt - for taste
Chilly powder - for taste
Asafoetida - a pinch

For Green chutney:

Mint leaves - 1 cup
Coriander leaves - 1 cup
Green chillies - 2
Lemon juice - 1 tsp
Garam masala - 1/2 tsp
Salt - for taste

For Red chutney:

Coconut - 1/2 cup
Red chilies - 2
Garlic pods - 4
Tamarind paste - 1 tsp
Salt - for taste

 photo Vadapav4_zpsd780a080.jpg

Method:

To make the filling:

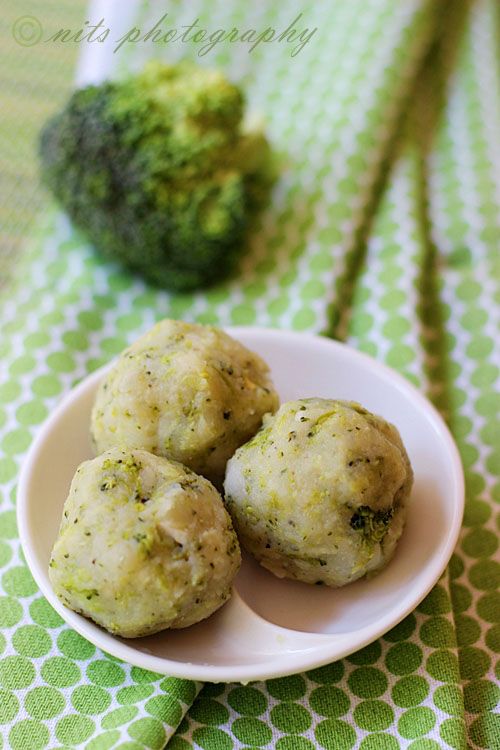
Boil potatoes, peel and mash thoroughly. Grate broccoli using a grater. 

Chop ginger and garlic into small pieces. 

Take two tsps of oil in a pan and fry the ginger garlic for few minutes. Add the grated broccoli and sprinkle few drops of water and cook in low flame for 5 minutes. Now add the cooked and smashed potato to it and saute. 

Finally add the salt, pepper powder, jeera powder and the lemon juice to it and mix well. 

Allow it to cool down and make small balls of the filling. 

To make the coating:

Mix the besan flour, rice flour, chilly powder, asafoetida and salt together by adding adequate water to it to make a dropping consistency batter. 

Now take the above made broccoli potato balls and dip it in the batter and deep fry the vadas. I used a paniyaram skillet to fry the balls to avoid deep frying. 

Once it has browned on all sides, remove from oil and strain the excess oil on a tissue. 

To make the chutneys:

Grind the coriander leaves, mint leaves, green chilly, lemon juice, garam masala and salt together by adding little water to it. Once it becomes a smooth paste collect it in a bowl. Green chutney is ready. 

Grind the coconut, red chilly, garlic, tamarind paste and salt together into a smooth paste to make red chutney. 

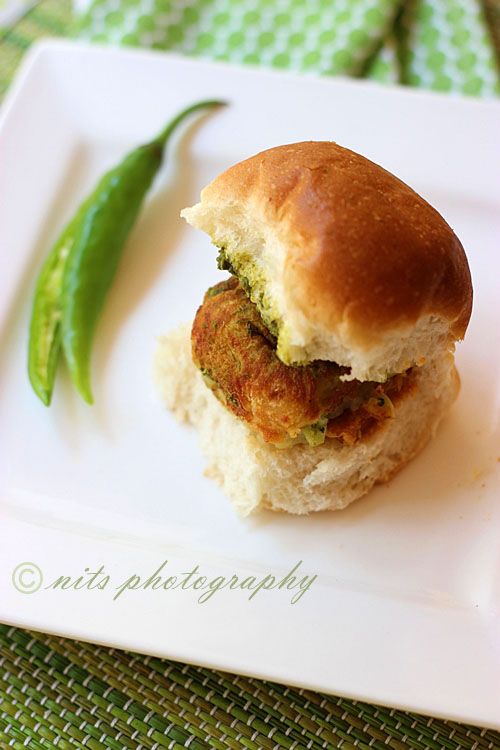
Now slit open the pav buns. Apply green chutney on one side and red chutney on the other side. Place one vada in the center and assemble the vada pav.

Serve hot and enjoy the delicious vada pav :)

 photo Vadapav3_zps369286c7.jpg

Written by: Nithya
Send in your queries by clicking here

Friday, April 11, 2014

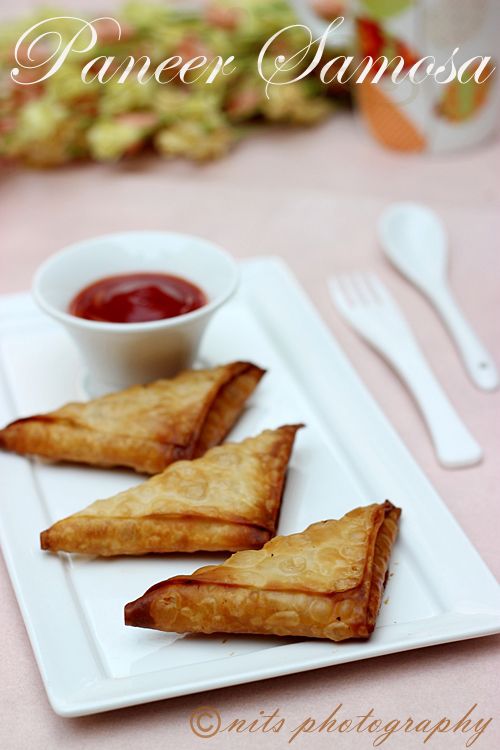
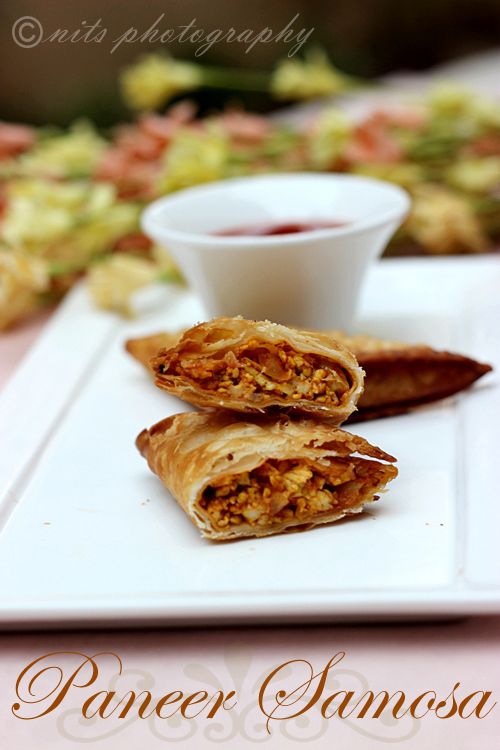
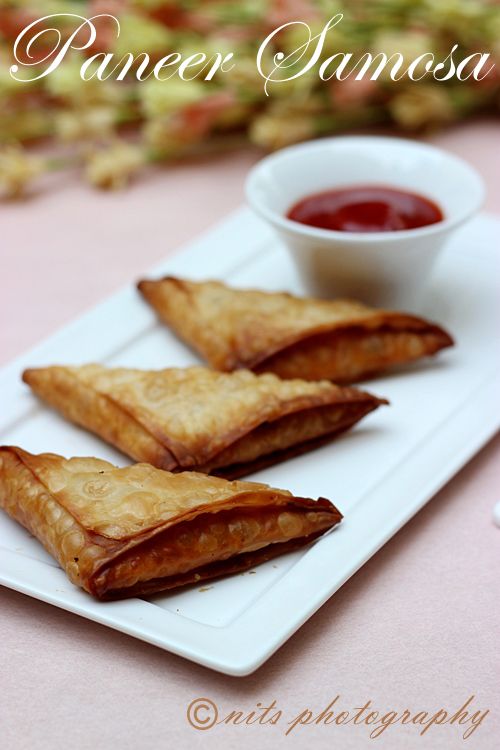
Paneer Samosa / Cottage cheese Samosa

 photo Paneersamosa3_zps70a27490.jpg

Fried snacks always have a special taste!! I am sure no one would deny this fact. When compared to bajji's and bonda's, this little samosa steals the list and goes to the top easily for me. I like samosa's a lot, be it the one from the near by road stall or one from the reputed chaat houses. I just love these mildly spiced crispy beauties a lot :)

It so happened that I found a pack of ready made samosa patty strips during my grocery shopping and I couldnt not control drooling and thinking of various options of fillings :) Immediately picked a pack and did it the very same evening and enjoyed for the evening snack :) 

This is first of the fillings that I tried with the soft cottage cheese. Wait for more experiments to come! :P

 photo Paneersamosa1_zpsbf31df92.jpg

Ingredients:

Paneer / Cottage Cheese - 500 gms
Onion - 1 large
Cumin seeds - 1 tsp
Chilly powder - 1/2 tsp
Garam masala powder - 1/4 tsp
Coriander powder - 1 tsp
Kasoori methi - 1/2 tsp
Tomato sauce / puree - 2 tblsp
Salt - for taste

 photo Paneersamosa_zpsbc1c09f8.jpg

Method:

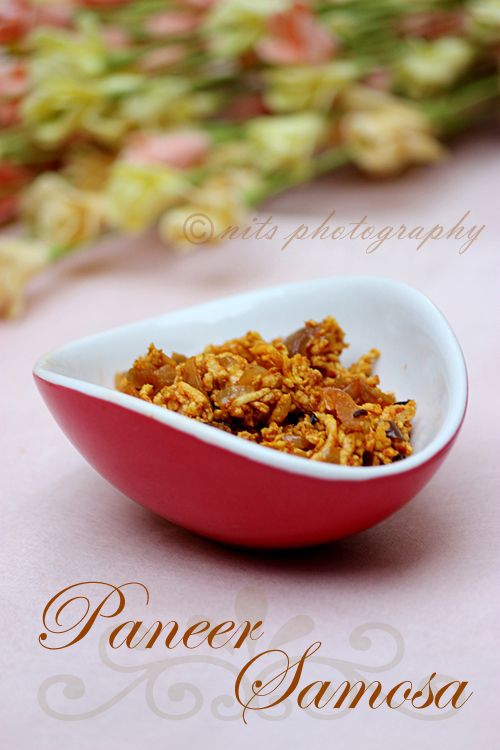
Grate paneer and keep it aside. Chop onion finely. 

Take a tsp of oil in a pan and add the cumin seeds. Once it splutters, add the chopped onion and saute until golden brown in color. Now add the tomato paste and saute for few minutes. 

Now add the chilly powder, salt, garam masala, coriander powder and kasoori methi leaves and cook until it starts smelling good :)

Finally add the grated paneer and mix well. Do not cook for long after adding paneer else it would turn hard. 

Remove from flame and allow it to come to room temperature. 

You can either make the samosa dough by mixing in 1 cup of maida and a pinch of salt with just adequate water and allowing it to sit in a closed bowl for an hour, else you can buy the ready made samosa patty strips or spring roll strips and make your samosa. 

I so happened to spot one pack of samosa patty strip this time when I went for grocery shopping and I had to make it instantly since it was way too tempting and simple to use :)

The samosa patty strips are frozen products, hence remove from freezer and thaw it for a while. When it is at room temperature, keep a spoon of filling on the corner of the strip and start folding into triangles until you reach the other edge of the strip. Seal the strip with a paste made by mixing maida with few drops of water. 

Deep fry in hot oil until evenly browned on all sides and enjoy eating it with tomato ketchup :)

 photo Paneersamosa4_zpsdb62b175.jpg

Written by: Nithya
Send in your queries by clicking here

Wednesday, January 8, 2014

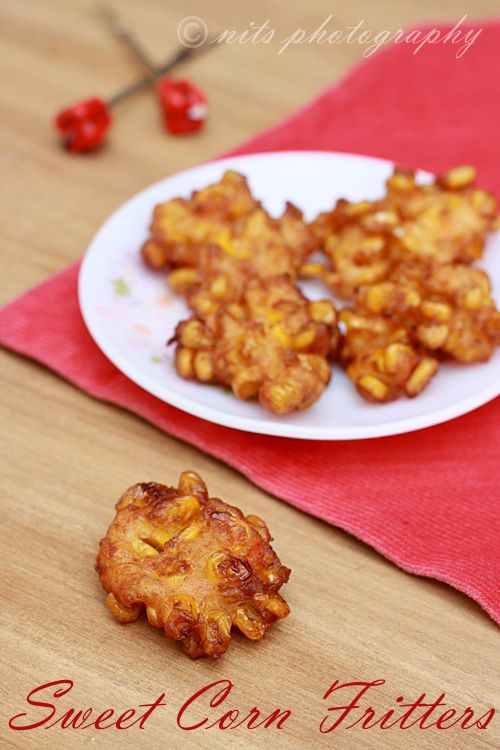
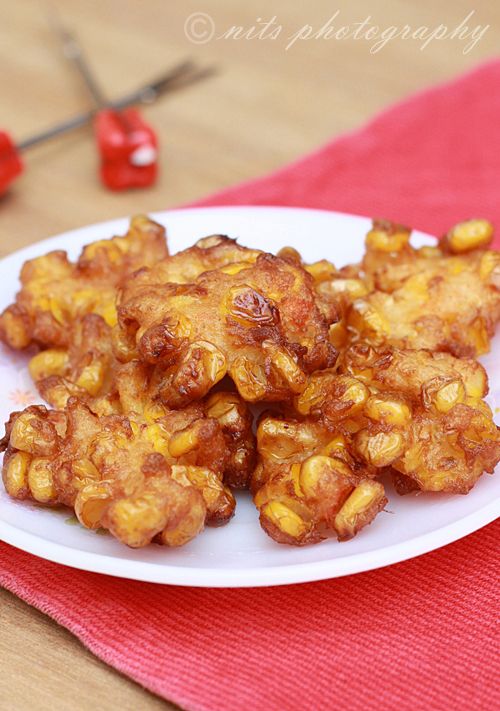
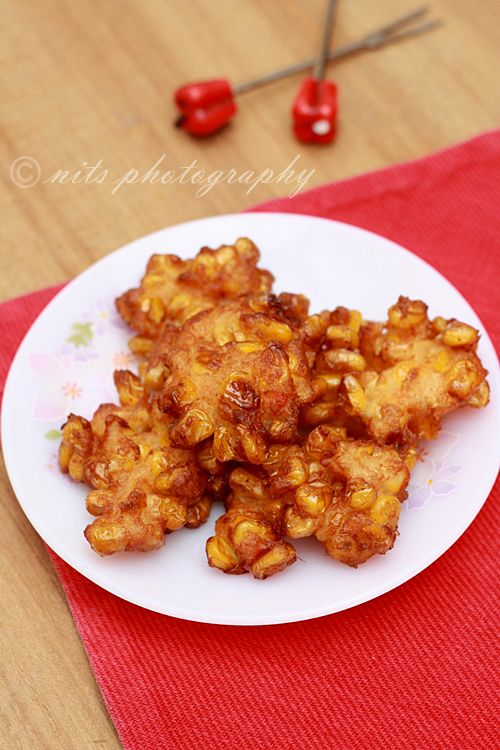
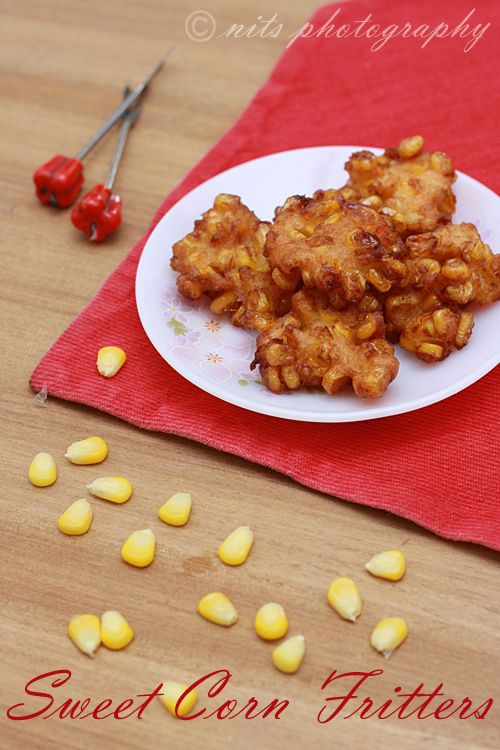
Sweet Corn Fritters

 photo Sweetcornfritters_zps69bc08e6.jpg

The best part of being a food blogger is that you get friends from all over the world. It doesn't just happen on day one, but people who start as readers, then comment on the posts mutually, write mails and have a chat or two and one fine day meet up too :) That too when its people with similar interests like food and food photography, then the fun is all the more doubled. 

I have a lot of such blog friends and I am so glad and happy for it :) One such amazing friend is Raji of Rakskitchen. She is super cool and cute lady who stays at Singapore. I have admired her super popular blog lot of times and appreciate her patience in doing step wise pictures always. I have met her a couple of times in Chennai but the best time was when I went to Singapore a couple of moths back we made it a point to meet up and the sweetest Jayeshree also joined us. We had a great time together for a day :) Thanks buddies for hosting and spending time with me for a day! Big hugs! Isn't it great to make friends virtually and meet them up abroad!! I am still so thrilled thinking of it :)

Today I am posting a recipe from her blog. Ever since she posted this corn fritters in her blog I was wanting to try it out. Hence here it is :) 

 photo Sweetcornfritters4_zps32716819.jpg

Ingredients:

Sweet corn kernels - 2 cups
All purpose flour - 5 tblsp
Rice flour - 2 tblsp
Shallots or Small onions - 5
Green chilly - 2
Garlic pods - 4
Coriander leaves (optional) - hand full
Black pepper powder - 1 tsp
Salt - for taste
Oil - for frying

 photo Sweetcornfritters3_zpsa00209c1.jpg

Method:

Pressure cook the corn kernels by adding some water and rock salt to it. Once cooked drain and keep it aside. 

Grind shallots, green chillies, garlic pods and coriander leaves together into a coarse paste by adding two tsp of water to it. 

Now take the cooked corn kernels in mixing bowl and add the ground paste to it. Now add the maida, rice flour, salt and black pepper to it and mix well. Add a little water to bring it all together. 

Heat oil in a kadai. Wet your hands slightly and take a small portion of the mixed dough and make small patties. 

Drop 3 to 4 of them in oil and fry until roasted on both the sides and golden brown in color. Keep the flame constantly in medium heat and flip the patties until well cooked. 

Pat dry with tissues and serve hot with ketchup :)

 photo Sweetcornfritters5_zpsf5f7e28a.jpg

Written by: Nithya
Send in your queries by clicking here

Friday, October 11, 2013

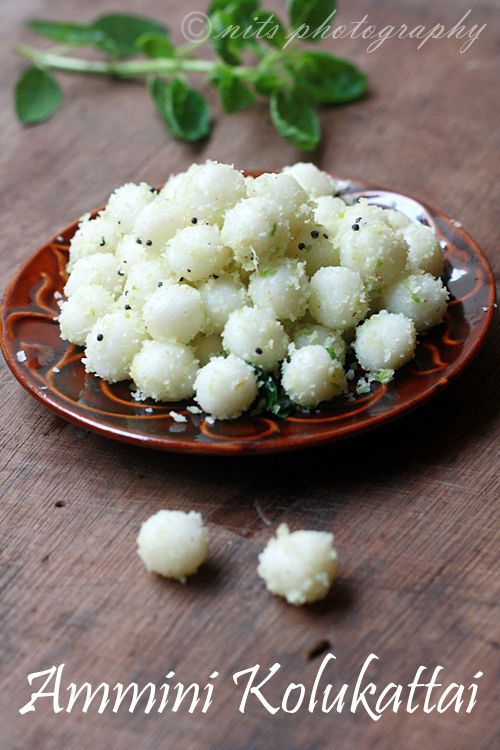
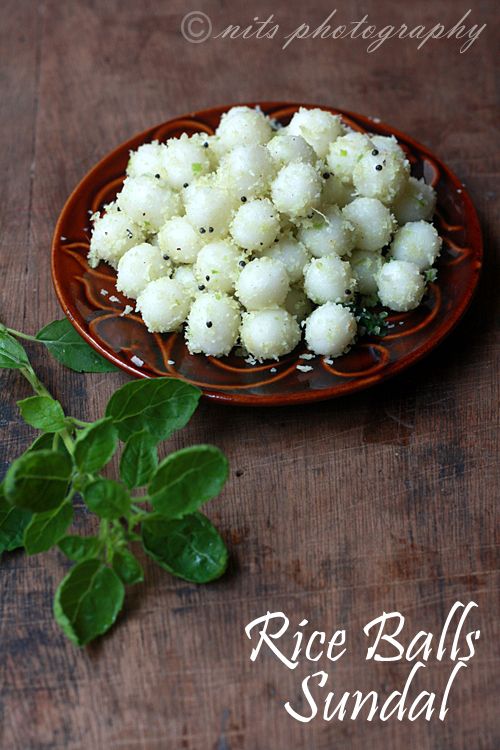
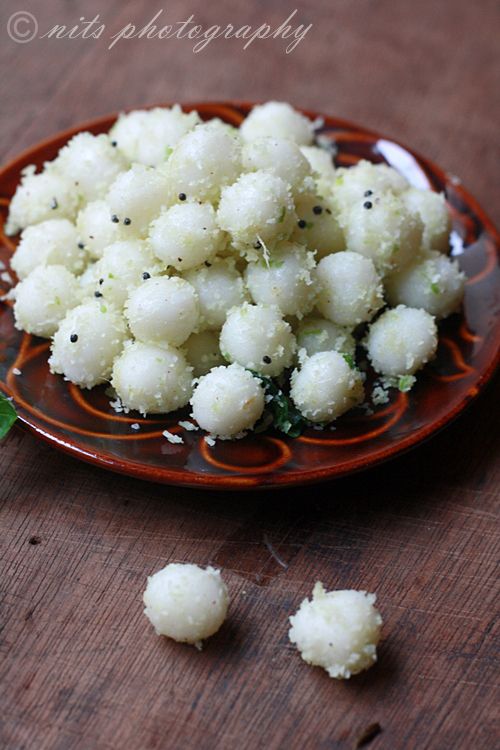
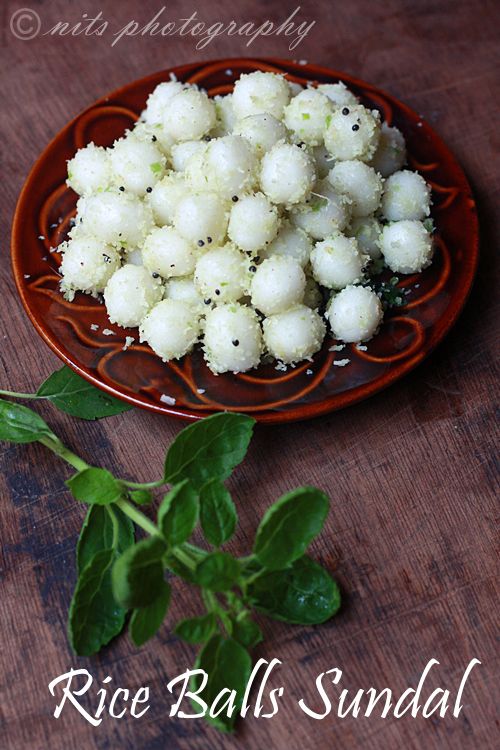
Ammini Kolukattai / Undrallu / Rice balls sundal

 photo AmminiKolukattai_zps8d2c4a75.jpg

Sundal Sundal every where!!! Its Navarathri and feels like it only when you eat loads of sundal everyday!! Varieties of it, with legumes and so on :) 

My treat for god this time was Ammini Kolukattai also called as undrallu in telugu. I love this sundal a lot because its different, soft and yummy. 

This dough is just the same as Kolukattai dough. Mom used to do this when there is excess dough when she makes kolukattai and I just love eating it plain :) Atleast one or two cups that way!! Now have grown up to like some spice in everything hence made this sundal!! :)

 photo AmminiKolukattai1_zps5b1491ab.jpg

Ingredients:

Rice flour - 1 cup
Water - 1 1/4 cups
Green Chilly - 3
Ginger - 1/2 inch piece
Coconut - 1 tbsp
Mustard - 1/2 tsp

Asafoetida(perungayam) - a pinch
Salt - for taste
Lemon extract - 1 tsp
Curry leaves

Coriander leaves

 photo AmminiKolukattai3_zpsd00488f0.jpg

Method:
Boil 1 1/4 cups of water adding a little salt to it. When it boils, simmer the flame and add the rice flour stirring it constantly. See to it that it does not form lumps. Now switch off the flame and leave the vessel closed for around ten min. Then 
sprinkle some water and a tsp of oil over it and kneed the dough to make it smooth.

Roll it into small balls and place them on a well greased plate and pressure cook it for 15 min.

These white rice balls alone can be the best snack for kids.

Now grind coconut, green chillies, ginger, asafoetida and salt together.

Take a pan and add 2 spoons of oil to it and crackle the mustard. Add the curry leaves, cooked bean and the ground paste to it and fry for a while. Now add the white rice flour balls to it and saute for two min. Finally add lemon extract and coriander leaves to it and saute well.

Ammini kolukattai is ready to serve. :) 

 photo AmminiKolukattai2_zps79990d00.jpg

Written by: Nithya
post your queries to fourthsensesamayal@gmail.com

Wednesday, September 11, 2013

Savory Shells

 photo Savoryshells1_zps271793cc.jpg

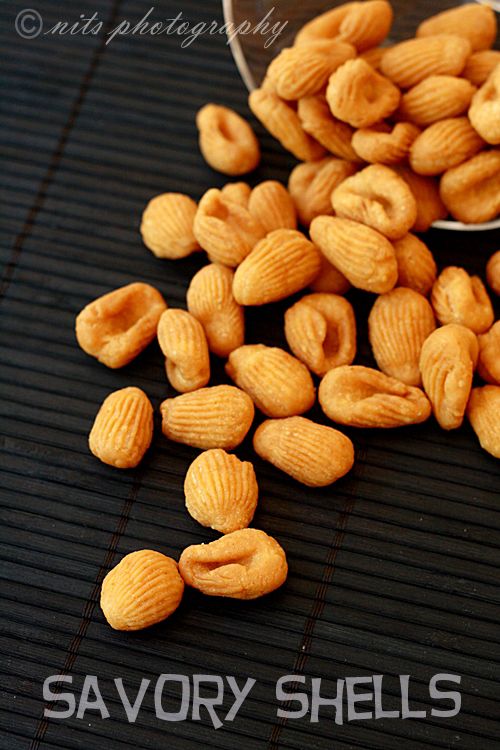
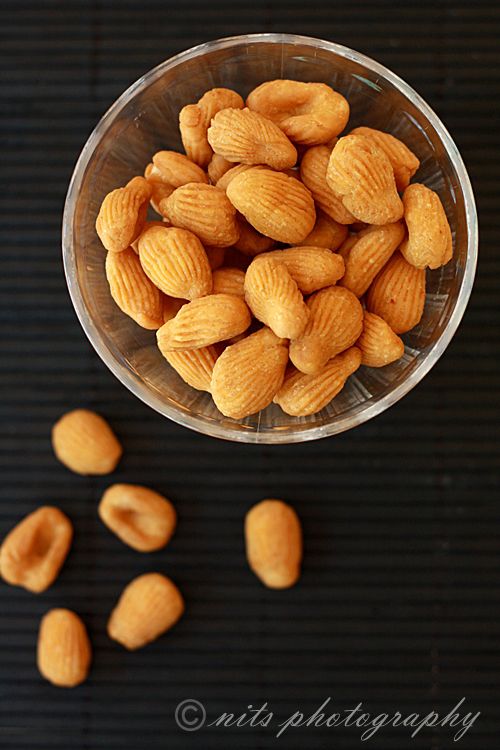
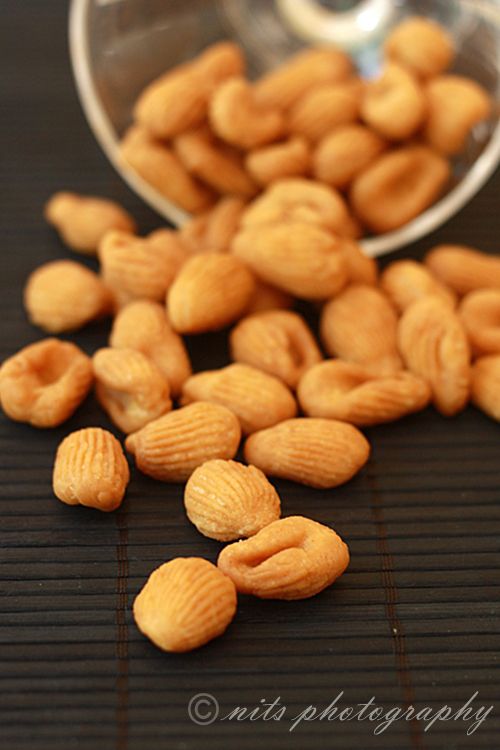
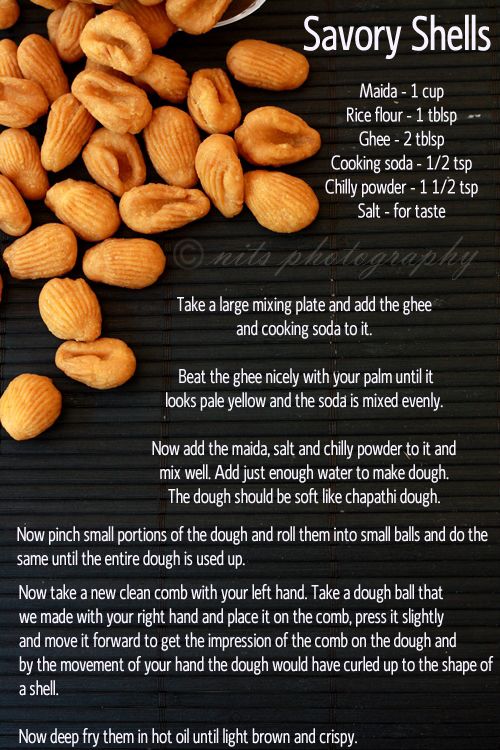
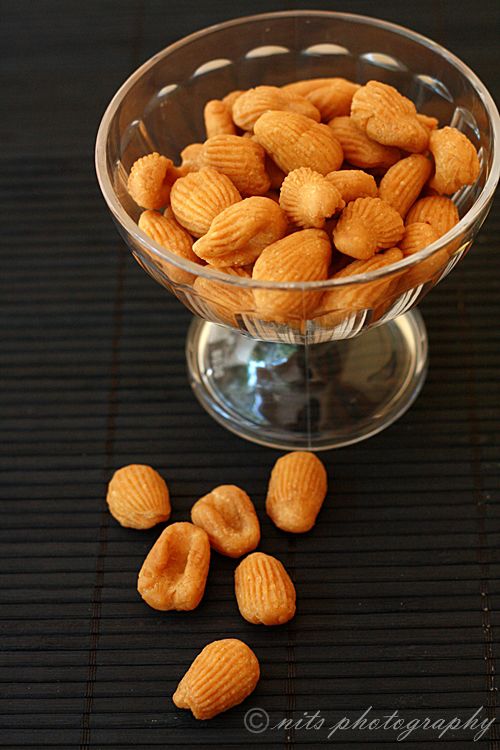
Savory shells!!! Dont they look so adorably cute :) The shape resembles the Cowry shells, translated to sozhi in Tamil and gevvalu in Telugu. I love the game pallanguzhi and this dish for sure reminds me of the game :)

I am sure all of you would be excited looking at this dish too and would love to make it for your kids. Checkout the small video at the end of this post to see how to make this shape and head to the kitchen quickly :)

 photo Savoryshells5_zps41696eea.jpg

Ingredients:

Maida - 1 cup
Rice flour - 1 tblsp
Ghee - 2 tblsp
Cooking soda - 1/2 tsp
Chilly powder - 1 1/2 tsp
Salt - for taste

 photo Savoryshells3_zpsdae1876f.jpg

Recipe:

Take a large mixing plate and add the ghee and cooking soda to it. Beat the ghee nicely with your palm until it looks pale yellow and the soda is mixed evenly. 

Now add the maida, rice flour, salt and chilly powder to it and mix well. Add just enough water to make dough. The dough should be soft like chapathi dough and shouldnt stick to your hands. The ghee that we have used will help you roll the dough into one big ball without sticking to the hands. 

Now pinch small portions of the dough and roll them into small balls and do the same until the entire dough is used up. 


Now take a new clean comb with your left hand. Take a dough ball that we made with your right hand and place it on the comb, press it slightly and move it forward to get the impression of the comb on the dough and by the movement of your hand the dough would have curled up too. 

Please refer to the above video to see how the shell is made. 

Once it is all ready. Fry them in hot oil until slightly brown and roasted on all sides. 

Remove from oil and place them on a paper towel to remove excess oil. 

Store in airtight container and enjoy the crispy, crunchy and delicious savory shells :)


 photo Savoryshells_zps31b8957a.jpg


 photo Savoryshells4_zpsead82083.jpg

Written by: Nithya
Send in your queries by clicking here

Monday, April 29, 2013

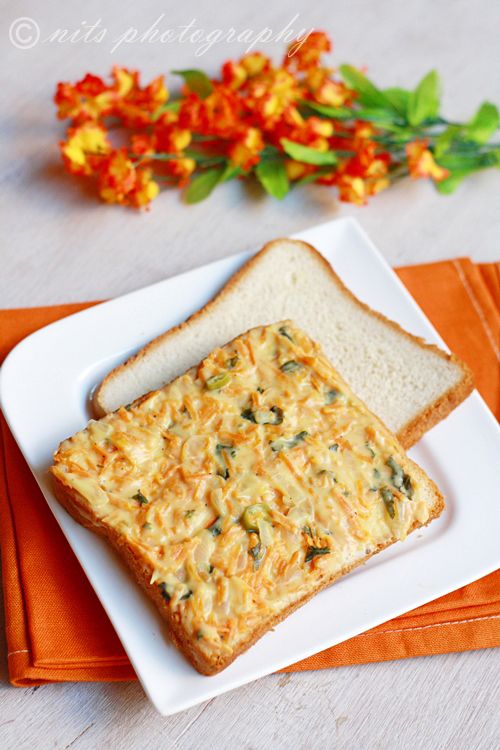
White Sauce Vegetable Sandwich

 photo Whitesaucesandwich2_zps5923a53c.jpg

The summer is treating us all bad. I really don't feel like having heavy breakfast at all. Something simple and light would be more than sufficient and I would love to have more liquids to keep me going for the day. 

I am sure you all would be feeling so too. Since I go out for shoots these days I prefer packing simple sandwiches too which keep my eating mess free and tummy happy. 

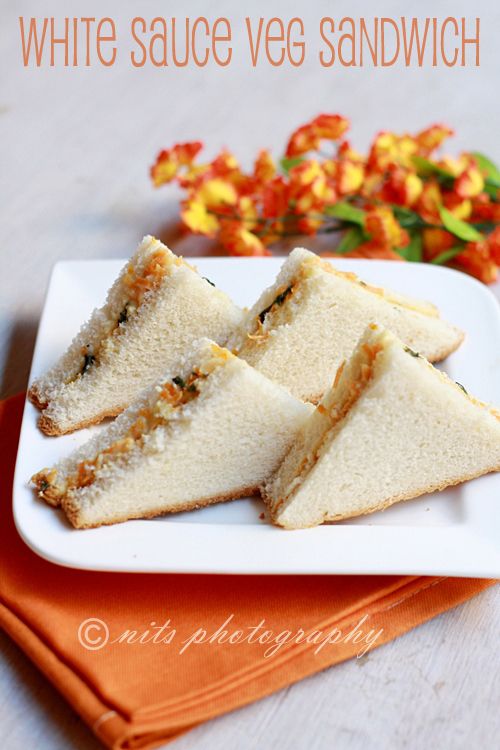
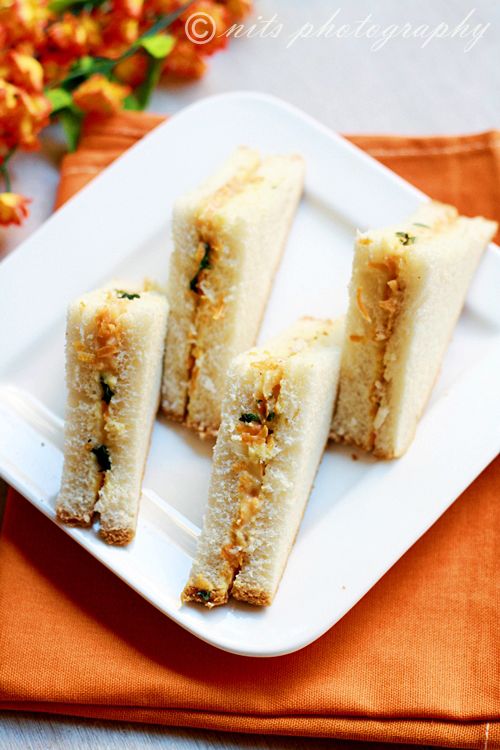
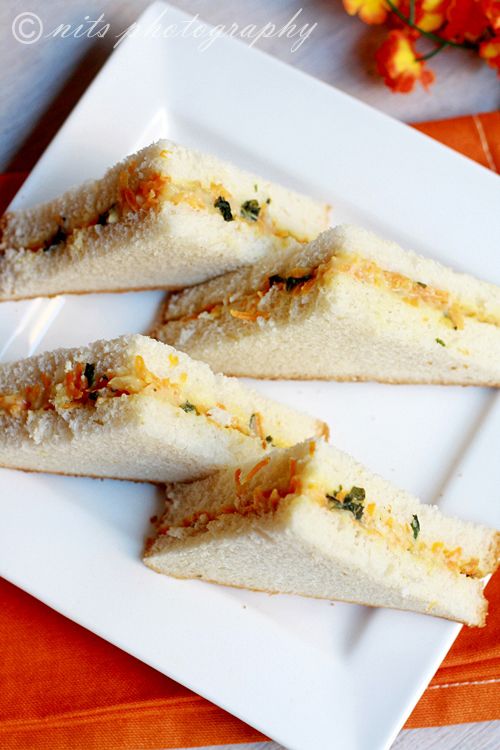
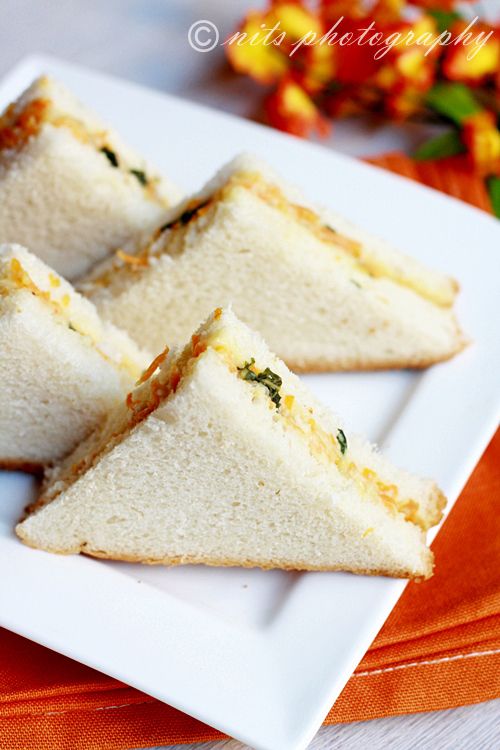
This sandwich recipe is my mother's suggestion and I completely fell for it the very first time I made it. Creamy, yummy and a fantastic way to incorporate carrots into a sandwich. I am very sure you all would get pretty creative in using your favorite vegetables into this recipe once you go through!! :)

 photo Whitesaucesandwich3_zps9d37ac8d.jpg

Ingredients:

Carrots – 5
Onion – 1
Mint leaves – ½ bunch
Green chilly – 2
Butter - 1 tblsp
All purpose flour (Maida) – 4 tblsp
Milk – 1 ½ cups
Pepper powder – for taste
Salt  - for taste


 photo Whitesaucesandwich5_zps64fc0404.jpg

Method:

Grate carrots. Chop onion and green chilly finely. Wash and chop mint leaves too.

Take butter in a pan and fry the chopped onion until it turns golden brown. Now add the grated carrots, green chilly and mint leaves and sprinkle some salt to it and fry for few minutes until the carrot becomes soft.

Now add the maida and fry again for a couple of minutes and then simmer the stove completely and pour the milk to it mixing gradually.  Keep stirring until the mixture becomes slight thick and creamy. Cook in low flame for few more minutes and finally add adequate pepper powder and mix well.

Remove from flame and once it comes to room temperature transfer it to an air tight container.

Apply it on bread and sandwich it with another. Serve and enjoy eating.

This mixture will keep well for 3 days if kept in the refrigerator. 


 photo Whitesaucesandwich1_zps5331677f.jpg

Tips:

You can use other vegetables like sweet corn, cabbage etc for making the same kind of sauce for sandwich. 

You use other varieties of bread like ciabatta etc too for sandwich of this kind. 

Try toasting your bread before applying the sauce for a difference. 

 photo Whitesaucesandwich_zpsb12c7723.jpg

Written by: Nithya
Send in your queries by clicking here

Friday, February 8, 2013

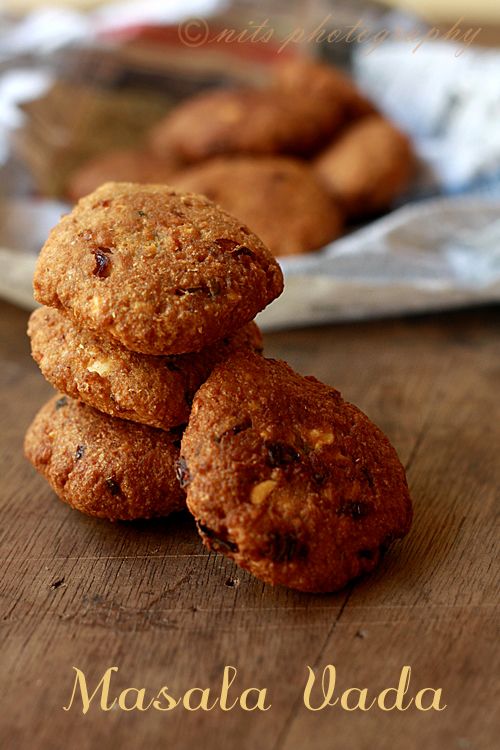
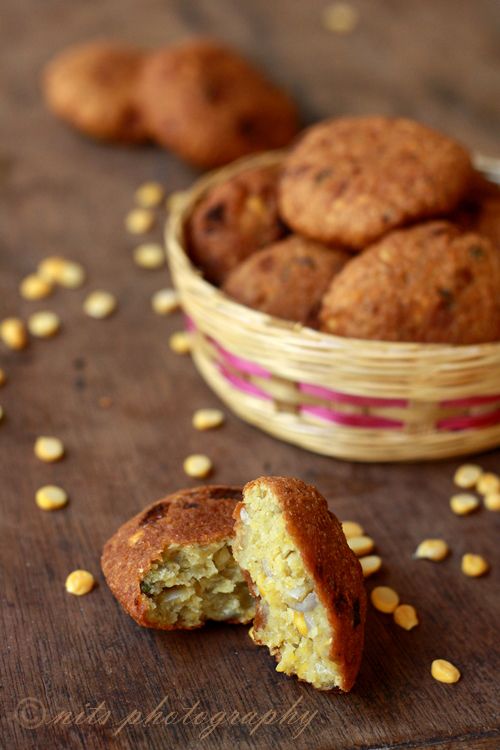
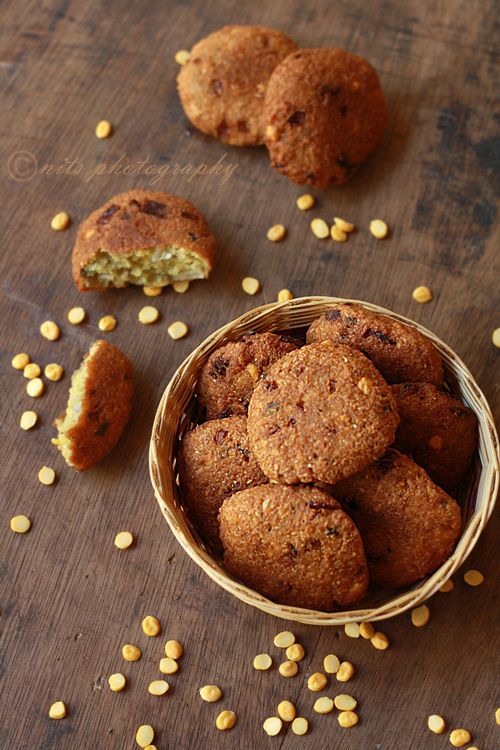
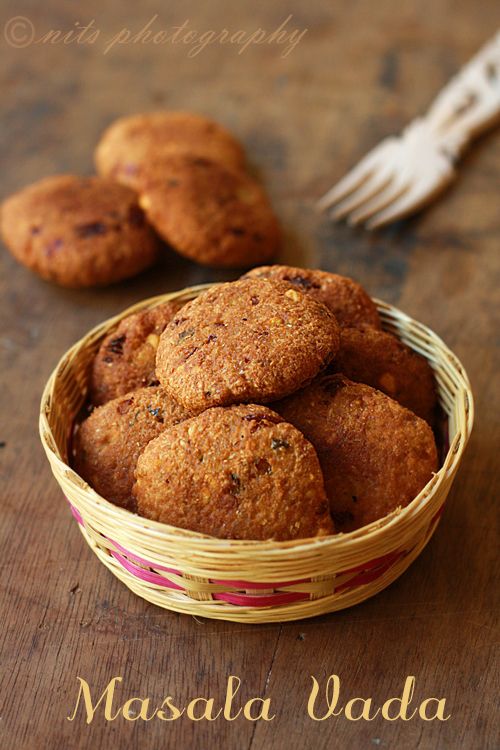
Masala Vada / Lentil Fritters

Photobucket

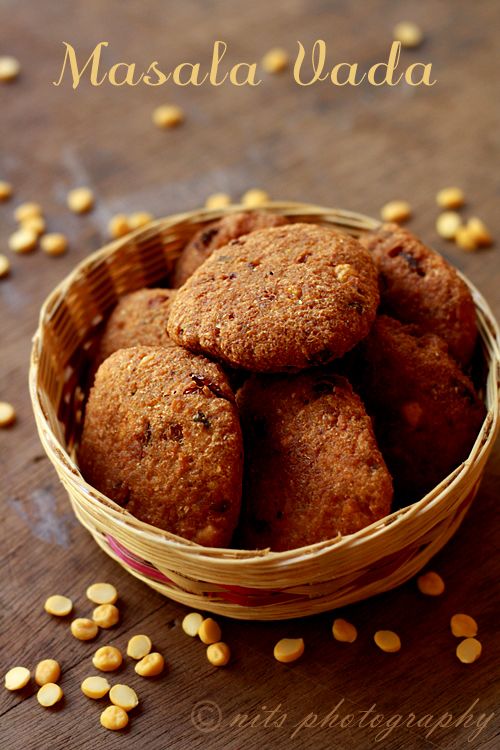
Masala Vada... Masala Vada!!! How many times have you heard the vendor screaming out the name when you travel in Indian Railways? The first thing that I can remember when I think about day time train travel is the hot chai and masala vada. They are incredibly tasty tea time bites that all Indians would have tasted :) 

Fresh and hot masala vadas on rainy days can literally be unbeatable. I just love them so much and have been enjoying it since evening. 

Here goes the recipe for simple masala vada :) 

Photobucket

Ingredients:

Channa dhall (Bengal gram dhall) – 1 cup
Ginger garlic paste – 1 tbsp
Green chillies – 3
Onions - 2
Asafoetida – a pinch
Ghee – 1 tbsp
Cooking soda – ½ tsp
Salt – for taste
Oil – for frying

Photobucket

Method:

Soak Channa dhall in water for 3 hours. 
 
Grind green chillies coarsely. Grind the soaked channa dhall coarsely and keep it aside. Chop onions finely.

Take ghee in a mixing bowl and add the cooking soda to it. Beat with your palm until frothy. Now mix in the ground channa dhall, ginger garlic paste, green chillies, onion, salt and asafoetida and just a few drops of water to make the batter. 
 
Pinch lemon sized balls of dough and make them into balls and flatten them with your palm. 

Fry them all in hot oil until evenly browned on both sides and crispy. Remove and put them on paper towel to remove excess oil. 

Serve hot and enjoy eating :)

Photobucket

You can add 2 tblsp of oats to the batter to make it all the more healthy. 

Photobucket

Written by: Nithya
Send in your queries by clicking here

Popular Posts

Flickr Photostream

www.flickr.com
nits food clicks' items tagged with nitsclicks More of nits food clicks'
Featured on Baking is Hot
my foodgawker gallery
Foodista Drink Blog of the Day Badge