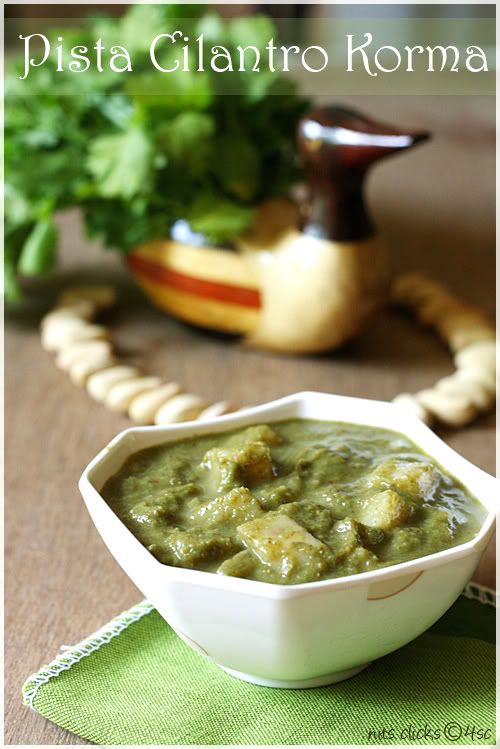
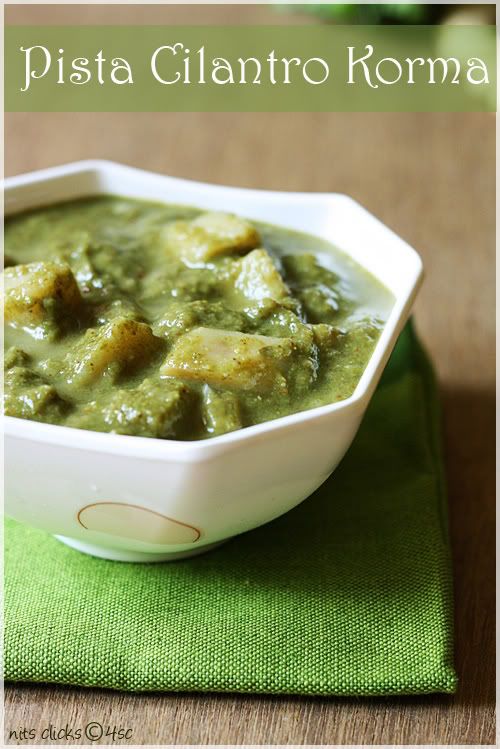
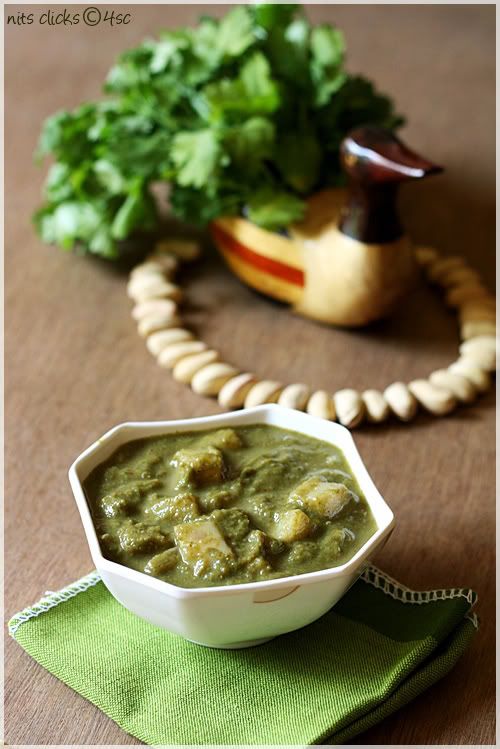
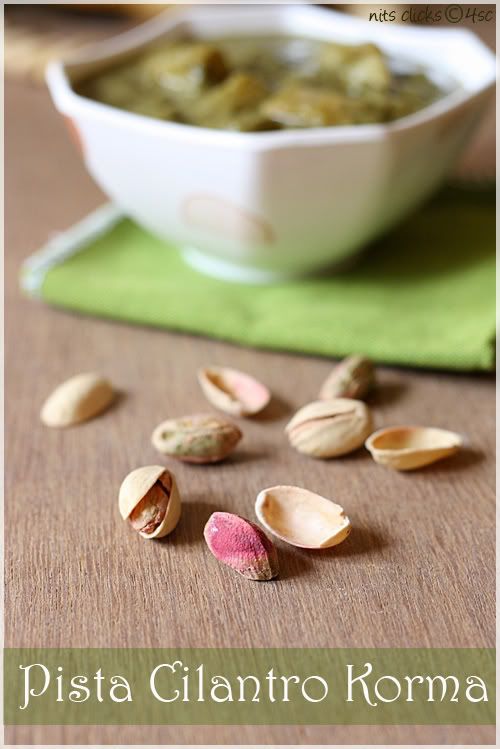
Rich and creamy garvies like paneer butter masala, malai kofta etc. always have a special place in a grand dinner menu. After the love for those two, my new found love is this pista cilantro creamy korma :)
This recipe is an inspiration from Anitha Kupusamy's recipe on a tv show. I have made a lot of changes according to my taste buds, but all thanks to her for the pista cilantro idea :)
The richness of pista along with aromatic cilantro can easily steal one's heart :) I can imagine a lot of you nodding your heads for this combi ;) Get set go and give it a try :)
Ingredients:
Pista - 15
Green chillies - 2
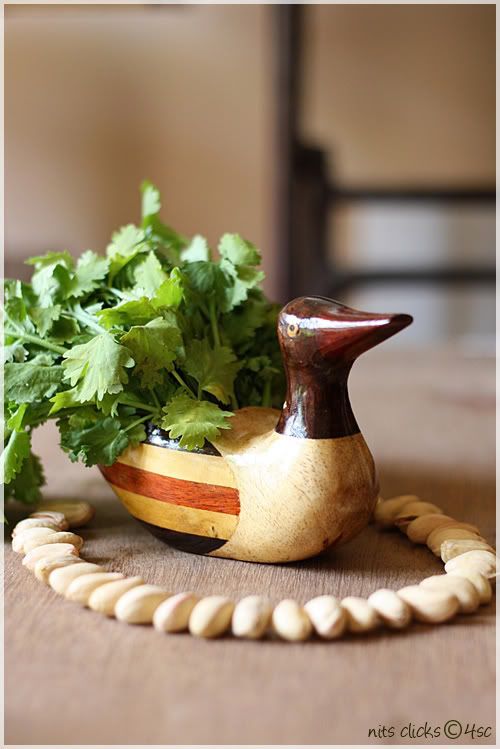
Cilantro (coriander / Kothu malli) - 1/2 bunch
Onion - 2
Pepper - 1 tsp
Cinnamon stick - 1/2 inch piece
Cloves - 2
Ginger garlic paste - 1 tsp
Potatoes - 3
Garam masala - 1/2 tsp
Coriander powder(Dhaniya powder) - 1/2 tsp
Milk - 1/2 cup
Salt - for taste
Pista - 15
Green chillies - 2
Cilantro (coriander / Kothu malli) - 1/2 bunch
Onion - 2
Pepper - 1 tsp
Cinnamon stick - 1/2 inch piece
Cloves - 2
Ginger garlic paste - 1 tsp
Potatoes - 3
Garam masala - 1/2 tsp
Coriander powder(Dhaniya powder) - 1/2 tsp
Milk - 1/2 cup
Salt - for taste
Method:
Peel, dice and cook potatoes and keep it aside.
Soak pista in water for half an hour.
Grind pista, cilantro and green chillies together into a smooth paste.
Roughly chop the onion and cook in microwave along with pepper, cinnamon and cloves until the onion turns transparent. Allow it to cool and grind into a smooth paste.
Take a pan and add few tsp of oil. Drop in the ginger garlic paste and fry for a minute. Now add the onion paste, pista cilantro paste, chilly powder, garam masala, coriander powder and salt and fry till the raw smell goes. Pour in just enough water to make the gravy.
Now simmer the stove and add milk or fresh cream and mix well. Finally drop in the cooked potatoes and allow it to boil for 5 mins.
Rich and creamy pista cilantro korma is ready :)
Serve hot with chapathi or roti. :)
Tips:
You can replace the potato with cubes of paneer or tofu.
You can make bread kofta or paneer kofta and add it to the gravy as well.


 Fondant Cakes
 Side Dishes (Subzi/Chutney)
 Lunch
Lunch Salads
 Chaat Items
 Sweets
 Product Review
 Kids Special
 Color Mania
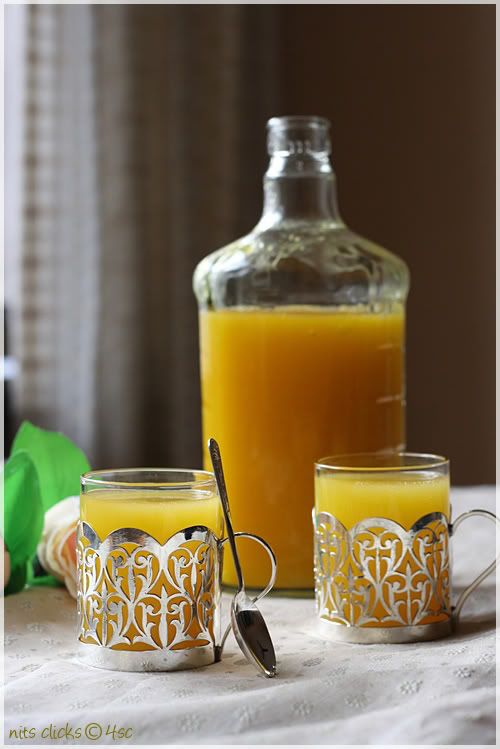
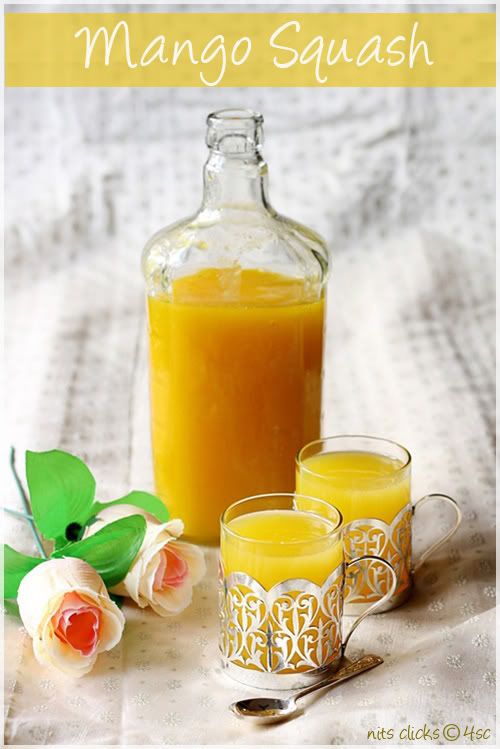
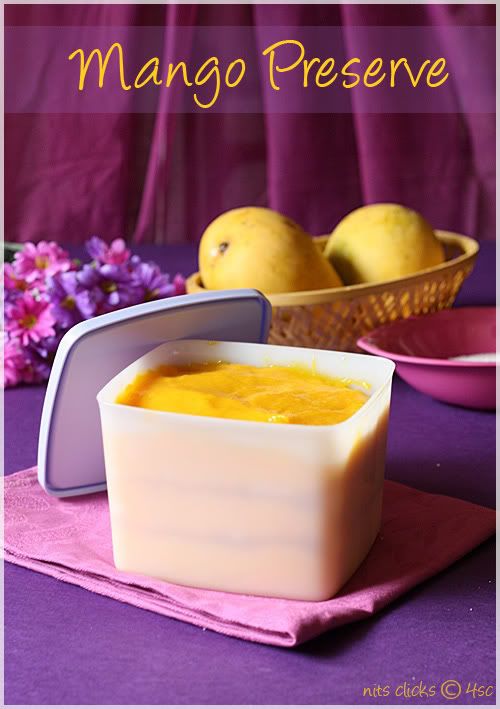
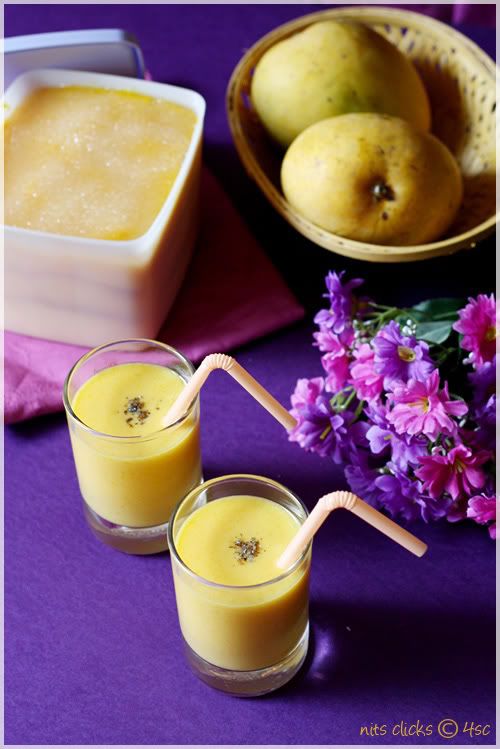
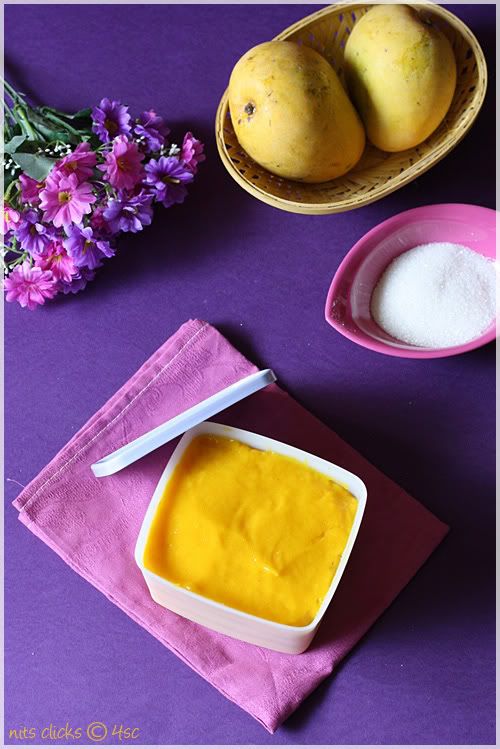
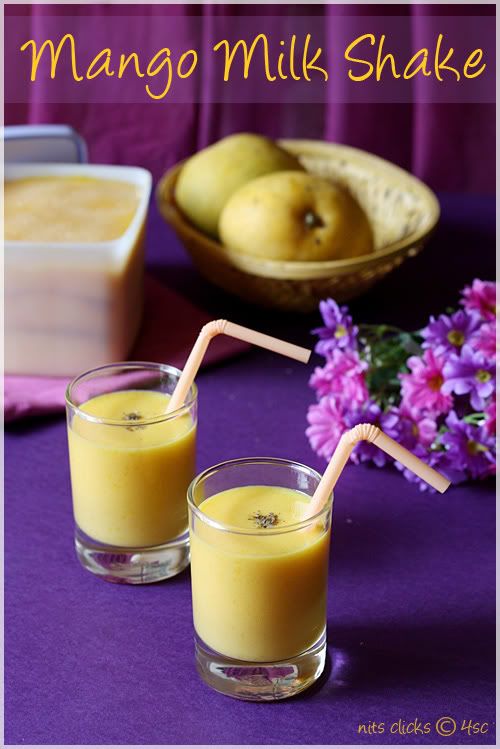
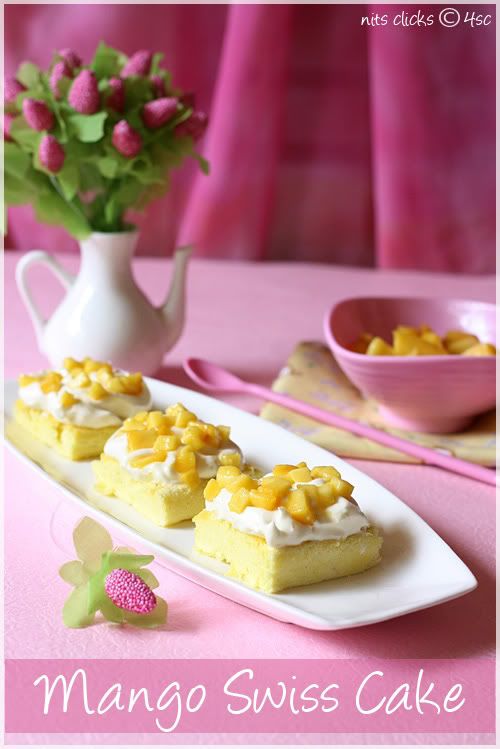
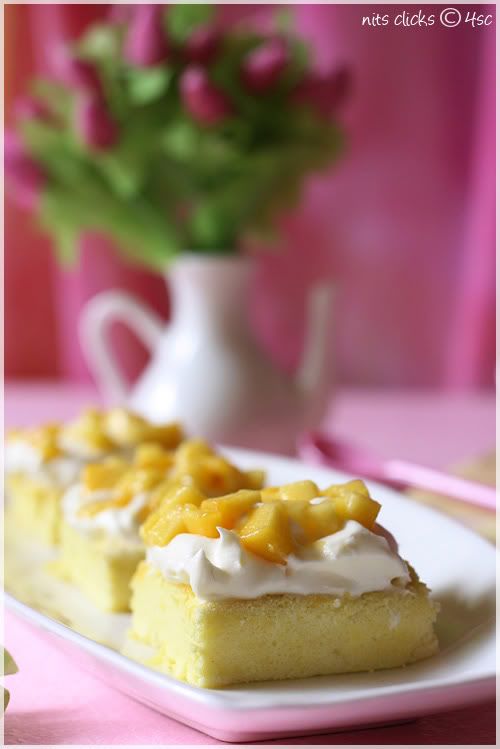
 Mango Mood


Fondant Cakes - 1
Fondant Cakes - 2
Fondant Cakes - 3
Fondant Cakes - 4