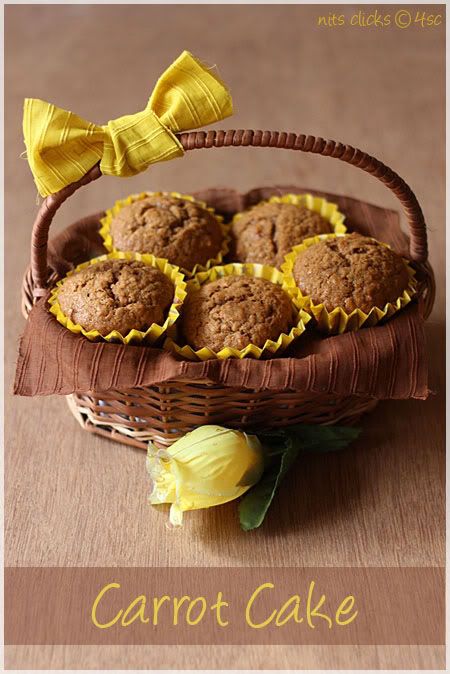
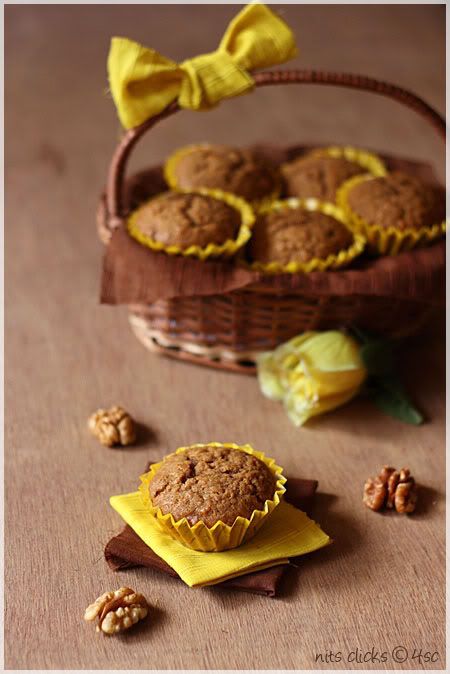
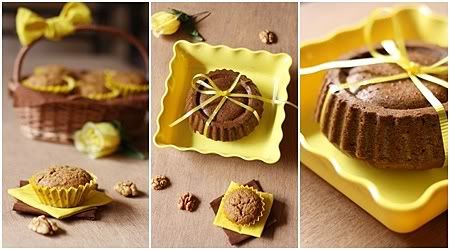
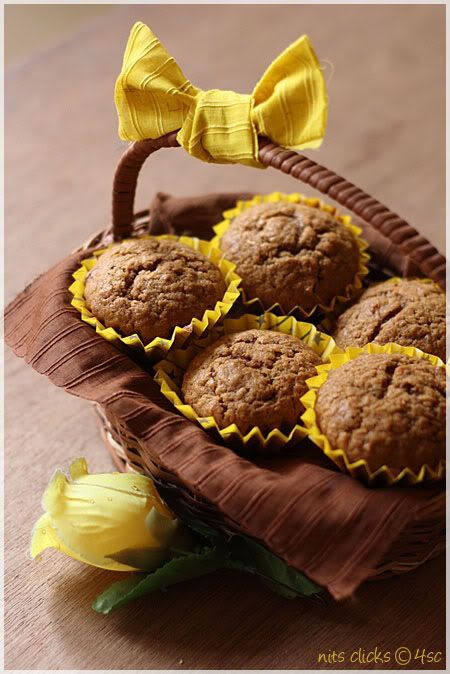
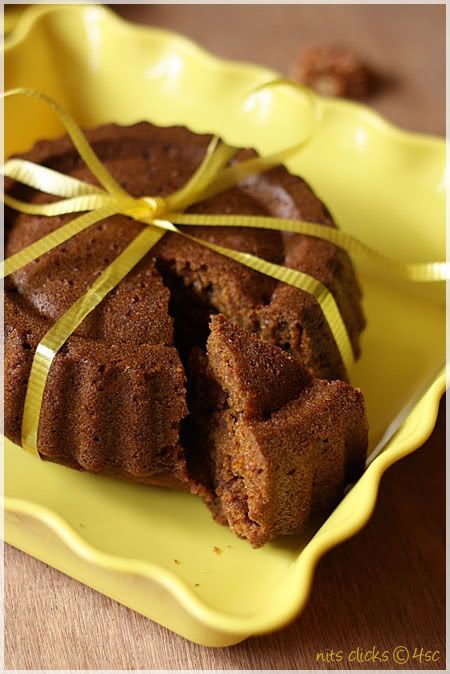
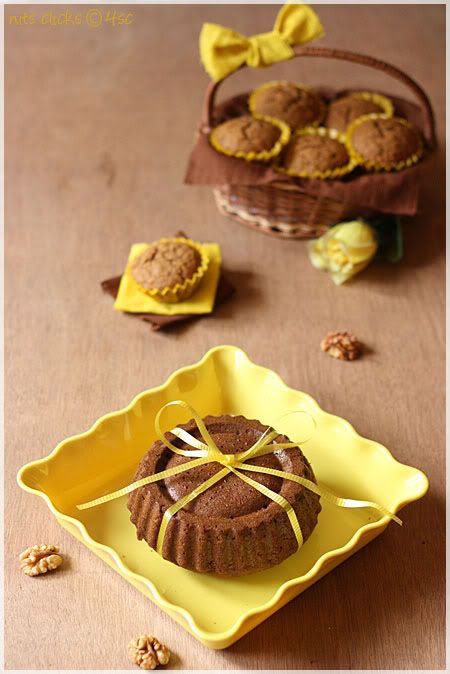
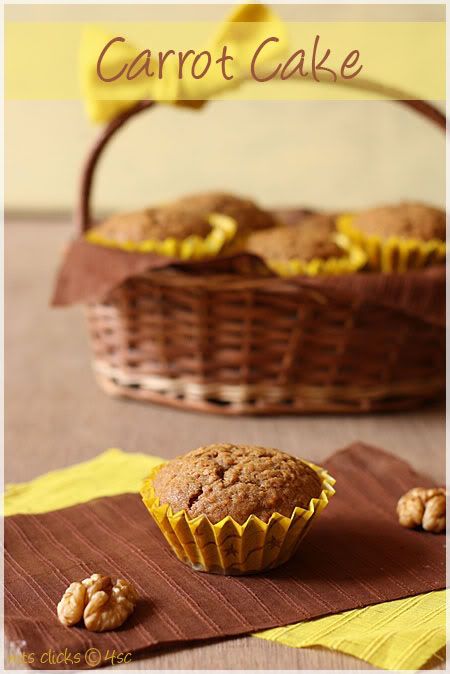
Its raining cakes at home :) Have been experimenting on a couple as you can see and also got few from relatives :) Yummy indulgence :)
My sis lent me her Wii sports and Wii fitness lately and I have been shedding calories happily for the past few days :) So this reason keeps me calm while indulging in high caloried sinful food like cakes :)
This spree would continue until Wii and the little brats are at home :P
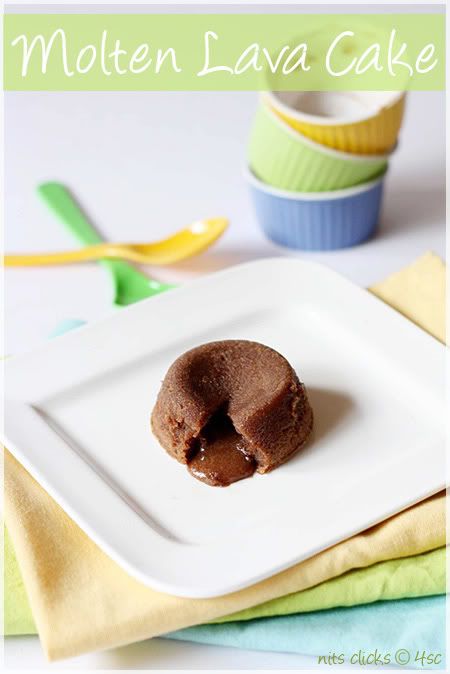
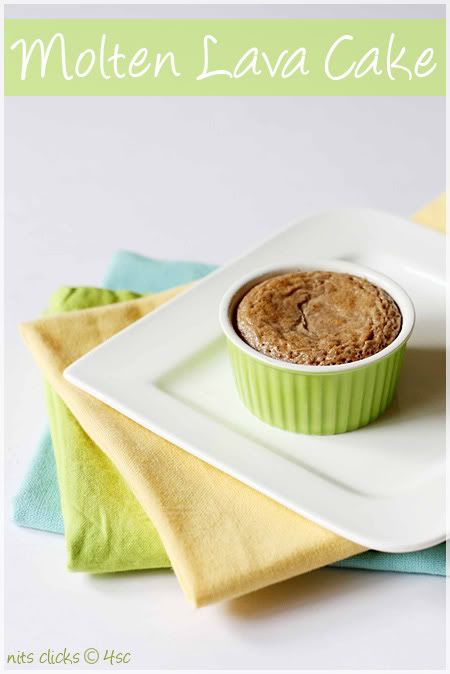
Molten lava cake has been my dream for really long time and my poor soul was desperately searching for ramekins(Porcelain bowls) to bake them at home. The search ended last weekend and was urging to make them since then. I instantly referred to the book marked recipe from "Show me the curry" and made them yesterday :)
My sis lent me her Wii sports and Wii fitness lately and I have been shedding calories happily for the past few days :) So this reason keeps me calm while indulging in high caloried sinful food like cakes :)
This spree would continue until Wii and the little brats are at home :P
Molten lava cake has been my dream for really long time and my poor soul was desperately searching for ramekins(Porcelain bowls) to bake them at home. The search ended last weekend and was urging to make them since then. I instantly referred to the book marked recipe from "Show me the curry" and made them yesterday :)
Ingredients:
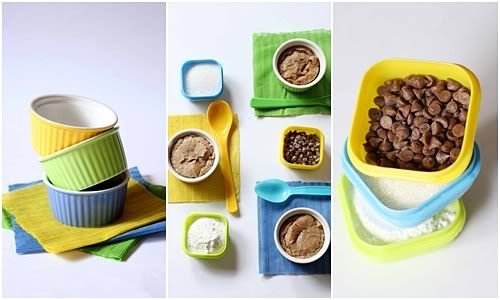
Semi sweet baking chocolate - 113 gms (4 oz or little more than 1/2 cup)
Butter - 113 gms (4 oz or little more than 1/2 cup)
Sugar - 1/3 cup
Eggs - 2
All purpose flour - 1/4 cup
Semi sweet baking chocolate - 113 gms (4 oz or little more than 1/2 cup)
Butter - 113 gms (4 oz or little more than 1/2 cup)
Sugar - 1/3 cup
Eggs - 2
All purpose flour - 1/4 cup
Method:
Chop chocolate into small pieces and melt using a double boiler.
Chop the butter into small pieces too.
Once the chocolate melts completely remove it from heat and add in the butter. Mix until the butter melts and mixes up smooth with chocolate.
Chop chocolate into small pieces and melt using a double boiler.
Chop the butter into small pieces too.
Once the chocolate melts completely remove it from heat and add in the butter. Mix until the butter melts and mixes up smooth with chocolate.
In a mixing bowl, beat eggs and sugar until they turn light and fluffy.
Pour in the chocolate butter mixture and all purpose flour into the eggs and whisk until well incorporated.
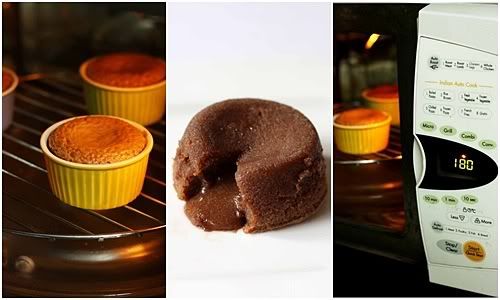
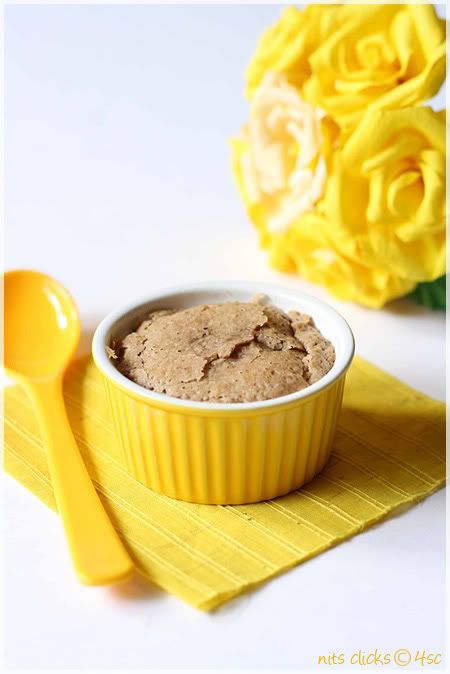
Apply butter on the sides and bottom of the ramekins( small porcelain bowls/ moulds) and pour in the cake batter filling about 3/4th of the ramekin.
Preheat oven to 350°F or 180°C.
Bake at 350°F or 180°C for 10 mins - 15 mins.
Mine was perfect at 10 mins sharp.
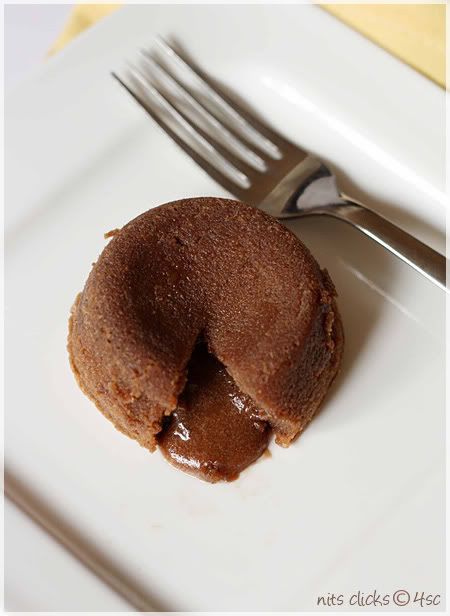
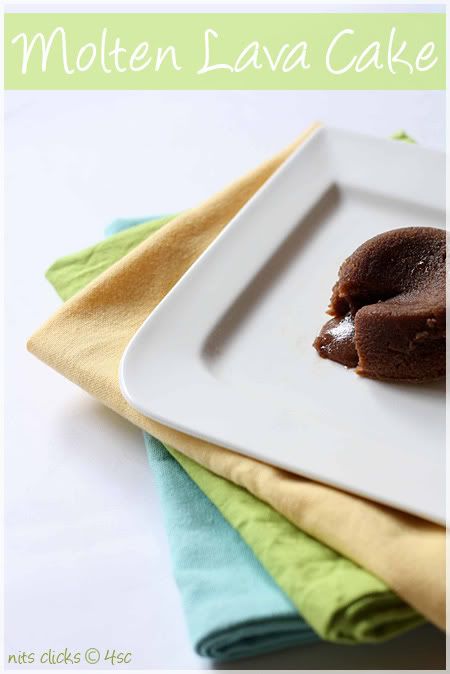
Serve it warm with vanilla ice cream or enjoy it as it is :)
Pour in the chocolate butter mixture and all purpose flour into the eggs and whisk until well incorporated.
Apply butter on the sides and bottom of the ramekins( small porcelain bowls/ moulds) and pour in the cake batter filling about 3/4th of the ramekin.
Preheat oven to 350°F or 180°C.
Bake at 350°F or 180°C for 10 mins - 15 mins.
Mine was perfect at 10 mins sharp.
Serve it warm with vanilla ice cream or enjoy it as it is :)
Tips:
Serve the cake just after you bake for a perfect flowing chocolate lava.
Once baked, allow the ramekins to cool down for just two mins and invert it on the serving plate. Leaving it for long in the ramekin would not give you flowing lava.
Reduce the amount of sugar to 1/4 cup if your chocolate is sweet.
Note:
Allow the batter to sit for ten mins and then bake the cake. (This is my tip out of experience)
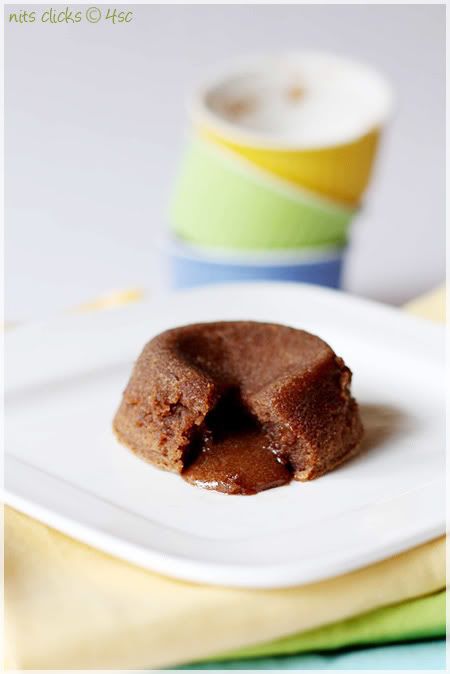
My first batch of molten lava cake had a flaky top after ten mins, so I baked for another two mins which made my cake gooey but the lava dint flow out :( It did taste wonderful though.
I baked my second batch exactly for ten mins and it was so perfect with flowing lava. :)
I used baking milk chocolate (Lotus brand) for my cake. This chocolate is pretty sweet and lighter in shade. Hence my cake was not as dark as I expected it to be and was a little sweeter for my taste.
Allow the batter to sit for ten mins and then bake the cake. (This is my tip out of experience)
My first batch of molten lava cake had a flaky top after ten mins, so I baked for another two mins which made my cake gooey but the lava dint flow out :( It did taste wonderful though.
I baked my second batch exactly for ten mins and it was so perfect with flowing lava. :)
I used baking milk chocolate (Lotus brand) for my cake. This chocolate is pretty sweet and lighter in shade. Hence my cake was not as dark as I expected it to be and was a little sweeter for my taste.
Enjoy the warm goodness of deep chocolate lava cake :)


 Fondant Cakes
 Side Dishes (Subzi/Chutney)
 Lunch
Lunch Salads
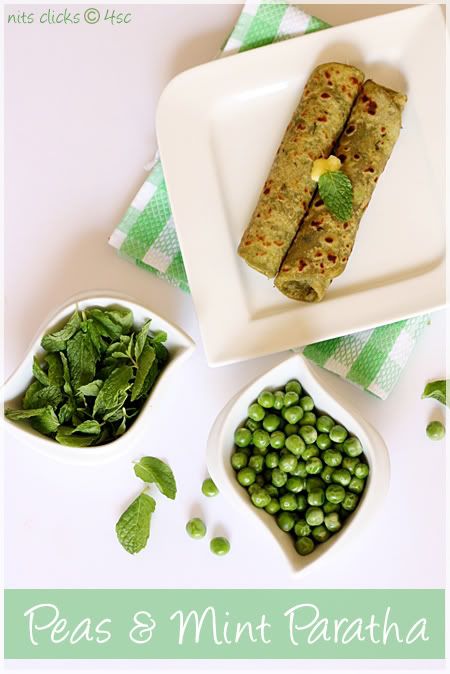
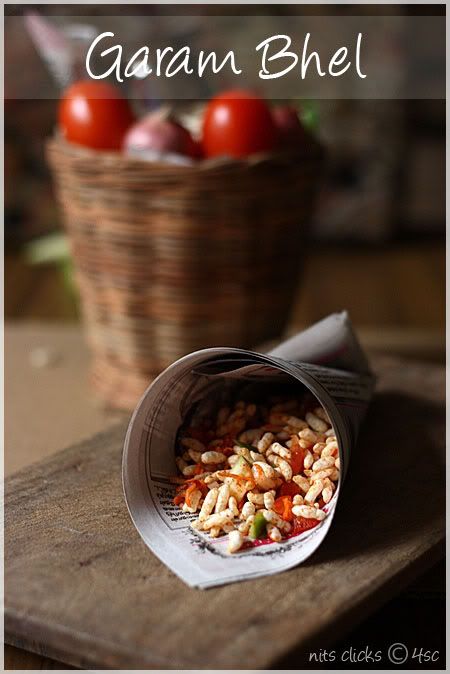
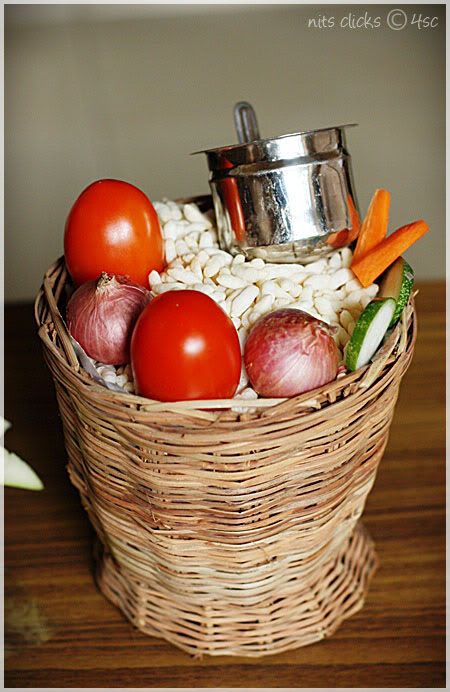
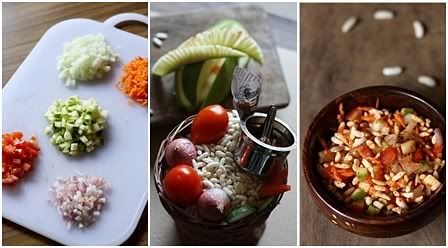
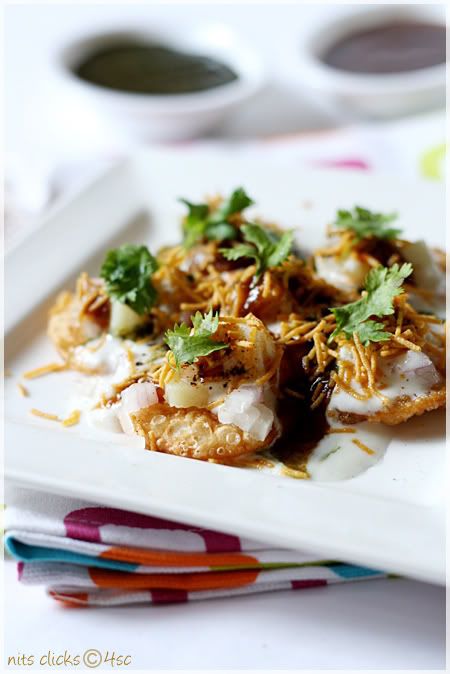
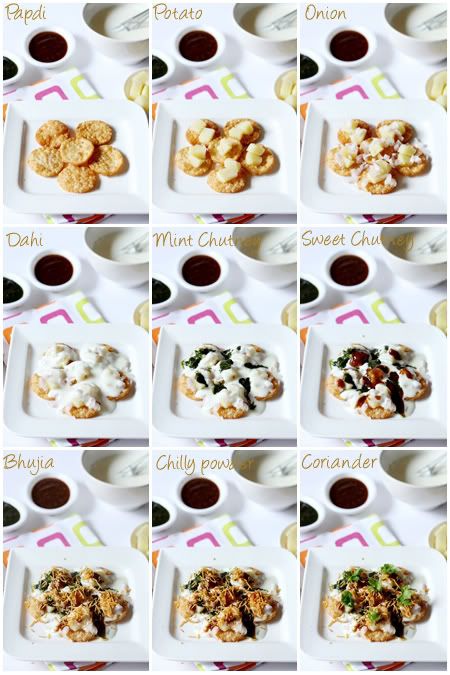
 Chaat Items
 Sweets
 Product Review
 Kids Special
 Color Mania
 Mango Mood


Fondant Cakes - 1
Fondant Cakes - 2
Fondant Cakes - 3
Fondant Cakes - 4