I'm not addicted to coffee or tea. Infact would never prefer it unless it is some special flavored one or cold coffee. Doesn't it sound like a good Girl!! :P
As I said, I love to experiment new flavors and combination of exotic flavors are welcomed with a big bright smile :)
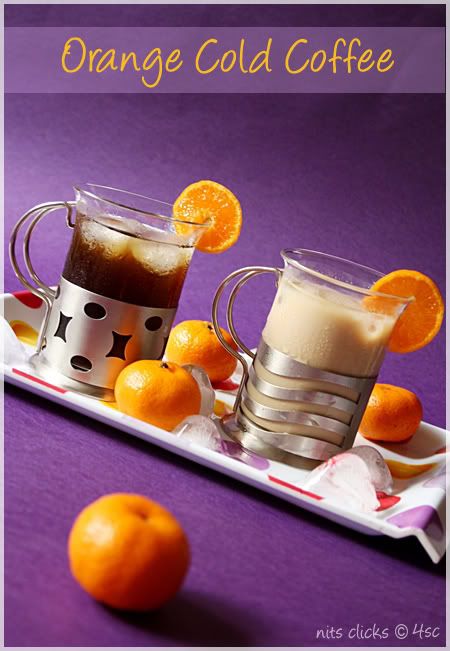
The climate is quite pleasant here and lovely ARR melody is running in the background. I'm on my recliner, sipping in a super cold creamy cappuccino with a kiss of orange.... This is sheer bliss :) Wat a start to a long week ahead :)
As I said, I love to experiment new flavors and combination of exotic flavors are welcomed with a big bright smile :)
The climate is quite pleasant here and lovely ARR melody is running in the background. I'm on my recliner, sipping in a super cold creamy cappuccino with a kiss of orange.... This is sheer bliss :) Wat a start to a long week ahead :)
Ingredients:
Instant cappuccino powder
Milk
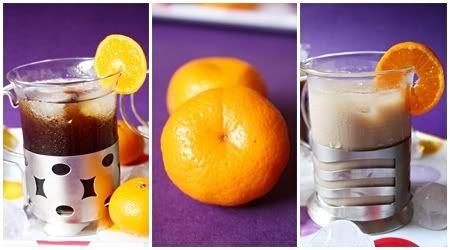
Orange
Orange zest - Optional
Brown sugar(Demerara)
Whipped cream
Instant cappuccino powder
Milk
Orange
Orange zest - Optional
Brown sugar(Demerara)
Whipped cream
Method:
Stir in a spoon of instant cappuccino powder and a spoon of demerara sugar to a cup of hot milk to make fresh cappuccino coffee. Allow it to come to room temperature and put it in the refrigerator for at least half an hour.
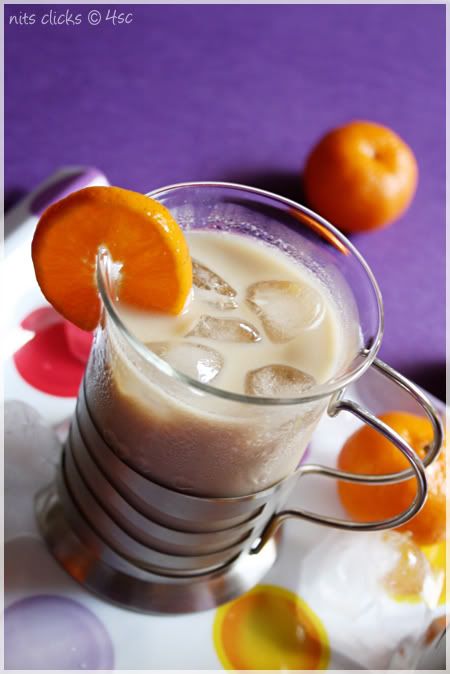
Remove from refrigerator and add two tsps of fresh orange juice to the coffee and stir it immediately. Beat in a tsp of whipped cream and a pinch of orange zest as well.
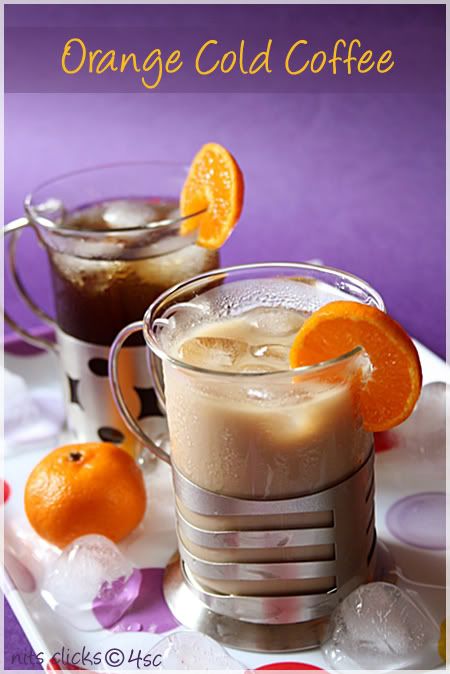
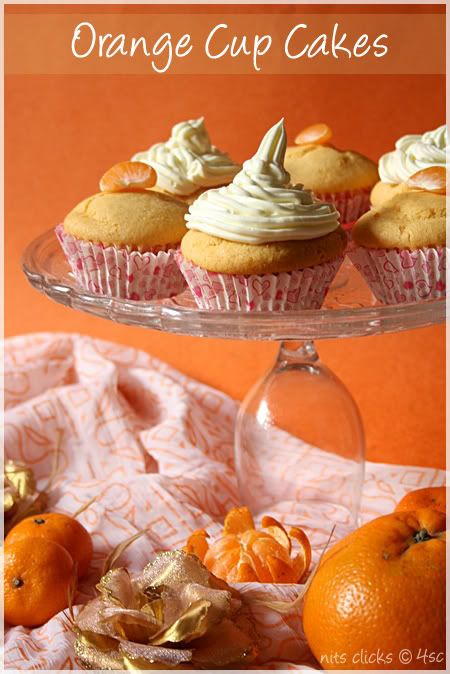
Extremely aromatic orange flavored cappuccino coffee is ready :)
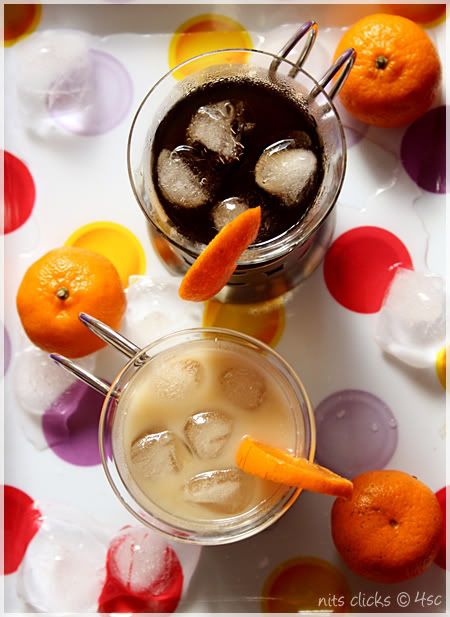
Serve topped with few cubes of ice and decorate it using a slice of orange.
Stir in a spoon of instant cappuccino powder and a spoon of demerara sugar to a cup of hot milk to make fresh cappuccino coffee. Allow it to come to room temperature and put it in the refrigerator for at least half an hour.
Remove from refrigerator and add two tsps of fresh orange juice to the coffee and stir it immediately. Beat in a tsp of whipped cream and a pinch of orange zest as well.
Extremely aromatic orange flavored cappuccino coffee is ready :)
Serve topped with few cubes of ice and decorate it using a slice of orange.
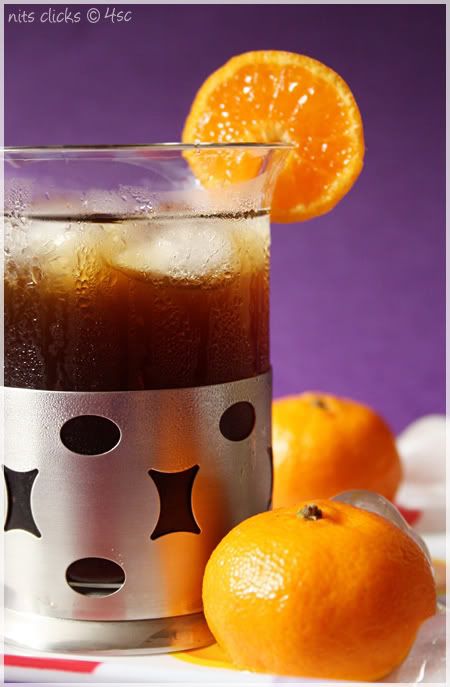
You can make orange flavored black coffee as well by stirring in two tsps of orange juice in coffee decoction and top it with some ice cubes.
Absolutely tasty and flavorful coffee is done :)
Sip in and enjoy :)
Absolutely tasty and flavorful coffee is done :)
Sip in and enjoy :)
Tips:
You can use orange juice syrup instead of fresh juice.
You can also use two drops of orange essence to make flavored coffee.
Mixing orange juice with hot milk will curdle the milk. So make sure you add the orange juice only when the coffee is cold.
You can also try orange tea just like how you make lemon tea :)


 Fondant Cakes
 Side Dishes (Subzi/Chutney)
 Lunch
Lunch Salads
 Chaat Items
 Sweets
 Product Review
 Kids Special
 Color Mania
 Mango Mood


Fondant Cakes - 1
Fondant Cakes - 2
Fondant Cakes - 3
Fondant Cakes - 4